Zendesk Integration
This guide provides information on how to integrate Zendesk Support, a customer service and ticket software, with the Binadox SaaS and IaaS usage monitoring and cost optimization platform to be able to receive utilization insights, spend analysis, and individual user data of this application across an entire organization.
1. Generate an API Token
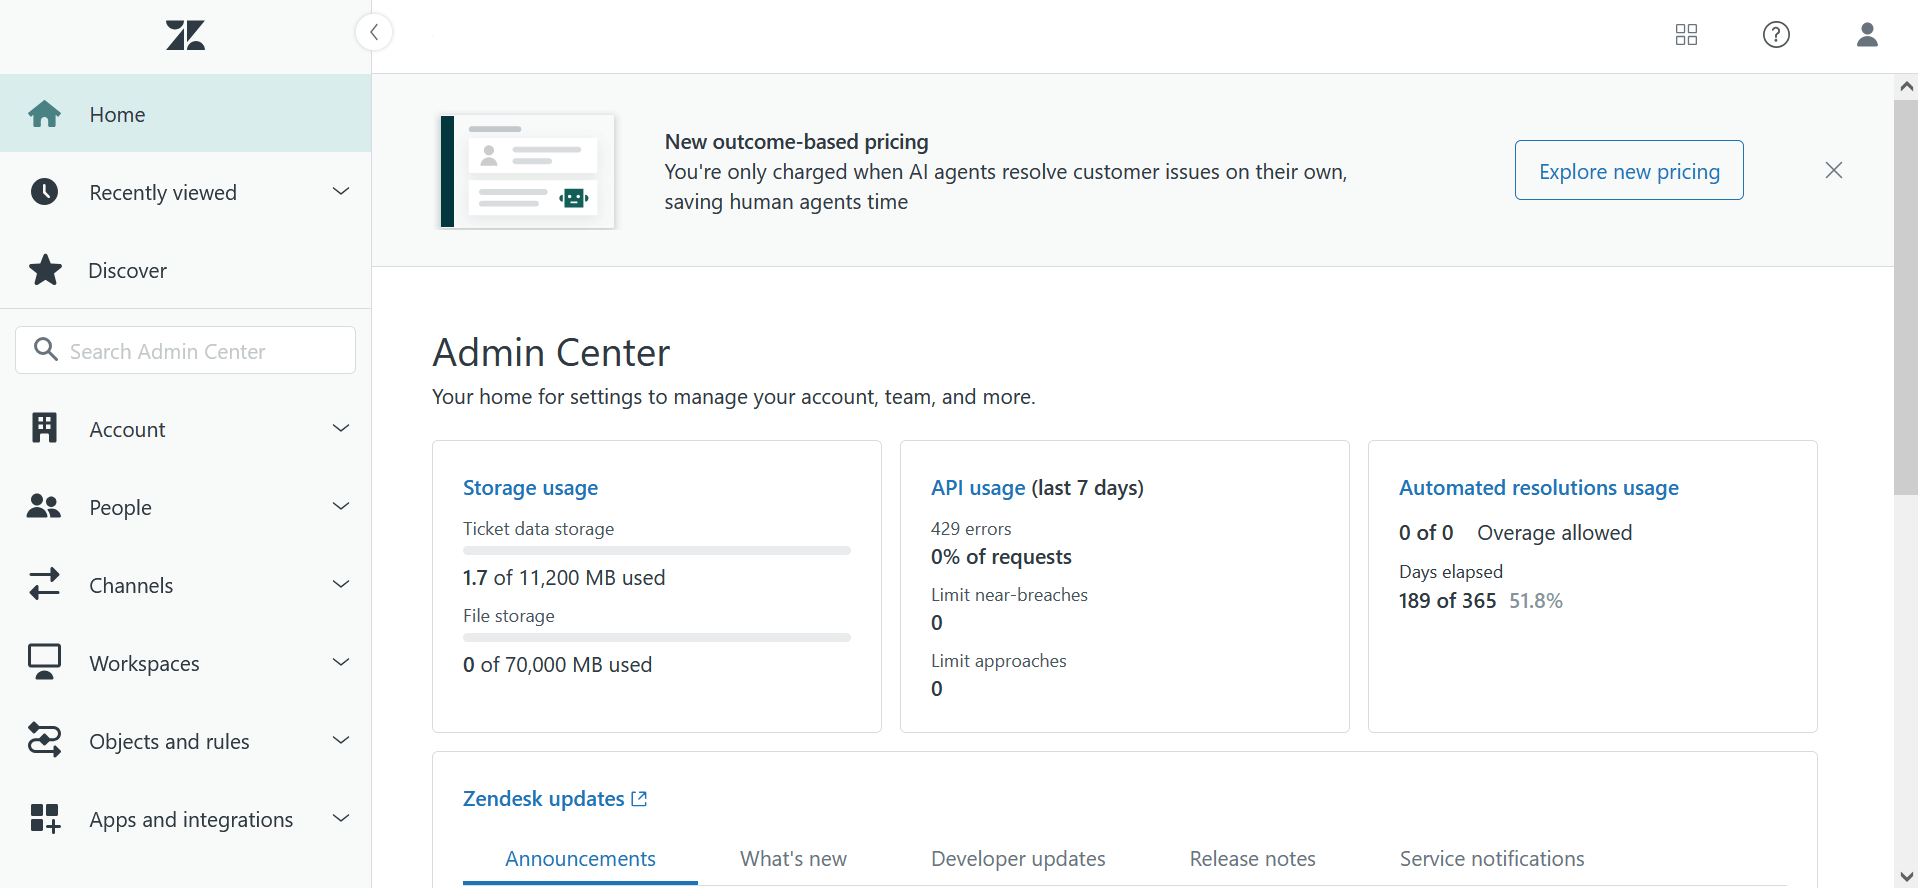
1. Log into your Zendesk Support account as an administrator. Go to Zendesk Admin Center.
2. In the sidebar of the Admin panel, select APIs in the Apps and integrations section. On the Settings tab of the Zendesk API view, enable Token Access using the toggle button. Click the Add API token button icon in the Active API Tokens section to generate a new API token.
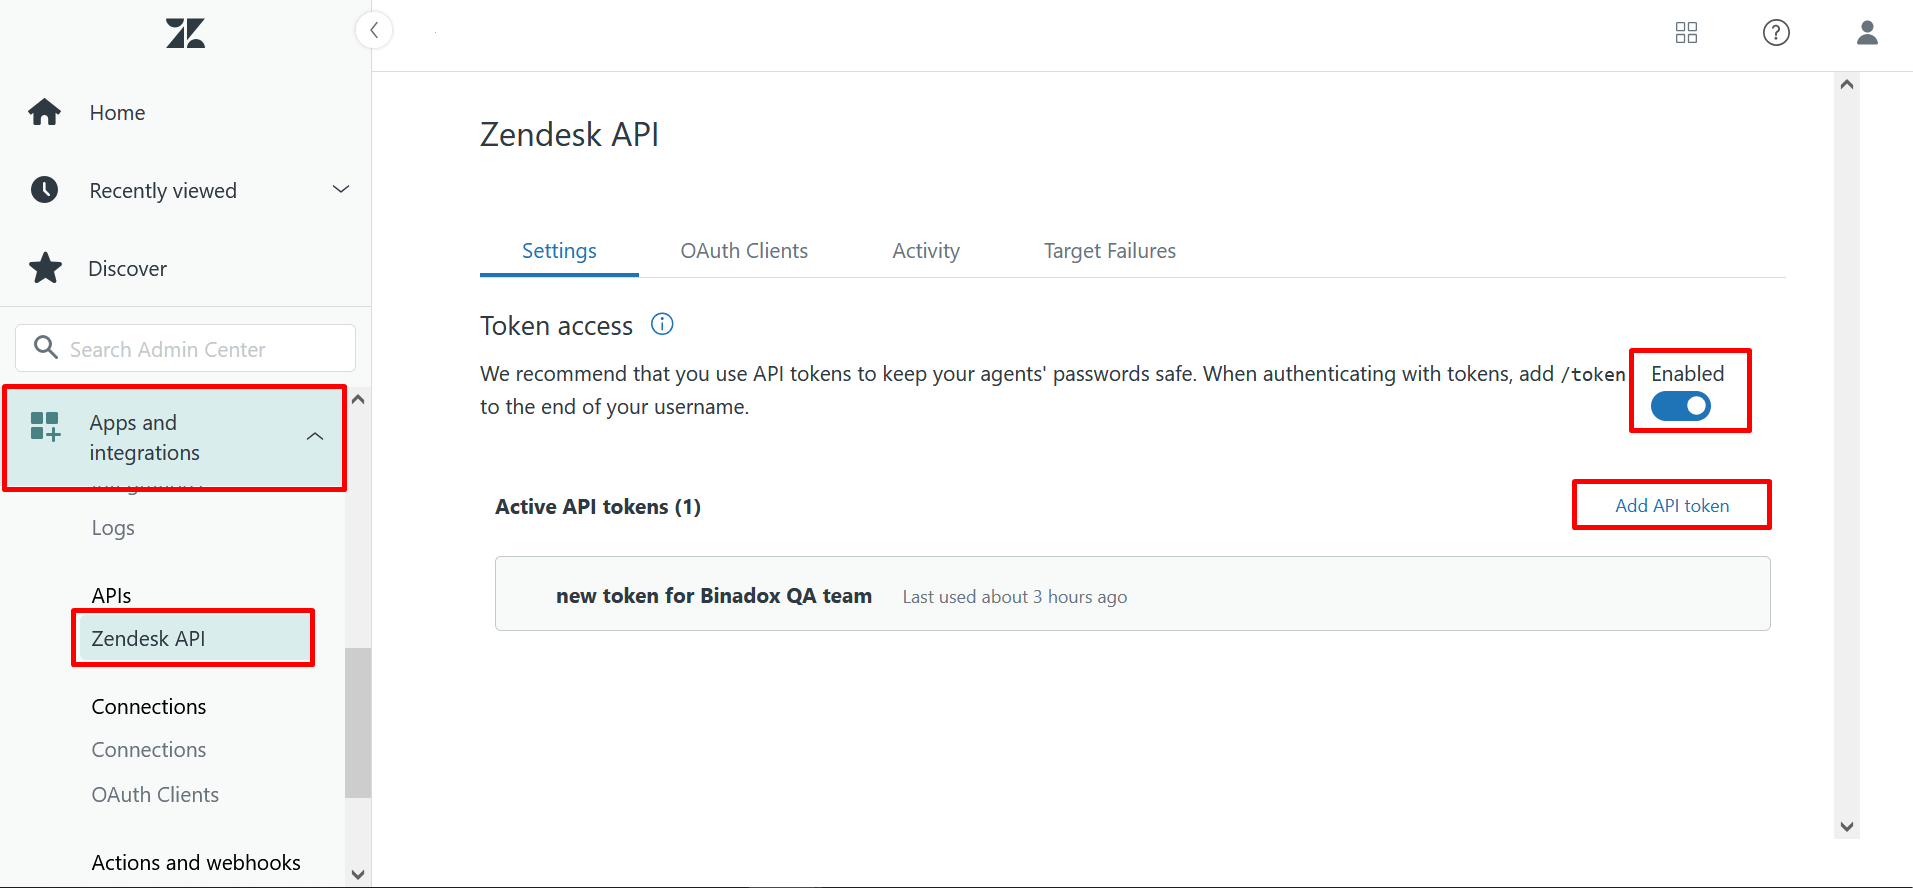
3. Provide a description for a new token for further identification in the API Token Description (optional) field. Click the Copy button to copy the token to the clipboard. Note that you won’t be able to see it again. Make sure to keep this value safe. Click Save.

2. Configure Zendesk Support in Binadox
1. Log into your Binadox account.
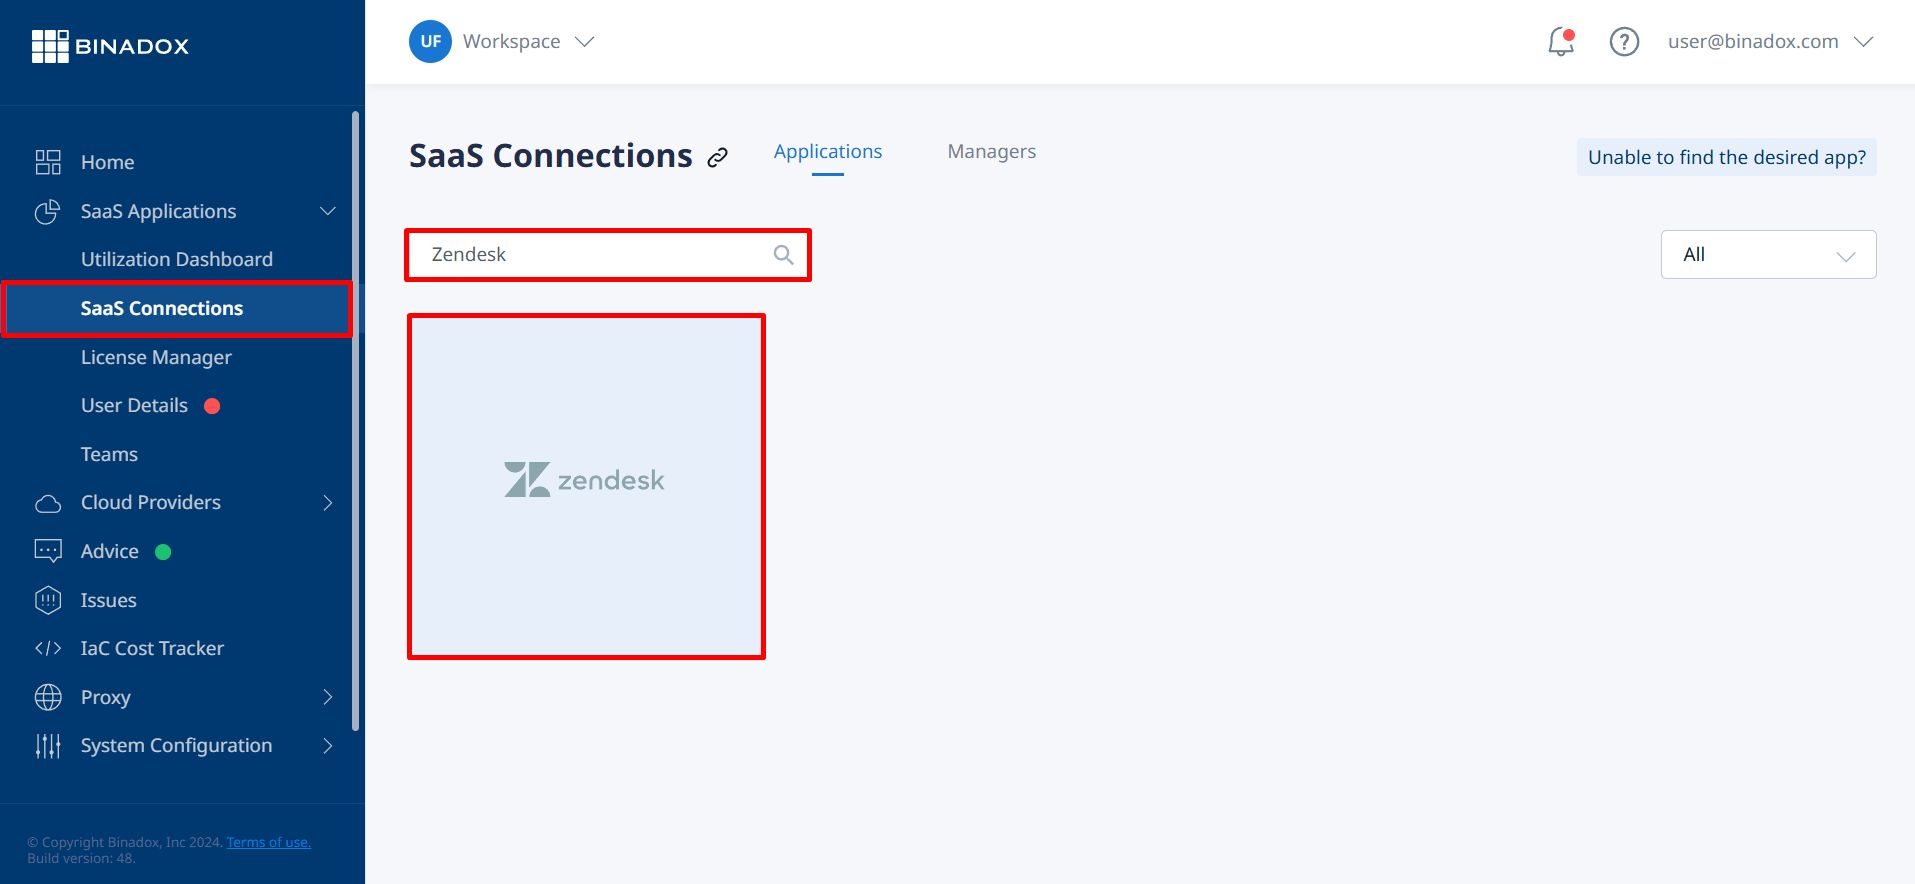
2. In the navigation pane on the left, click Integrations. Proceed to the SaaS tab. Click on the Zendesk icon. To quickly locate the Zendesk software in the list of supported applications, type in its name in the search bar or use an alphabetical filter by clicking on the first letter of an application name, i.e. Z.
3. Create a meaningful connection instance name. Click Continue.

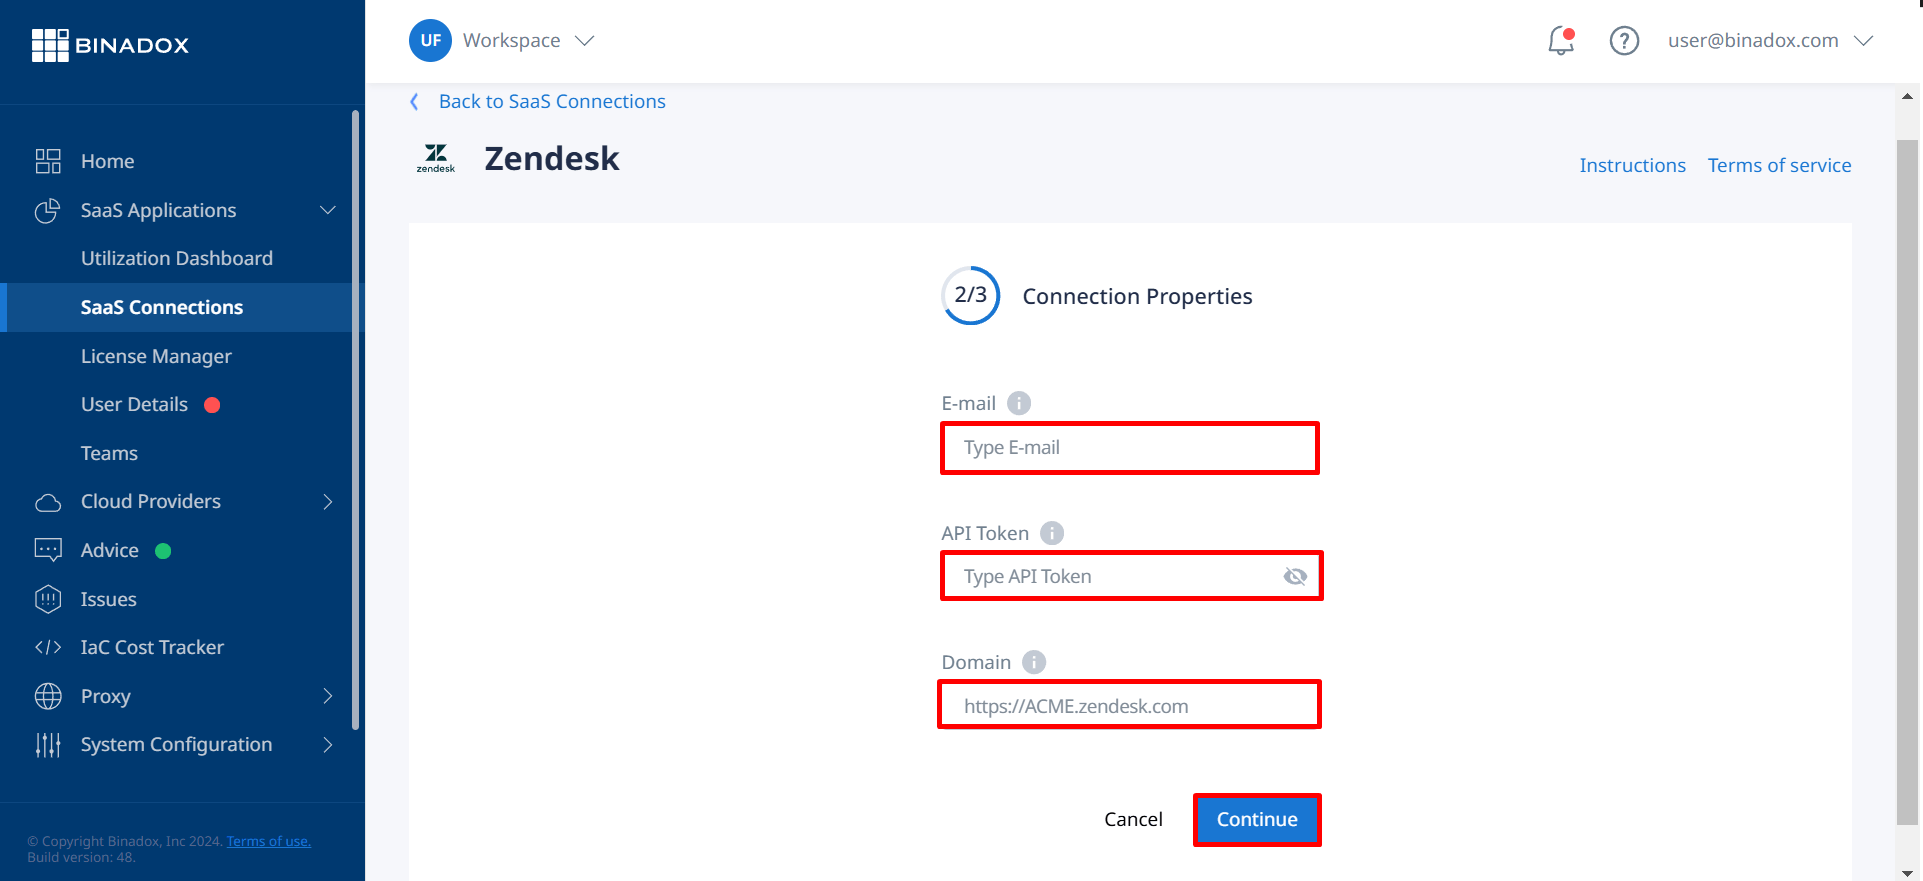
4. Fill in the connection properties. Enter an email address of the Zendesk Support admin account into the Email field. Paste the API token into the API Token field (see Clause 1 on how to generate an API token). Indicate your Zendesk domain name in the Domain field (e.g. https://your_subdomain.zendesk.com). Click Continue.
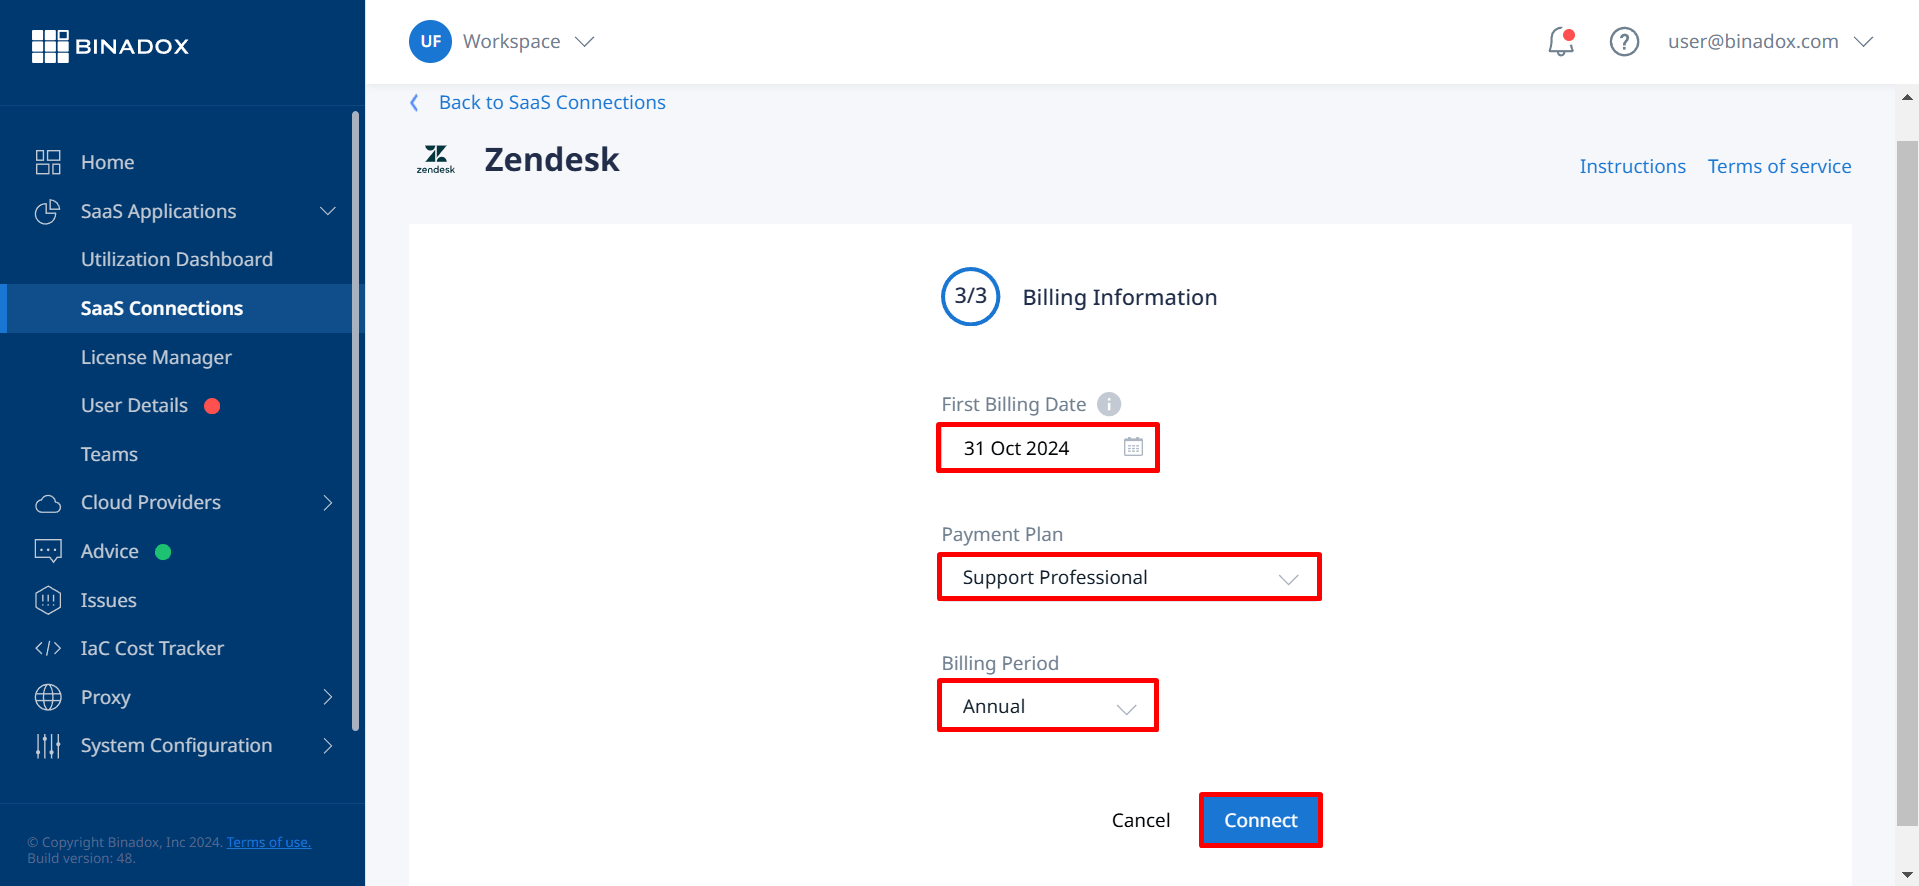
5. Fill in the billing information. Click on the calendar icon to specify the date the bill for application services is issued. Select your Zendesk Support payment plan and billing period in the corresponding drop-down lists. Click Connect.
6. Upon successful Zendesk Support integration with Binadox, the connection status will switch into Connected.