



The AWS Free Tier is an excellent way to explore cloud services without a financial commitment. It allows you to experiment with everything from virtual servers to databases and machine learning tools. However, a surprise bill can quickly sour the experience. Understanding why these charges occur and how to manage them is crucial. If you’ve encountered AWS free tier unexpected charges, this guide will walk you through identifying the cause, preventing future costs, and seeking a refund.
Key takeaways
- Identify the Source: Use the AWS Billing & Cost Management console, specifically AWS Cost Explorer, to pinpoint which services and regions are generating costs.
- Set Up Proactive Alerts: Configure AWS Budgets and CloudWatch billing alarms to notify you when your usage approaches or exceeds the free tier limits, with alerts at 85% of your limit being a common best practice.
- Terminate Unused Resources: Actively find and delete resources you are no longer using, such as EC2 instances, EBS volumes, and unattached Elastic IPs, as these can incur charges even when idle.
- Contact Support: If you receive an unexpected bill, especially for the first time, open a case with AWS Support to explain the situation and request a one-time refund.
Why Did I Get Charged for the AWS Free Tier?
Unexpected charges on an AWS Free Tier account typically happen for a few common reasons. The most frequent cause is exceeding the usage limits for services. The Free Tier includes different types of offers: some are “Always Free,” while others are only free for your first 12 months. For example, you might get 750 hours of a small EC2 instance per month, but running two instances for a full month will exceed that limit.
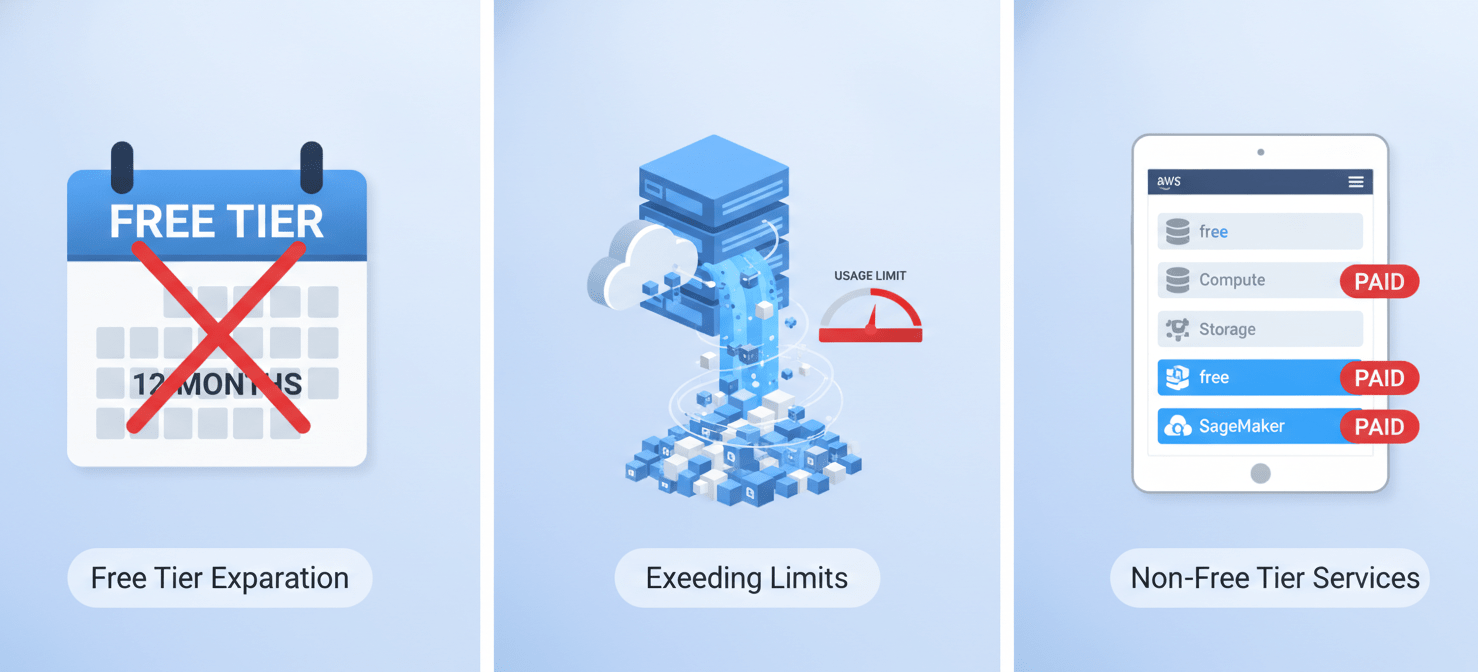
Another reason is that the aws free tier expired. After your initial 12-month period ends, any active resources will automatically convert to standard pay-as-you-go pricing. It’s easy to forget about resources you spun up for a test project months ago.
Finally, not all services or resource types are included in the Free Tier. Launching a more powerful EC2 instance than the specified t2.micro or t3.micro type, for instance, will result in charges. Similarly, services like NAT Gateways or data transfer between regions often have costs that can catch new users by surprise.
Step 1: Identify the Source of the Charges
Before you can fix the problem, you need to know exactly where the costs are coming from. Your primary tool for this is the AWS Billing & Cost Management console.
Using the AWS Billing Dashboard and Cost Explorer
First, navigate to the Bills page in the console. This will give you a high-level overview of your spending, broken down by service. You can expand each service to see costs by region, which is a crucial step since it’s easy to forget about resources running in a region you don’t typically use.
For a more detailed analysis, use AWS Cost Explorer. Although it can take up to 24 hours to populate data for the first time, it’s an invaluable free tool.
- Enable Cost Explorer: If you haven’t already, you’ll need to enable it from the Cost Management console.
- Analyze Costs: Use the built-in reports to view your costs by service, region, or usage type. You can filter the data to isolate the specific charges that were unexpected. For example, you can filter by the “EC2-Instances” usage type to see if a running virtual machine is the culprit.
By methodically reviewing these dashboards, you can create a clear picture of what services are active and costing you money.
Step 2: Set Up Billing Alerts to Prevent Future Surprises
The best way to handle unexpected charges is to prevent them from happening in the first place. AWS provides powerful tools to monitor your spending and alert you before it becomes a problem.
First, ensure that Free Tier usage alerts are enabled. These are on by default and will email you when your usage exceeds 85% of the free limit for a service. You can verify this setting in your Billing Preferences.
Next, create a billing alarm using Amazon CloudWatch. This is a more robust way to get notified.
- Navigate to the CloudWatch console. Note that billing metric data is stored in the US East (N. Virginia) region, so you must select
us-east-1to create the alarm. - Go to Alarms > Billing and click “Create alarm.”
- Select the
EstimatedChargesmetric. This tracks your total estimated AWS charges. - Set a threshold. For a free tier account, you might set this to a very low amount, like $1.
- Configure a notification to an Amazon SNS topic, which can then send you an email or text message.
Finally, consider setting up AWS Budgets. This tool allows you to set a custom budget and receive alerts when your costs or usage exceed your budgeted amount. You can even create a zero-spend budget to be notified as soon as any charge is incurred.
Step 3: Contact AWS Support for a Potential Refund
If you’ve been hit with a bill because of a genuine mistake, especially if it’s your first time, there’s a good chance AWS will provide a refund. AWS is often understanding when new users are learning the platform.
Here’s how to approach it:
- Terminate the Resources: Before you do anything else, make sure you have stopped or terminated all the resources that were causing the charges. This shows that you’ve taken action to prevent further costs.
- Create a Support Case: Navigate to the AWS Support Center and create a new case.
- Select “Account and billing support,” which is available to all accounts for free.
- Be Clear and Polite: In your case description, explain the situation clearly. Mention that you are a new user, were exploring the Free Tier for learning purposes, and were unaware that you had exceeded the limits or left resources running. Acknowledging the mistake goes a long way.
- Request a One-Time Refund: Explicitly ask if they would be willing to provide a one-time refund or credit for the unintended charges.
While a refund is not guaranteed, a polite and honest request is often successful.
Best Practices for Avoiding AWS Free Tier Unexpected Charges
Staying within the Free Tier limits requires diligence. Beyond setting up alerts, adopting a few key habits can save you from future billing headaches.
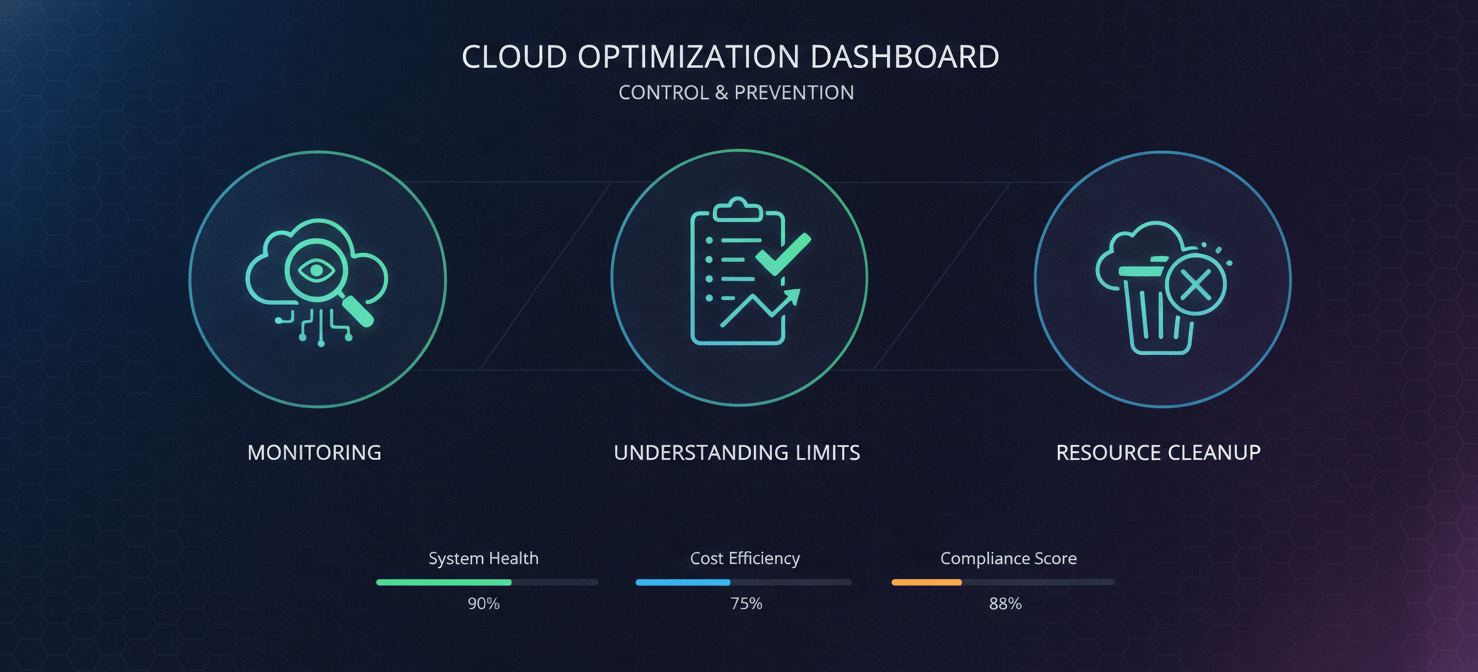
First, always be aware of what you have running. Before you log out of the AWS console, do a quick check for active resources, especially in different regions. It’s common to launch an EC2 instance in a region like Ohio and forget about it while you normally work in Oregon.
Second, understand the details of the Free Tier limits for the services you use. For example, the EC2 free tier includes 750 hours of a specific instance type. This is enough to run one instance continuously for a month, but not two. Similarly, be mindful of charges for things that are never free, like unattached Elastic IP addresses or data transfer out to the internet.
Finally, clean up resources as soon as you are done with them. If you spin up a database or a server for a quick test, terminate it immediately afterward. Don’t just stop an EC2 instance; terminate it unless you plan to use it again soon, as you may still be charged for the attached EBS storage volume.
Conclusion
Encountering AWS free tier unexpected charges can be frustrating, but it’s a common part of the learning curve. By systematically identifying the source of the costs with tools like AWS Cost Explorer, you can understand what went wrong. Proactively setting up billing alarms and budgets is your best defense against future surprises. And if you do make a mistake, a polite request to AWS Support often resolves the issue. Ultimately, managing your account responsibly by tracking resources and cleaning up what you no longer need is the key to successfully leveraging the power of the AWS cloud without breaking the bank.
If you’re ready to take control of your cloud spending, you can explore our platform by creating a free account or schedule a personalized walkthrough with our experts.
 7-day free trial