



Discovering your AWS account is hacked can be a terrifying experience, especially when you see the resulting high bill. Unauthorized users can spin up thousands of dollars worth of resources in just a few hours, leaving you with a significant financial problem. However, it’s crucial not to panic. Instead, you must act quickly and methodically to regain control of your account, stop the financial bleeding, and address the unauthorized AWS charges. This guide provides a clear, step-by-step plan to navigate this stressful situation.
Key takeaways
- Immediately begin a 5-step incident response plan to secure your account and stop further damage.
- Your first priority is to revoke all active credentials, including rotating root passwords and all IAM user access keys.
- Contact the AWS Support team as soon as you have secured the account; they have a process for handling compromised accounts and fraudulent charges.
- Use tools like AWS Cost Explorer and AWS CloudTrail to identify and terminate all unauthorized resources across all AWS regions.
Step 1: Secure Your AWS Account Immediately
The moment you suspect a breach, your immediate priority is to lock out the attacker. You must assume that all credentials associated with the account are compromised. Therefore, you need to invalidate them as quickly as possible to prevent further unauthorized activity.
First, sign in to your AWS account as the root user. If you cannot sign in, immediately use the “Forgot Password?” link to reset the root user password. This is the most powerful user in your account, and securing it is the critical first step.
Next, you must rotate every single access key. This includes the access keys for all Identity and Access Management (IAM) users. Attackers often use stolen keys to create resources programmatically. Navigate to the IAM service in the AWS Management Console. For each user, go to the “Security credentials” tab and delete any existing access keys. Then, create new ones. Furthermore, you should review and remove any suspicious IAM users or roles that you do not recognize.
Finally, enable multi-factor authentication (MFA) on your root account and all IAM users. MFA adds a crucial layer of security by requiring a second form of verification, which makes it significantly harder for an attacker to gain access even if they have your password.
Step 2: Identify and Terminate Unauthorized Resources
After securing access, the next step is to stop the ongoing financial damage. The high bill is a direct result of resources the hacker has launched in your account. Consequently, you need to find and terminate these resources immediately. This can be a challenge because attackers often deploy resources in multiple AWS regions to make them harder to find.
Using AWS Tools for Discovery
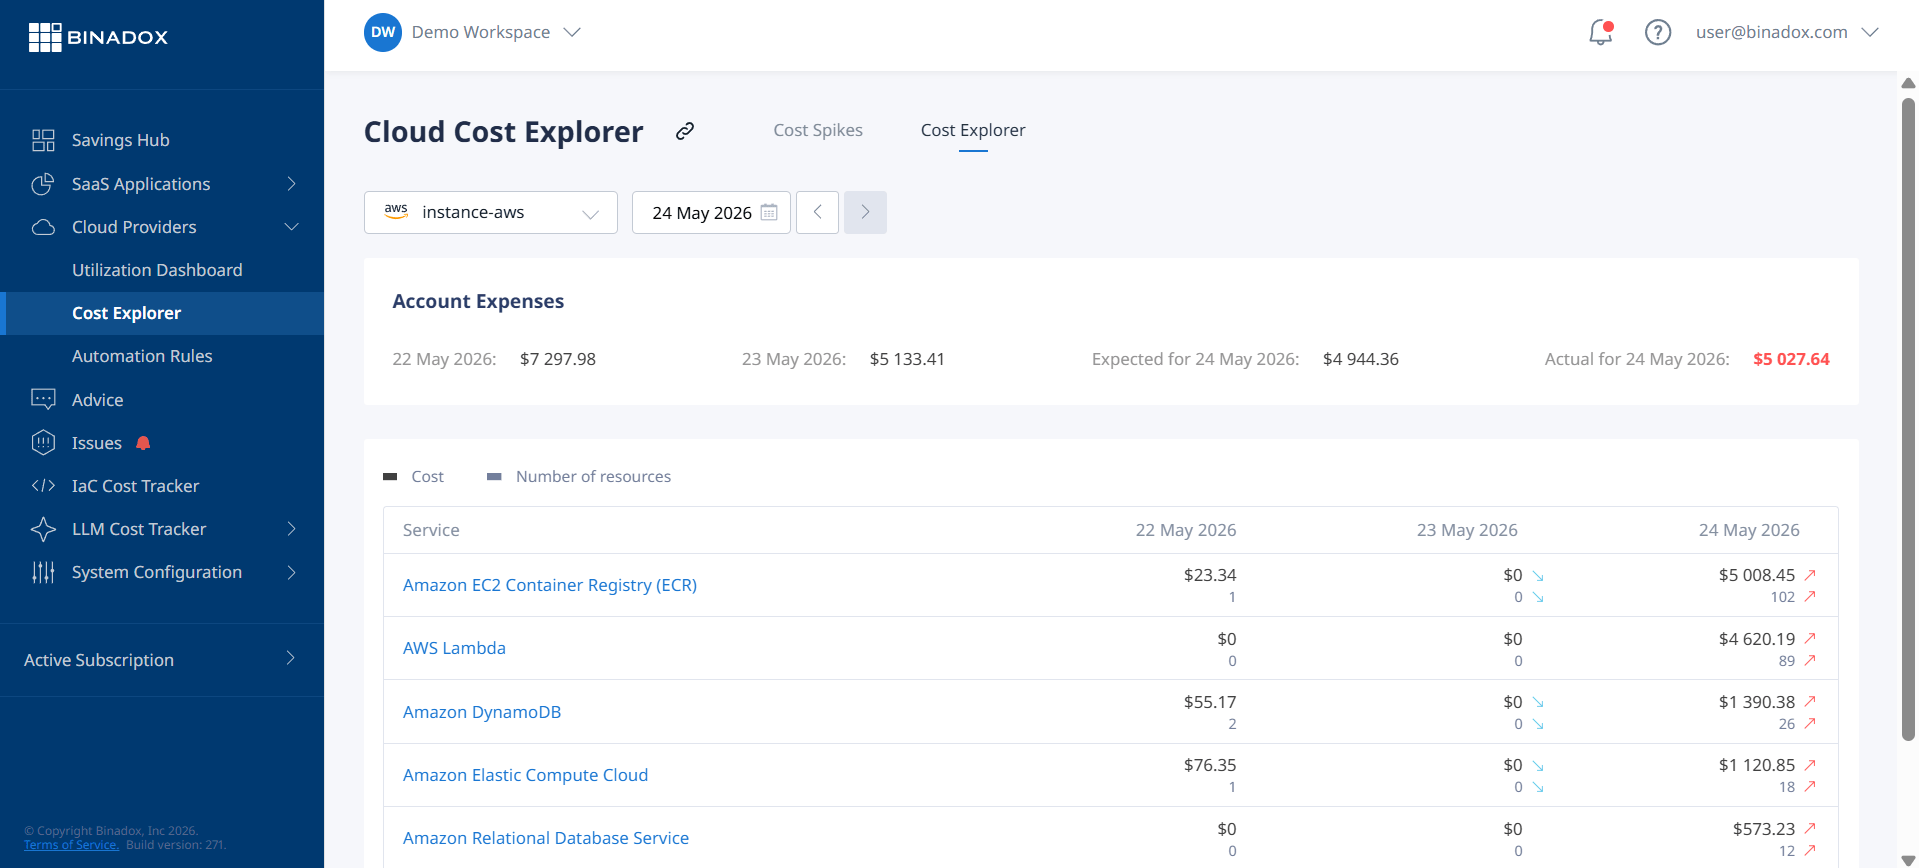
Your primary tool for this task will be AWS Cost Explorer. Use it to identify which services and, importantly, which regions are responsible for the spike in costs. Attackers frequently use powerful EC2 instances for activities like cryptocurrency mining, which results in a significant aws security breach cost.
In addition, you should use the AWS Management Console and check each region one by one. Pay close attention to commonly abused services like EC2 (instances), Lambda (functions), and SageMaker (notebook instances). An attacker might launch hundreds of small instances across many regions, so be thorough.
For a more detailed investigation, you can analyze AWS CloudTrail logs. CloudTrail provides a record of actions taken by a user, role, or an AWS service. While this can be time-consuming, it is invaluable for understanding the scope of the breach and identifying every action the attacker took. Look for a high volume of “RunInstances” or “Create” API calls, especially from an unfamiliar IP address or region.
Step 3: Contact AWS Support About the Unauthorized Charges
Once you have secured your account and terminated the malicious resources, you must contact AWS Support. Do not delay this step. AWS is aware that account compromises happen and has a dedicated team to assist customers with these issues.
When you create a support case, be clear and concise. State that your account was compromised and that you have incurred unauthorized AWS charges. Provide as much detail as possible, including:
- The approximate time you detected the breach.
- The steps you have already taken to secure the account (changed passwords, rotated keys, enabled MFA).
- A list of the unauthorized resources you found and terminated.
AWS Support will investigate the claim. They will review your account activity and CloudTrail logs to verify the unauthorized usage. While there is no official guarantee, AWS often waives charges that are confirmed to be the result of a fraudulent compromise, especially for customers who have acted swiftly to secure their account and cooperate with the investigation. Be patient and responsive during this process.
Step 4: What to Do When Your AWS Account is Hacked and How to Prevent It from Happening Again
Preventing a future compromise is just as important as recovering from the current one. If your AWS account is hacked, it’s a clear signal that there were underlying security weaknesses. Therefore, you must implement stronger security practices moving forward.
First, always follow the principle of least privilege. This means that IAM users and roles should only have the permissions necessary to perform their specific tasks. Avoid using the root user for daily operations; instead, create an administrative IAM user for those tasks.
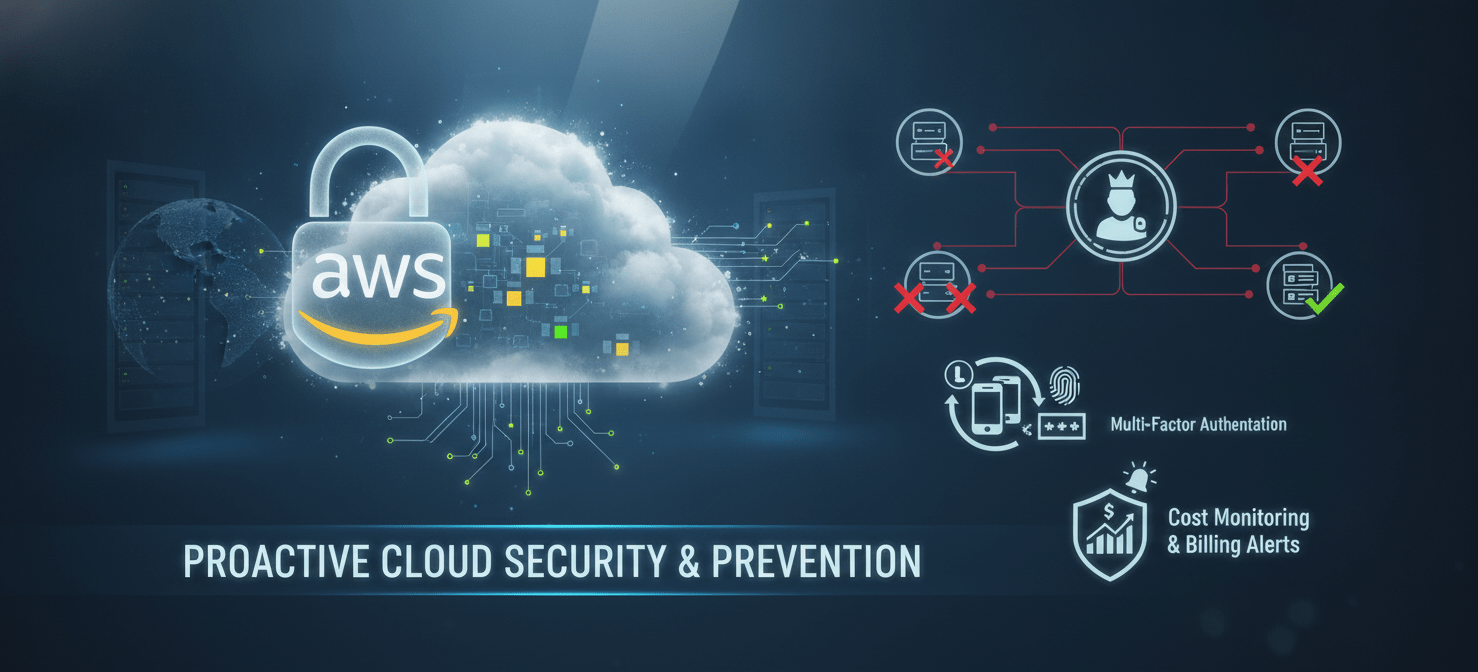
Second, make MFA mandatory for all users. This is one of the most effective controls for preventing unauthorized access. You can enforce this using IAM policies.
Third, regularly audit your account. This includes reviewing IAM users, roles, and policies to ensure they are still necessary and have appropriate permissions. In addition, you should regularly rotate access keys as a matter of security hygiene.
Finally, set up billing alerts using Amazon CloudWatch. You can configure an alarm to notify you automatically when your estimated charges exceed a threshold you define. This won’t prevent a breach, but it will ensure you are alerted to a cost spike much faster, allowing you to limit the potential financial damage.
Step 5: Conduct a Post-Breach Analysis
After the immediate crisis is over and you have worked with AWS Support to resolve the billing issue, you should conduct a thorough post-breach analysis. The goal is to understand exactly how the attacker gained access so you can close that security gap permanently.
Review your CloudTrail logs again, this time looking for the initial point of entry. Was it a compromised access key that was accidentally published to a public code repository? Was it a weak password on an IAM user account? Understanding the root cause is essential for improving your security posture.
This analysis should also inform your team’s security training. For example, if the breach was due to an exposed access key, you need to educate your developers on the importance of never hardcoding credentials in their applications. The lessons learned from an incident are invaluable for building a more resilient and secure cloud environment.
Conclusion
Finding out your AWS account is hacked is a deeply unpleasant event, but a methodical response can mitigate the damage. By immediately securing your account, diligently terminating unauthorized resources, and communicating clearly with AWS Support, you can navigate the crisis effectively. The experience, while stressful, serves as a critical learning opportunity. It underscores the absolute necessity of proactive security measures like MFA, the principle of least privilege, and continuous monitoring. Ultimately, preventing a breach is far less painful than cleaning up after one. Don’t let a painful lesson in aws security breach cost go to waste.
Find SaaS your team didn’t tell you about. Connect Gmail or Office 365, and Binadox surfaces what’s actually being used. Try the discovery free or Or book a 15-min demo.
 7-day free trial