



Opening your monthly cloud invoice should not feel like a lottery. Yet for many teams, a sudden Azure bill spike can turn a routine expense report into a major incident. These unexpected charges disrupt budgets, erode trust, and force engineers to drop everything to become financial detectives. The good news is that you can diagnose the root causes of a sudden azure cost increase and implement straightforward controls to prevent them from happening again. This requires a combination of native tools, clear governance, and proactive monitoring.
Key takeaways
- Common causes for cost spikes include misconfigured autoscaling, “orphaned” resources left running in test environments, and unexpected data transfer fees.
- Use Azure Cost Management’s Cost Analysis tool as your first step to diagnose a spike by grouping expenses by resource, service, and location.
- Prevent future surprises by implementing at least 3 core controls: Azure Budgets with alerts, a consistent resource tagging strategy, and automated governance using Azure Policy.
What Causes a Sudden Azure Cost Increase?
Unexpected Azure charges usually stem from a handful of common issues. Most are not dramatic failures but small oversights that accumulate over time. Understanding these root causes is the first step toward controlling your spending.
Misconfigured Resources and Autoscaling
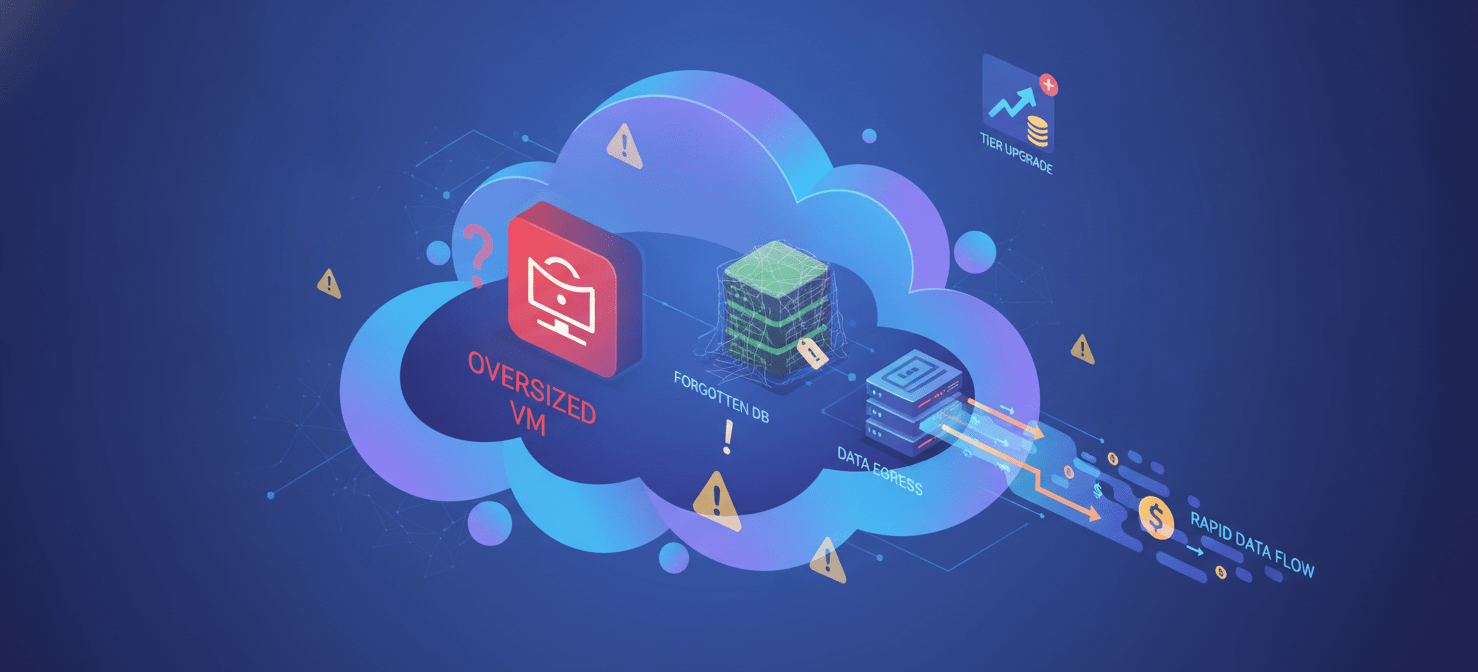
One of the most frequent culprits is a resource that consumes more than intended. For example, a virtual machine might be provisioned at a much larger size than necessary, or an autoscaling rule for an App Service plan could be configured too aggressively. This can lead to resources scaling out to handle a temporary traffic spike but never scaling back in, leaving you to pay for capacity you no longer need.
“Orphaned” and Forgotten Assets
Development and testing environments are notorious for creating “orphaned” resources. An engineer might spin up a new database or a set of VMs for a proof-of-concept and then forget to decommission them. These forgotten assets continue to run and incur charges long after their purpose is served. Similarly, unattached disks from deleted VMs can continue to generate storage costs if not properly cleaned up.
Unexpected Data Transfer Fees
Data transfer (egress) costs are often overlooked until they appear on an invoice. While data ingress into Azure is generally free, moving data out of an Azure region to the internet or even to another Azure region can incur significant costs. A misconfigured application that sends large volumes of logs or media to an external endpoint can quickly cause a sudden azure cost increase.
Service Tier Changes
A simple change in a service tier can have a massive financial impact. For instance, accidentally switching a storage account from a standard tier to a premium one or upgrading a database from a basic to a business-critical SKU can multiply costs. These changes are sometimes made to solve a short-term performance issue but are never reverted, leading to permanently higher expenses.
How to Diagnose an Azure Bill Spike with Native Tools
When you detect an Azure bill spike, your first priority is to find the source quickly. Fortunately, Azure provides a powerful, free suite of tools within Microsoft Cost Management to help you investigate.
Step 1: Analyze Costs with Cost Analysis
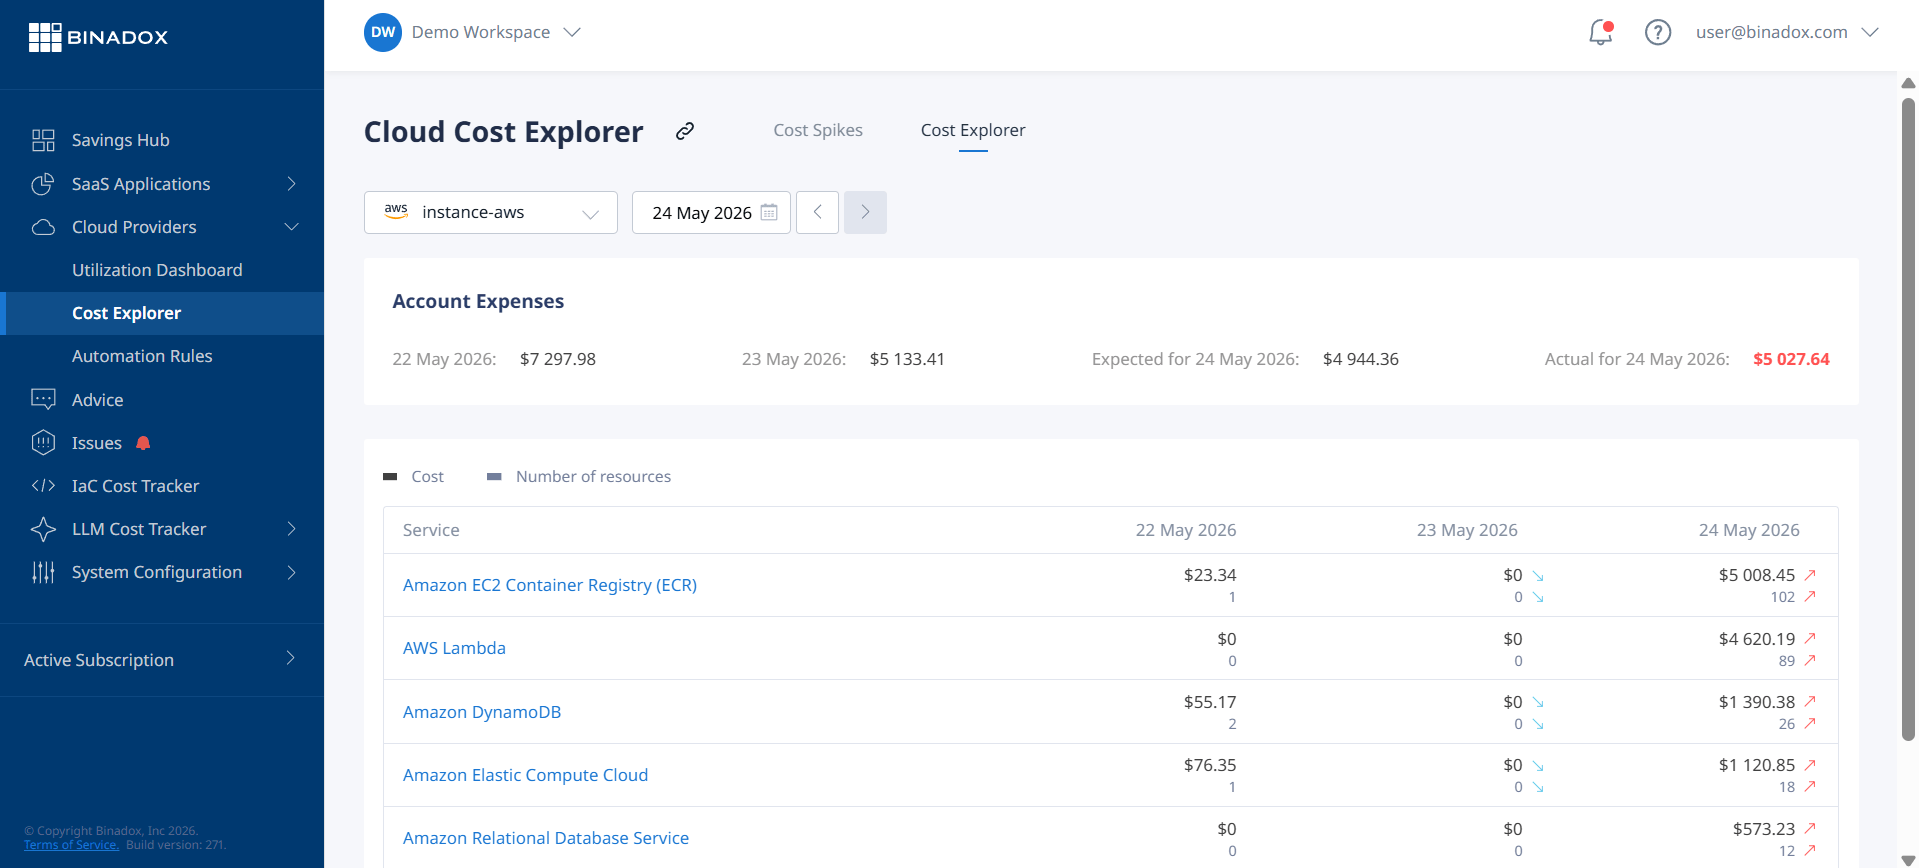
The primary tool for your investigation is Cost Analysis. This feature gives you a detailed, filterable view of your spending. To begin your diagnosis:
- Navigate to Cost Management + Billing in the Azure portal.
- Select Cost analysis from the menu.
- Set the date range to cover the period of the unexpected charges.
From here, use the Group by filter to slice the data. Start by grouping by Service name to see which Azure service is responsible for the largest portion of the bill. Next, group by Resource to pinpoint the exact assets that are driving costs. You can also group by Location to see if the spike is isolated to a specific region.
Step 2: Review Alerts and Budgets
If you have already configured Azure Budgets, your alerts may point you directly to the problem. Check your email or notification hub for any budget alerts that fired during the spike. These alerts often specify the scope (like a subscription or resource group) that exceeded its threshold, narrowing your search significantly.
Step 3: Dig into Azure Advisor Recommendations
Azure Advisor provides personalized recommendations to optimize your Azure environment across several categories, including cost. While investigating a spike, check the Cost tab in Advisor. It may highlight underutilized resources, like oversized VMs or idle network gateways, that are contributing to the higher spend. Acting on these recommendations can provide immediate savings.
Proactive Steps to Prevent Unexpected Azure Charges
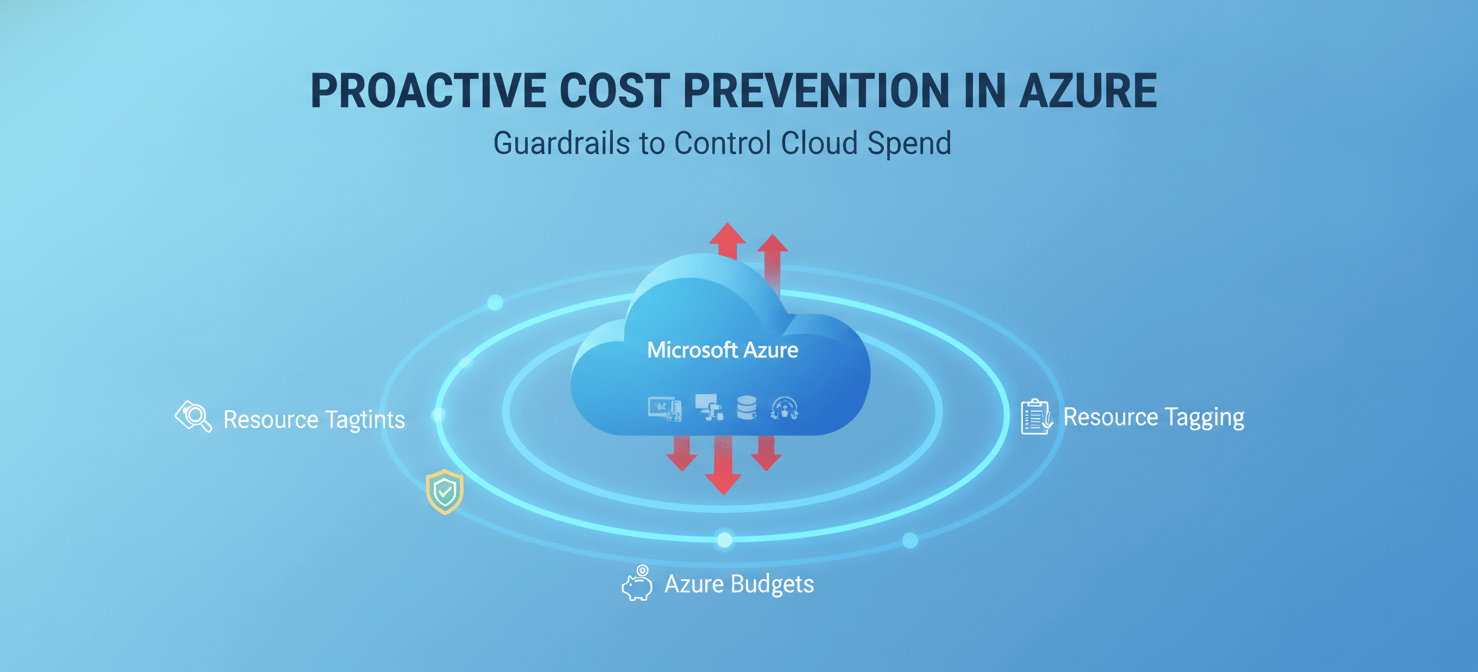
Diagnosing a cost spike is a reactive process. The real goal is to establish proactive controls that prevent unexpected charges from happening in the first place. This involves a combination of financial guardrails, automated governance, and consistent best practices.
Implement Azure Budgets and Alerts
The most fundamental step in cost control is setting a budget. Azure Budgets allow you to set a spending threshold for a specific scope, such as a subscription or resource group. When spending reaches a certain percentage of your budget (for example, 80% or 100%), an alert is triggered. You can configure these alerts to send emails to your finance and engineering teams or trigger automated actions using Action Groups, such as running a script to shut down non-essential resources.
Enforce Governance with Azure Policy
Azure Policy is a powerful governance tool that can enforce rules over your resources. You can use it to prevent costly mistakes before they happen. For example, you can create policies that:
- Restrict allowed VM sizes: Prevent users from deploying extremely large and expensive virtual machines.
- Enforce resource tagging: Ensure every new resource is tagged with a cost center or owner, improving accountability.
- Limit which regions can be used: Prevent resources from being deployed in more expensive geographical regions.
By setting these policies, you automate cost governance and reduce the risk of human error.
Adopt a Consistent Tagging Strategy
Resource tags are simple key-value pairs that you attach to Azure resources, but they are essential for cost management. A consistent tagging strategy allows you to categorize and filter costs in a way that makes sense for your business. For example, you can tag resources by:
- CostCenter: To allocate costs to the correct department.
- Project: To track the total cost of a specific initiative.
- Environment: To separate production costs from development and testing costs.
Once tags are in place, you can use the Cost Analysis tool to group and filter your spending by these tags, giving you clear visibility into where your money is going.
Conclusion: Taming Your Azure Spend
An Azure bill spike is more than a financial problem; it’s a symptom of a gap in visibility or governance. Reacting to a high bill is a necessary skill, but the real solution lies in preventing it. By using native tools like Azure Cost Management, setting firm budgets with alerts, and enforcing guardrails with Azure Policy, you can move from reactive panic to proactive control. Ultimately, managing an Azure bill spike is about building a culture of cost awareness where every team member understands the financial impact of the resources they deploy. The goal is not to spend less, but to spend smarter.
If you’re ready to move beyond reactive cost management and truly spend smarter, we invite you to pick a time to discuss tailored strategies or explore Binadox for yourself with a free trial.
 7-day free trial