




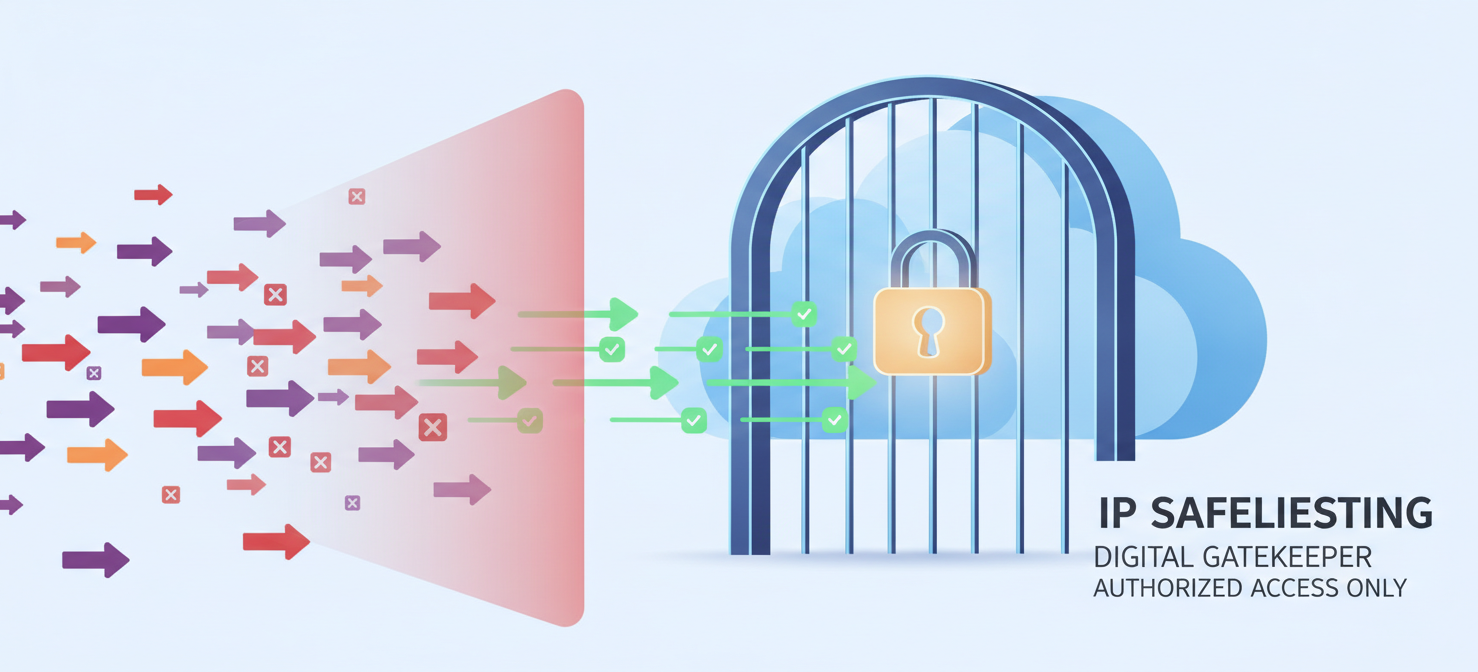
Controlling who can access your cloud resources is a fundamental part of a strong security posture. While usernames and passwords provide one layer of defense, they can be compromised. This is where ip safelisting comes in, offering a straightforward yet effective way to add another layer of security. By creating a list of approved IP addresses, you can ensure that only connections from trusted locations—like your office or a remote employee’s verified network—can reach your sensitive cloud infrastructure. This method acts as a digital gatekeeper, blocking all other access attempts by default.
Key takeaways
- IP safelisting, also known as allowlisting, restricts network access to a predefined list of trusted IP addresses, blocking all others.
- This technique enhances cloud security by reducing the attack surface for resources like databases, virtual machines, and management consoles.
- Implementation across major cloud providers involves configuring firewall rules in services like AWS Security Groups, Azure Network Security Groups, or Google Cloud VPC Firewall Rules.
- A key best practice involves combining IP safelisting with other security measures, such as multi-factor authentication, for a layered defense.
What Is IP Safelisting?
IP safelisting is a security practice that creates an exclusive list of approved IP addresses that are permitted to access a specific system or network resource. In this model, access is denied by default to all IP addresses not explicitly included on the list. Think of it as a guest list for your network; if your IP address isn’t on the list, you’re not getting in. This contrasts with blocklisting (or blacklisting), which only blocks known malicious IP addresses, leaving the door open to new or unknown threats.
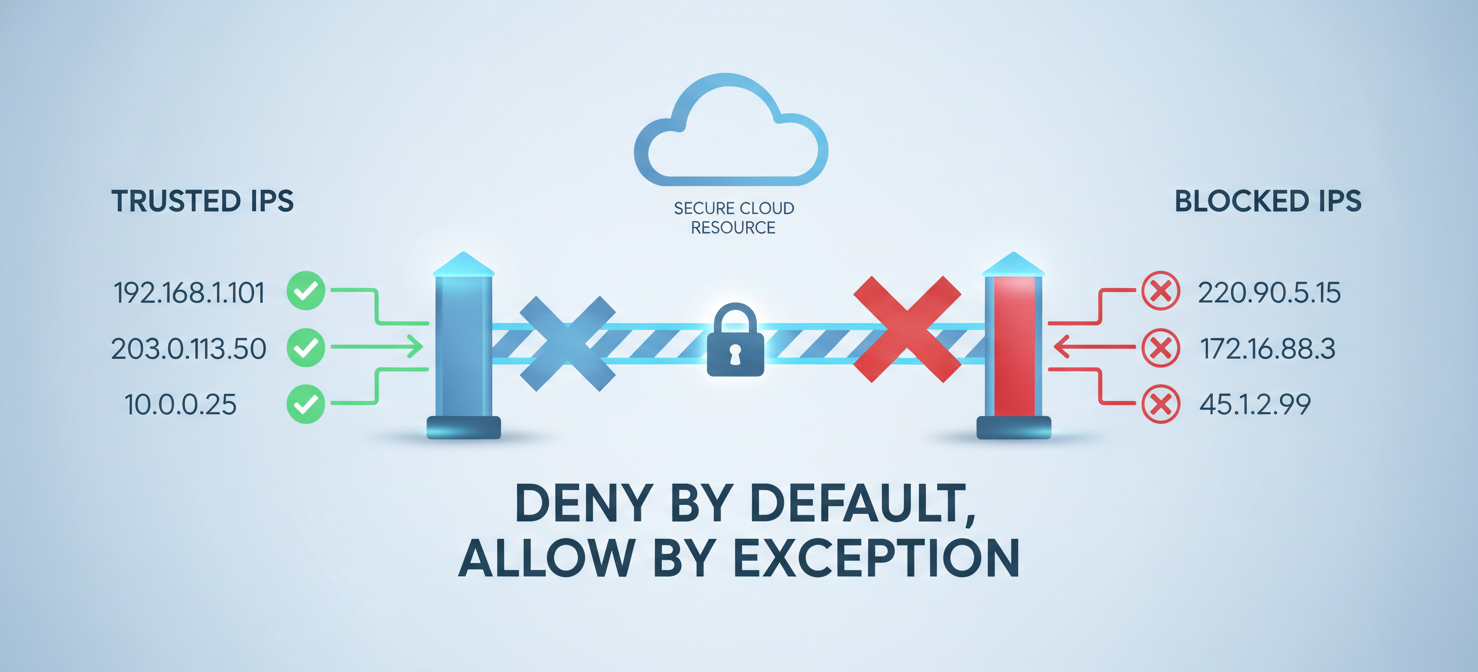
This method is particularly effective for cloud environments where resources might otherwise be exposed to the public internet. By specifying which IP addresses can connect, you significantly shrink the potential attack surface. For example, you can restrict access to a cloud database to only the IP addresses of your application servers or limit access to a virtual machine’s management port to the IP addresses of your corporate office. This ensures that even if a threat actor obtains valid credentials, they cannot log in unless they are connecting from an approved location.
Why Use IP Safelisting in the Cloud?
Using IP safelisting in your cloud environment provides several direct security and operational benefits. It’s a simple concept that delivers a substantial return in terms of security hardening and access control.
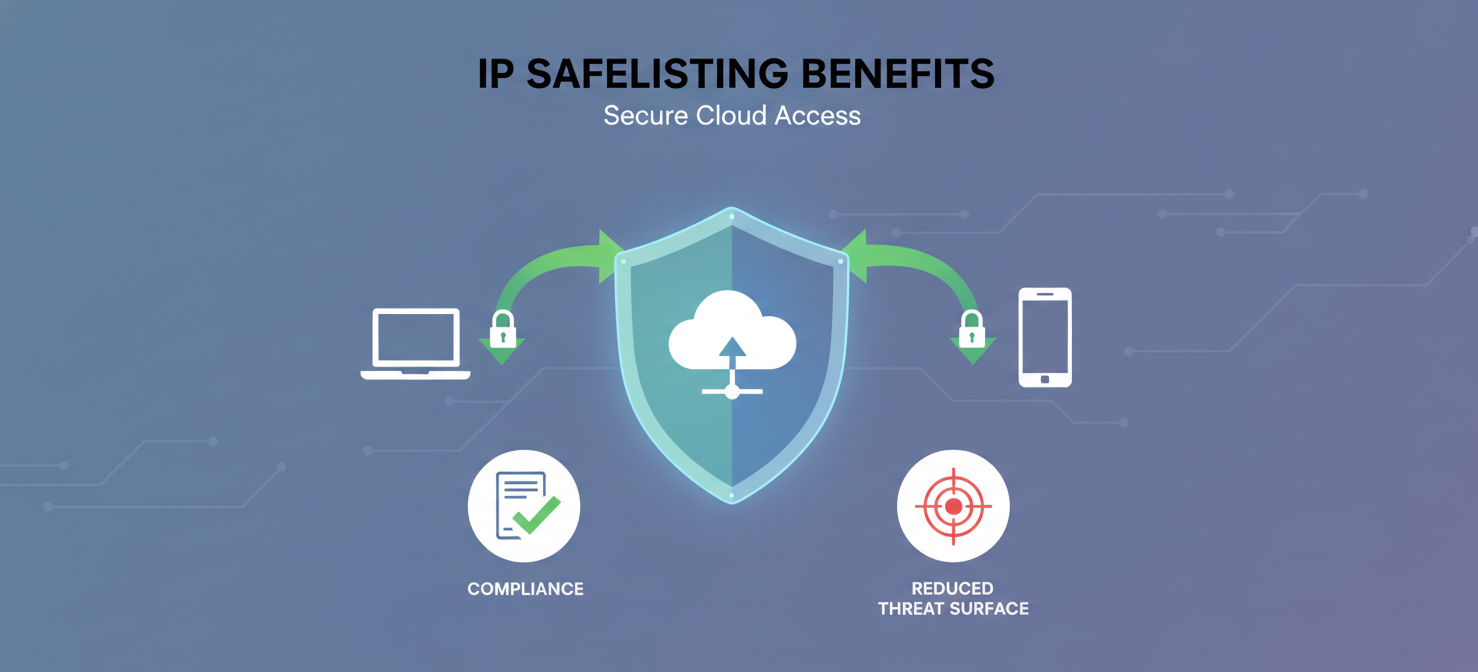
First, it dramatically improves your overall security posture. By limiting access to trusted sources, you create a strong barrier against unauthorized connection attempts from anywhere else in the world. This helps protect against common attacks like brute-force login attempts and vulnerability scanning. An attacker can’t exploit a service they cannot reach.
Second, it enables secure remote access for your team. In an era of hybrid and remote work, you need to provide employees with access to internal resources without exposing those resources to everyone. By adding the static IP addresses of remote employees or branch offices to a safelist, you can grant them necessary access while keeping the systems shielded from the public internet.
Furthermore, IP safelisting can help meet compliance requirements. Many regulatory frameworks require stringent access controls for sensitive data. Demonstrating that you have restricted network access to only authorized locations is a clear and auditable way to show due diligence in protecting sensitive information.
Finally, this practice can improve productivity and reduce noise. By blocking a majority of unsolicited internet traffic, you reduce the number of alerts and log entries your security team needs to analyze. This allows them to focus on more significant threats instead of chasing down random connection attempts from across the globe.
How to Implement IP Safelisting
Implementing IP safelisting in the cloud is a matter of configuring the native firewall or network security tools provided by your cloud platform. The specific steps vary slightly between providers, but the core concept remains the same: create inbound rules that allow traffic only from your specified IP addresses.
In Amazon Web Services (AWS)
In AWS, you use Security Groups to control inbound and outbound traffic for your EC2 instances and other resources. A Security Group acts as a virtual firewall.
To create a safelist:
- Navigate to the EC2 console and select “Security Groups.”
- Create a new Security Group or select an existing one attached to your resource.
- In the “Inbound rules” tab, click “Edit inbound rules.”
- Click “Add rule” and specify the protocol (e.g., SSH, RDP, or a specific application port) you want to allow.
- In the “Source” field, enter the specific IP address or range you want to permit, followed by
/32for a single IP (e.g.,203.0.113.55/32). - Save the rules. This configuration now ensures that only traffic from the specified source IP can reach the resource on the designated port.
In Microsoft Azure
Azure uses Network Security Groups (NSGs) to filter network traffic to and from Azure resources within a virtual network. You can associate an NSG with a subnet or a specific network interface.
To implement an IP safelist:
- Go to the Azure portal and find “Network security groups.”
- Create a new NSG or select an existing one.
- Under “Settings,” click “Inbound security rules.”
- Click “Add” to create a new rule.
- Set the “Source” to “IP Addresses” and enter the trusted IP address or CIDR range in the “Source IP addresses/CIDR ranges” field.
- Specify the destination port range, protocol (TCP/UDP), and set the action to “Allow.”
- Assign a priority number; lower numbers are processed first. It’s crucial to ensure this allow rule has a higher priority than any general deny rules. For more details, you can review Microsoft’s official documentation on managing NSG rules.
In Google Cloud Platform (GCP)
In GCP, VPC firewall rules are used to allow or deny traffic to and from your virtual machine instances. These rules are defined at the VPC network level but are enforced on a per-instance basis.
To configure an IP safelist:
- Open the Google Cloud Console and navigate to “VPC network” > “Firewall.”
- Click “Create firewall rule.”
- Give the rule a name and specify the direction of traffic as “ingress.”
- Set the “Action on match” to “Allow.”
- In the “Source IPv4 ranges” field, enter the IP addresses or ranges you want to safelist (e.g.,
203.0.113.55/32). - Under “Protocols and ports,” specify which protocols and ports this rule applies to.
- Apply the rule to the appropriate instances using target tags or service accounts and save it. You can find more information in Google’s guide on using VPC firewall rules.
Best Practices for IP Safelisting
While powerful, IP safelisting is not a silver bullet. To maximize its effectiveness, you should follow several best practices to maintain a secure and manageable environment.
Combine with Other Security Controls
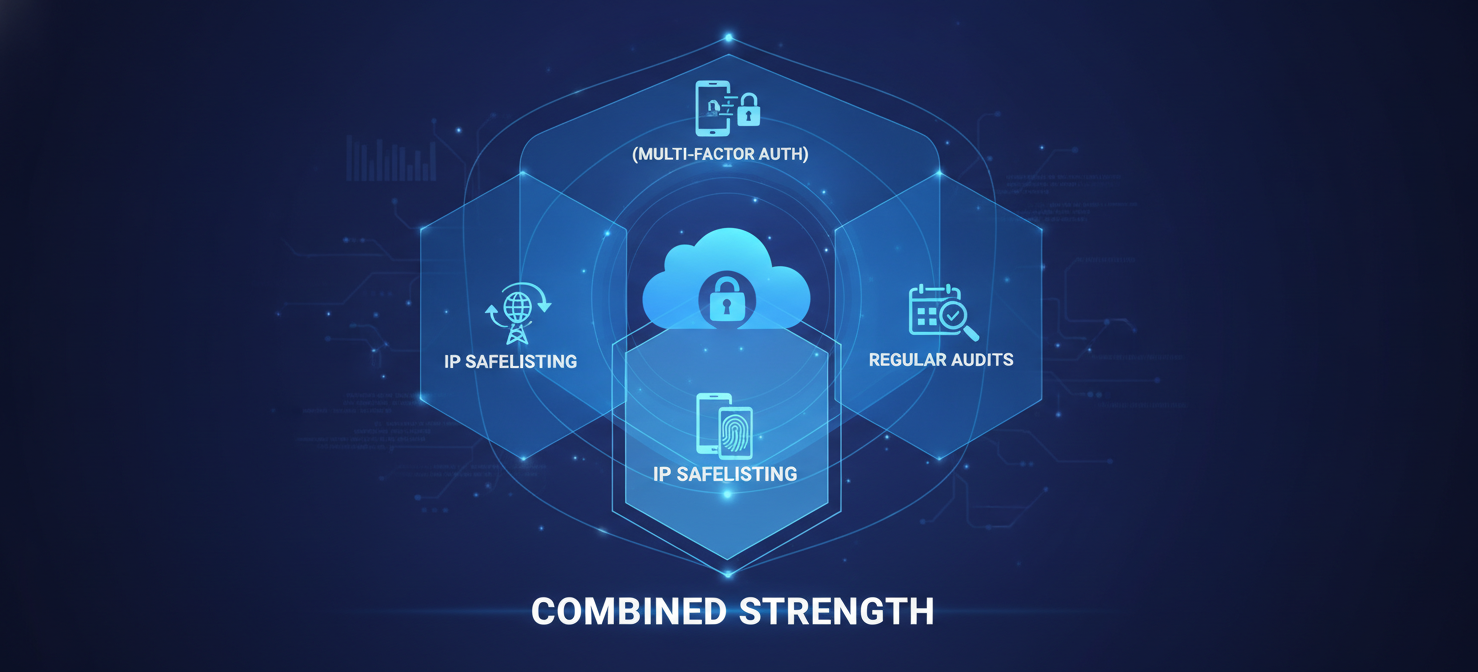
IP safelisting should be one component of a layered security strategy. Never rely on it as your only defense. Always enforce strong authentication, such as multi-factor authentication (MFA), for all user access. This ensures that even if a connection originates from a trusted IP, the user must still prove their identity.
Regularly Audit and Update Your Lists
IP addresses can change. Employees come and go, and office locations can move. Therefore, it is essential to regularly review your safelists to ensure they are current. Remove any IP addresses that are no longer needed to adhere to the principle of least privilege. An outdated safelist with unnecessary entries can create security gaps.
Use Static IPs for Trusted Sources
IP safelisting works best with static IP addresses that do not change. Dynamic IPs, which are common for residential internet connections, can change frequently, making them difficult to manage in a safelist. For remote employees, consider using a business VPN that provides a static IP address to simplify access management.
Be Specific with Rules
Avoid opening large port ranges or allowing overly broad IP ranges. Your firewall rules should be as specific as possible. If a developer only needs access to a database port, create a rule that allows their IP address to access only that specific port, not the entire server. This granular approach minimizes the potential for lateral movement if one part of your system is compromised.
Conclusion
In the end, securing cloud resources doesn’t always require complex, expensive solutions. Sometimes, the most effective measures are the most straightforward. Implementing ip safelisting is a practical and highly effective step toward locking down your cloud environment. By explicitly defining who is allowed to connect, you move from a default-allow to a default-deny posture, fundamentally strengthening your defenses against a wide range of internet-based threats. It’s a simple change in logic that forces any potential intruder to not only have the right key but also be standing at the right door. And in the world of cloud security, ensuring most doors are invisible is a very good start.
To begin strengthening your cloud defenses with this straightforward approach, you can explore our platform’s capabilities with a free trial, or for a deeper dive into tailored solutions, connect with our experts to schedule a personalized demo.
 7-day free trial