



It’s a common scenario for teams using Google Cloud Platform: you check your billing dashboard, and the cost forecast is higher than you expected. Sometimes, the GCP billing estimate seems plain wrong, especially when you believe you’re operating within the generous limits of the Free Tier. This discrepancy can cause confusion and budget anxiety. The issue often isn’t an error in the billing system itself, but a misunderstanding of what the Free Tier covers, how usage is calculated, and the delay between resource consumption and when it appears on your bill.
Understanding the nuances of GCP’s billing is key to avoiding these surprises. It’s not just about knowing the free limits; it’s about actively monitoring your consumption against those limits. Without proper tracking, a forgotten virtual machine or an unexpectedly popular app can quickly push you into paid territory. This guide will walk you through why your cost estimates might be increasing and provide a clear, step-by-step process for effective GCP free tier monitoring.
Key takeaways
- Billing Data Lag: Be aware that billing data can be delayed by up to 24 hours, meaning cost estimates may not reflect the most recent usage.
- Free Tier Has Limits: The “Always Free” tier has specific monthly caps on services like Compute Engine and Cloud Storage that do not roll over. Exceeding these results in standard charges.
- Set Up Alerts: The most effective way to prevent unexpected costs is to create budget alerts in the Cloud Console, which can notify you at thresholds like 50%, 90%, and 100% of your planned budget.
- Drill Down into Costs: Use the Billing Reports page and group by SKU to identify exactly which service and resource is responsible for increased costs.
Why Your GCP Billing Estimate Might Seem Wrong
When your GCP cost estimate is increasing, it’s rarely a single culprit. Several factors can contribute to a bill that’s higher than anticipated. A primary reason is simply exceeding the Free Tier limits. Forgetting to turn off a service you were testing or experiencing a sudden spike in traffic can quickly consume your free monthly allowance.
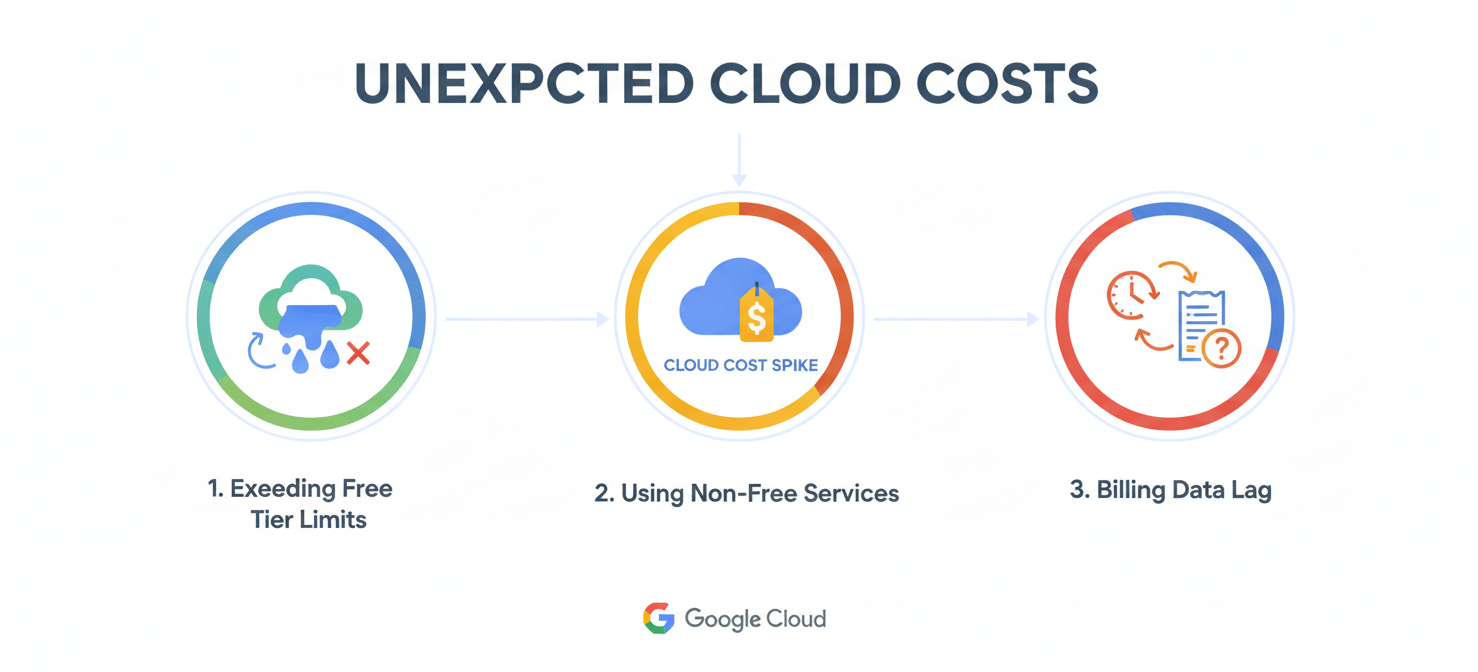
Another common issue is the use of services not covered by the Free Tier at all. While many core services have a free allotment, others like Bigtable or certain configurations of Cloud SQL do not. It’s easy to accidentally provision a resource, such as a “balanced persistent disk” instead of a “standard persistent disk” for a VM, and incur charges because the selected option isn’t part of the free offering.
Finally, billing data isn’t always real-time. There can be a delay of a day or more for all usage to be processed and reflected in your billing reports. This lag can create a false sense of security, where your dashboard shows low costs even as your services are accumulating charges. This makes proactive monitoring and alerts essential.
How the GCP Free Tier Works
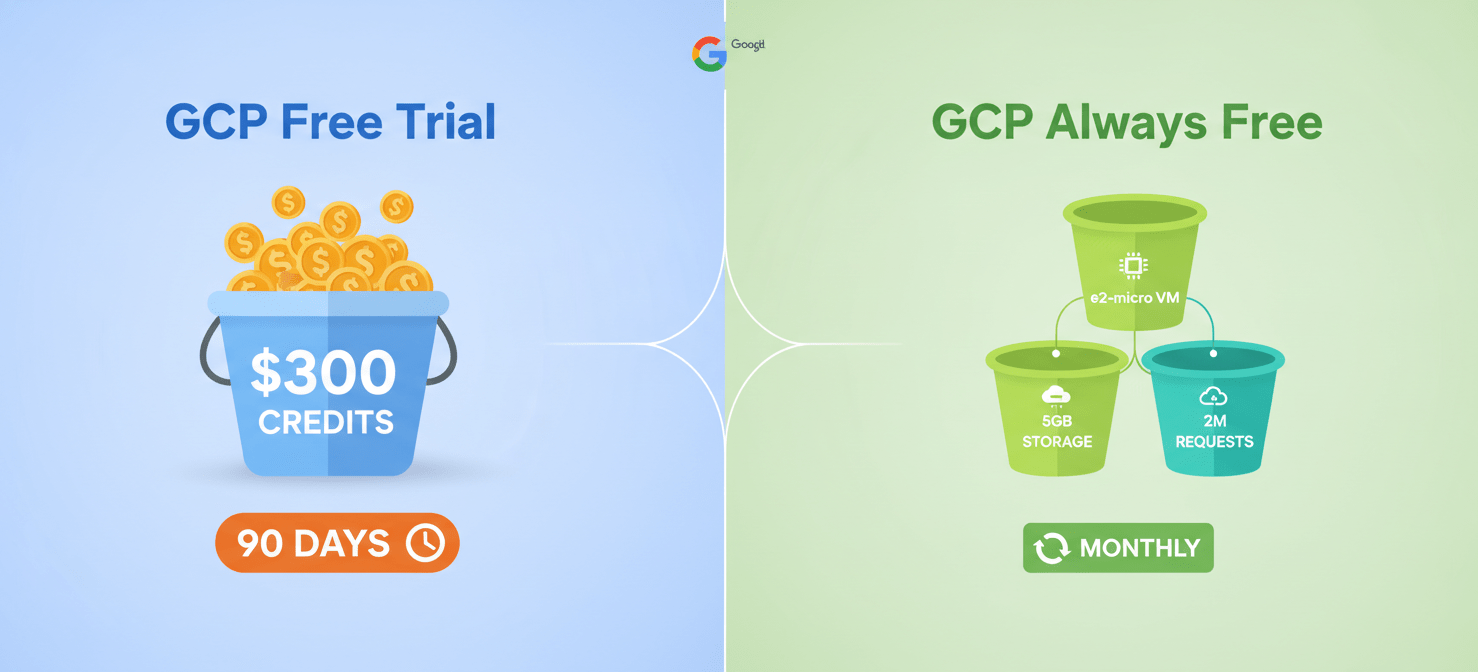
Google Cloud’s free offering is split into two main parts: the Free Trial and the Always Free tier. Understanding the distinction is crucial for managing costs.
Free Trial vs. Always Free
- Free Trial: New customers typically receive a 90-day trial that includes $300 in free credits. You can use these credits on almost any GCP service, including usage that goes beyond the Always Free limits. The trial ends after 90 days or when you’ve spent the $300, whichever comes first.
- Always Free: This tier provides limited, non-expiring access to select GCP products. Unlike the trial credits, these benefits are available every month. However, the usage limits are specific and don’t roll over. For example, you get one e2-micro VM instance per month, but if you don’t use it, you don’t get two the next month.
The key is that you are automatically billed for any usage that exceeds the Always Free limits once your trial credits are gone.
What’s Included? (And What’s Not)
The Always Free tier includes a useful set of resources for small applications and prototypes. Some of the most popular offerings include:
- Compute Engine: 1 non-preemptible e2-micro VM instance per month (in select US regions).
- Cloud Storage: 5 GB-months of regional storage.
- Cloud Run: 2 million requests per month.
- Cloud Functions: 2 million invocations per month.
- BigQuery: 1 TB of querying and 10 GB of storage per month.
However, it’s just as important to know what isn’t free. For instance, while the Kubernetes Engine (GKE) control plane is free, the worker node VMs it uses are billed at standard Compute Engine rates. Similarly, egress (outbound) network traffic beyond a certain limit incurs costs. Always consult the official Google Cloud Free Tier page for the most current details.
Step-by-Step: How to Track Your Free Tier Usage
Effective GCP free tier monitoring requires you to move from passively hoping for the best to actively tracking your consumption. The Google Cloud Console provides the tools you need.
-
Navigate to the Billing Reports Page: In the Cloud Console, open the main navigation menu and select “Billing.” From there, go to the “Reports” section. This dashboard is your primary view of current and forecasted costs.
-
Configure Your Report View: The default report shows your total current costs. To investigate specific usage, use the filters on the right-hand side. You can filter by project, service, and time range.
-
Group by SKU for Granular Detail: This is the most critical step for identifying unexpected costs. In the “Group by” filter, select “SKU” (Stock Keeping Unit). This breaks down your costs by the most specific billable components, such as “e2-micro instance” or “Standard Storage North America.” This level of detail allows you to see exactly which resource is exceeding its free limit. For example, you might discover charges for an “External IP Charge” that you weren’t aware of.
By regularly checking this report and grouping by SKU, you can catch cost increases early and understand their precise source, taking the mystery out of your billing estimate.
Setting Up Budgets and Alerts to Avoid Surprises
Tracking usage manually is good, but automating the process with alerts is better. A budget alert is an early warning system that notifies you when your spending approaches a limit you define. Crucially, budget alerts only notify you; they do not automatically stop your services.
Creating Your First Budget
Setting up a budget is a straightforward, five-minute process that can save you from significant overspending.
- Go to “Budgets & alerts”: In the Billing section of the Cloud Console, click on “Budgets & alerts” in the left sidebar.
- Create a Budget: Click the “Create Budget” button. Give your budget a descriptive name.
- Define the Scope: You can apply the budget to your entire billing account or scope it to specific projects, services, or even resource labels. For tracking the free tier, you might start with a budget for your entire account.
- Set the Amount: You can set a specific target amount. A good starting point could be a very small number, like $1, to get an immediate alert if any charge occurs.
- Configure Threshold Rules: This is where you define when you get notified. You can set alerts based on actual or forecasted spend. It’s a best practice to set multiple alert thresholds, for example, at 50%, 90%, and 100% of your budgeted amount.
- Manage Notifications: By default, alerts are emailed to billing administrators. However, you can connect alerts to Cloud Monitoring notification channels to send messages to Slack, PagerDuty, or other services, ensuring the right people see the alert immediately.
What to Do When You Exceed the Free Tier
Receiving a budget alert can be stressful, but it means the system is working. When you find that your usage has surpassed the free limits, the first step is not to panic. Instead, use your billing reports to diagnose the problem.
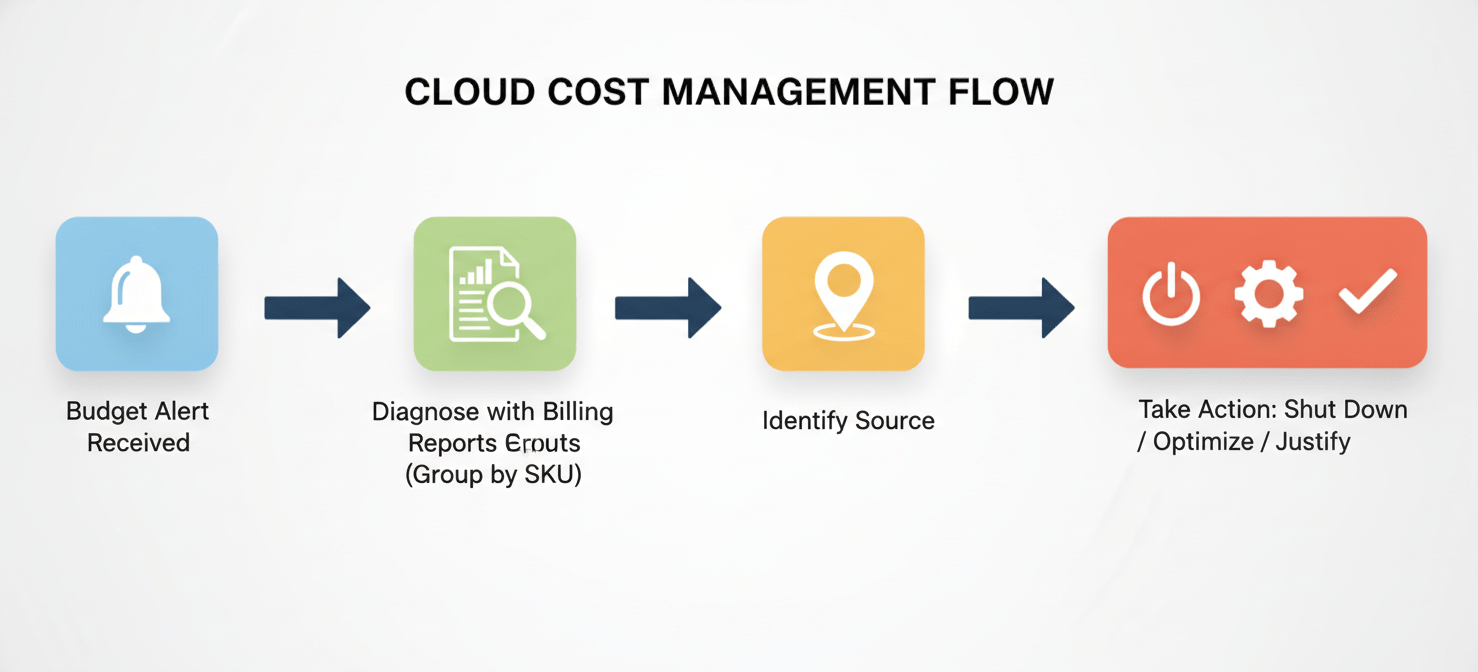
Go directly to the Billing Reports page and group your costs by SKU. This will pinpoint the exact service that is generating the charges. Was it a VM that was left running? An increase in data storage? Or higher-than-expected network egress traffic?
Once you’ve identified the source, you have several options. If the resource is for development or testing, the simplest solution may be to shut it down. If it’s a production service, you’ll need to decide if the cost is justified or if there are ways to optimize its configuration to reduce consumption. This could involve right-sizing a virtual machine, archiving old data in Cloud Storage, or refactoring a query in BigQuery.
Conclusion
Confronting a GCP billing estimate that seems wrong is a common rite of passage for cloud users. The issue is rarely an error but rather a gap in understanding how free tier limits, service SKUs, and billing cycles interact. By moving from a passive observer to an active monitor, you can eliminate these surprises. The key is to leverage the tools Google Cloud provides. Regularly review your costs in the Billing Reports, use the “Group by SKU” feature to get granular insights, and, most importantly, set up budget alerts. These alerts are your safety net, ensuring you’re notified long before a minor overage becomes a major budget incident. Ultimately, a “GCP billing estimate wrong” situation is not a problem to be feared but a signal to be investigated, providing a valuable opportunity to better understand and control your cloud footprint.
To truly take the mystery out of your cloud spending and gain granular control over your GCP costs, you can easily experience Binadox through a free trial or arrange a personalized demonstration to see its full potential.
 7-day free trial