



An unexpected surge in your Amazon Web Services bill can be a frustrating experience. It often arrives without warning, leaving your team scrambling to understand the cause. A sudden cost increase can disrupt budgets and cast doubt on your cloud financial management. Therefore, performing a thorough AWS bill spike analysis is not just a reactive measure; it’s a critical component of a healthy cloud governance strategy. This guide provides a systematic approach to dissecting your AWS bill, identifying the root causes of a spike, and implementing safeguards to prevent future surprises.
Key takeaways
- You can systematically investigate cost increases using a 5-step process involving native AWS tools.
- Common culprits for bill spikes include untagged resources, data transfer fees, and forgotten services left running.
- Proactive monitoring with AWS Budgets can alert you to cost anomalies before they escalate, often within a day.
- Cost allocation tags are essential for assigning financial responsibility to specific projects, teams, or departments.
What Are the Common Causes of an AWS Bill Spike?
Before you can effectively investigate an AWS cost increase, it helps to know what you’re looking for. Most unexpected charges stem from a handful of common issues. Understanding these potential causes provides a solid starting point for your analysis. Often, the spike isn’t from a single massive oversight but rather a collection of smaller, unmonitored resources.
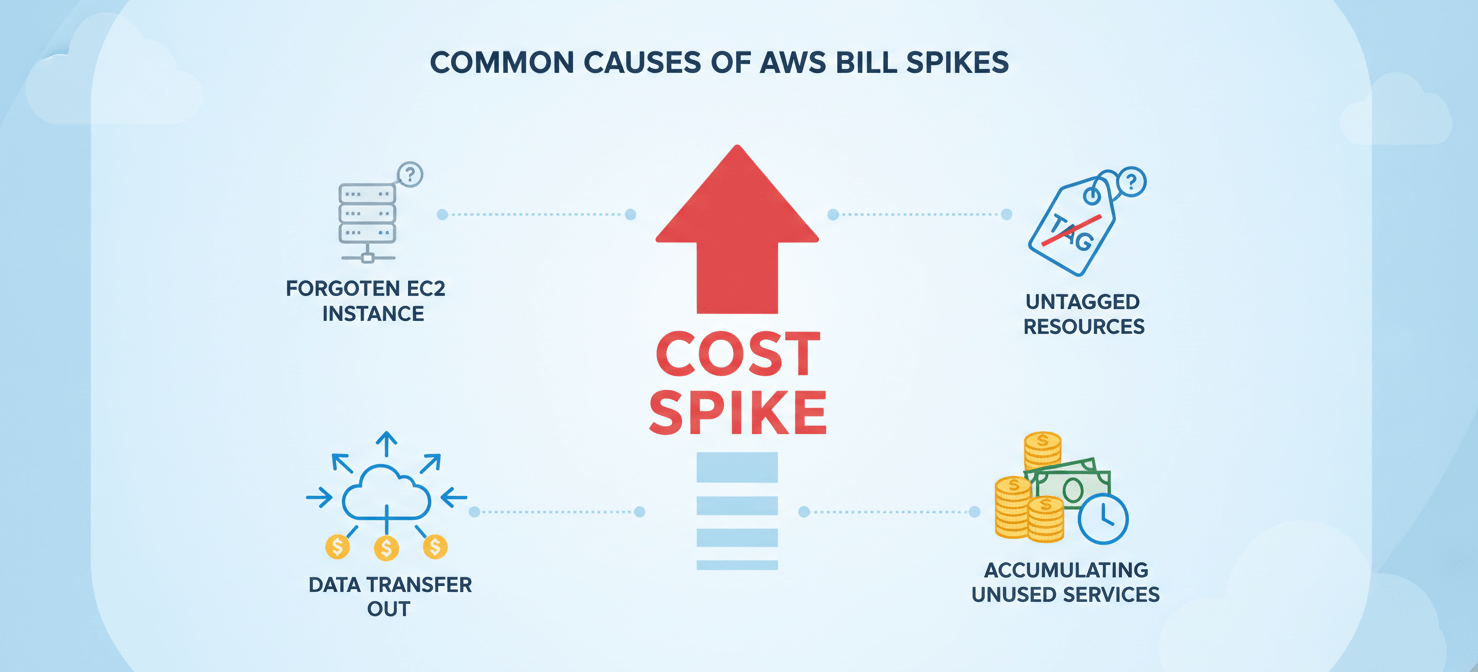
For example, data transfer costs are a frequent source of surprise. While data ingress to AWS is generally free, egress charges can accumulate rapidly. This is especially true for applications that serve large media files or have a global user base. Another typical cause is resource misconfiguration. For instance, an EC2 instance might be provisioned with a much larger storage volume than necessary, or a developer might spin up a large GPU instance for a test and forget to terminate it.
Furthermore, services that seem minor can lead to major expenses. Unused Elastic IP addresses, for example, incur a small hourly charge when not associated with a running instance. While insignificant individually, these charges can add up across an entire organization. Similarly, services like CloudWatch Logs can generate substantial costs if logging levels are too verbose or retention policies are not set appropriately.
Step 1: Initial Assessment with AWS Cost Explorer
Your first destination when you find the cause of an AWS bill spike should be the AWS Cost Explorer. This tool provides a detailed, filterable view of your costs and usage over time. It allows you to visualize, understand, and manage your AWS expenses. The key is to approach it systematically.
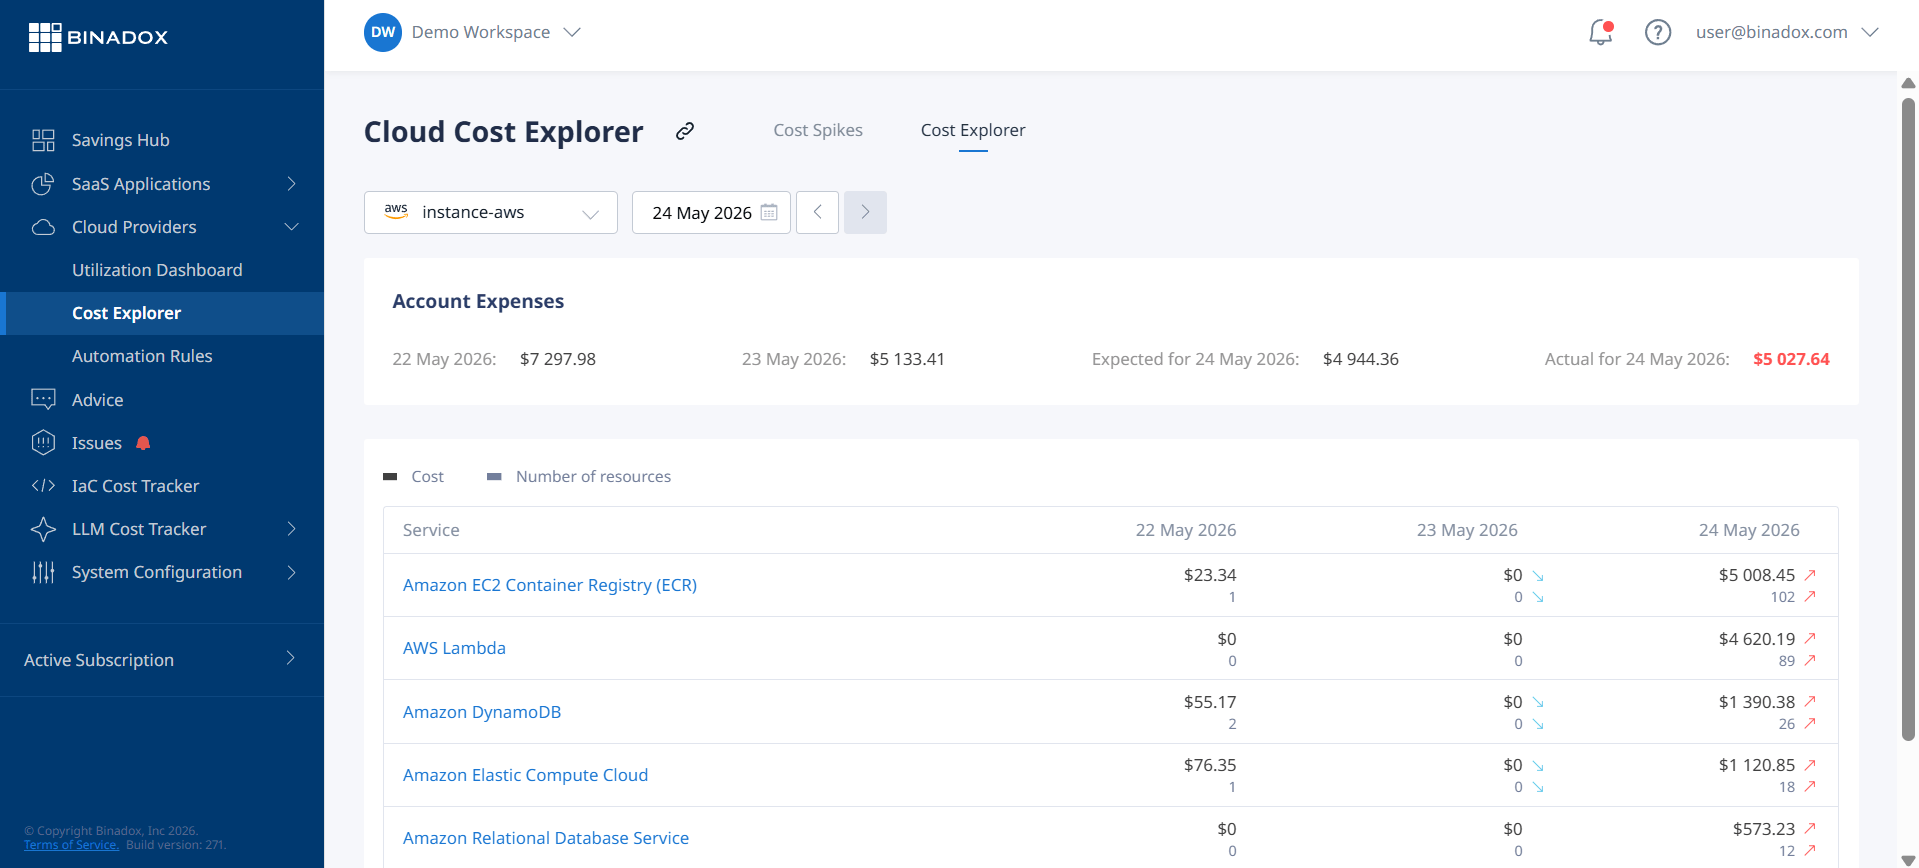
First, open the Cost Explorer and set the date range to cover the period before and during the spike. This will give you a clear visual representation of when the costs began to rise. Next, use the grouping feature to break down the costs by service. This will immediately highlight which specific AWS service is responsible for the majority of the increase. For example, you might see a sudden jump in Amazon S3 or EC2 costs.
Once you’ve identified the service, you can drill down further. For instance, if EC2 is the culprit, you can group costs by instance type, region, or linked account. This level of granularity helps you pinpoint the exact resource that is driving the overage. The AWS Cost Explorer interface also allows you to filter by tags, which is invaluable if you have a consistent tagging strategy in place.
Step 2: Setting Up Proactive Monitoring with AWS Budgets and Alarms
Reacting to a bill spike is good, but preventing one is better. AWS Budgets is a powerful tool for proactive cost management. It allows you to set custom cost and usage budgets that alert you when your spending exceeds (or is forecasted to exceed) your defined thresholds. This is a crucial step to avoid future shocks.
To begin, navigate to the AWS Budgets console and create a new budget. You can set a budget based on total cost, usage, or even specific dimensions like a linked account or a tag. For example, you could create a budget for a specific project’s monthly EC2 spending. The AWS documentation provides a detailed walkthrough on creating different types of budgets.
However, a budget alone is not enough. You must configure alerts to notify the right people when a threshold is breached. You can set up alerts to be sent via Amazon Simple Notification Service (SNS) topics or to an email address. For instance, you can configure an alert to notify your DevOps team via a Slack channel when you’ve used 80% of your monthly budget. This early warning system gives your team time to investigate and take corrective action before the billing cycle ends.
Step 3: Deeper Dive with Service-Specific Analysis
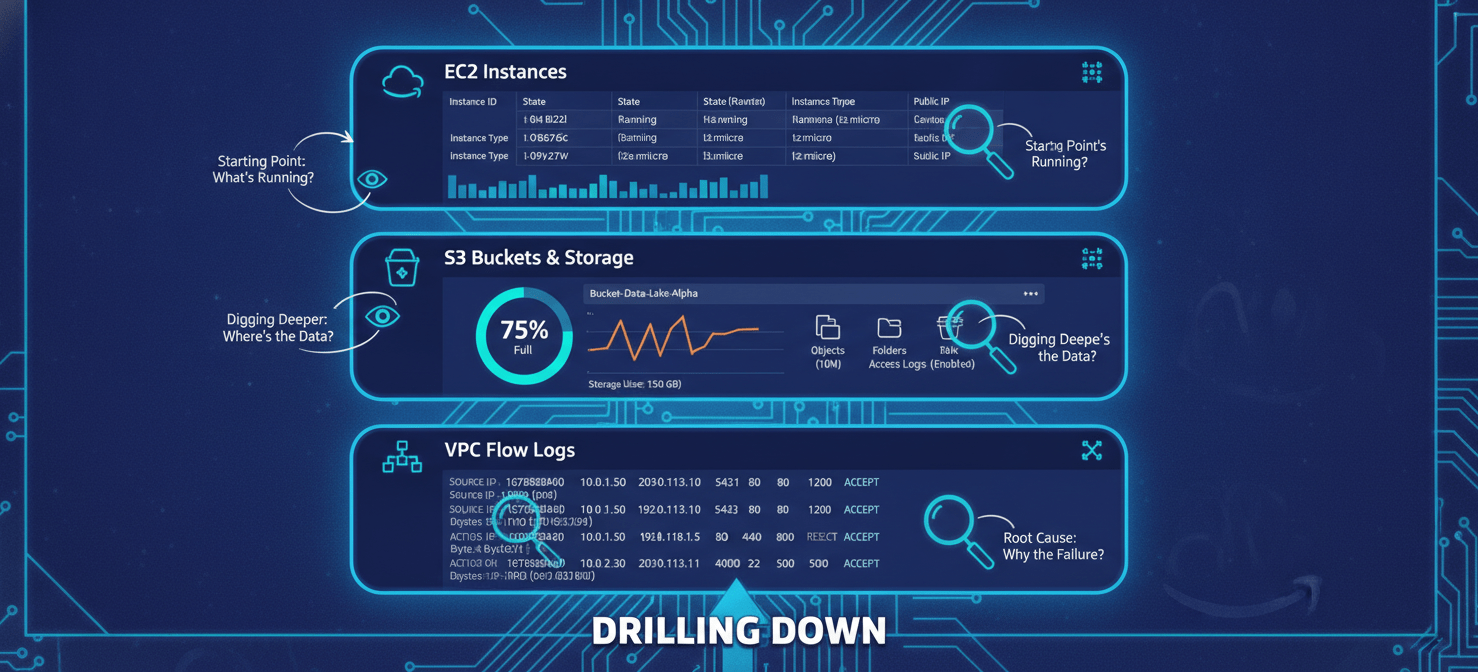
After Cost Explorer has pointed you to the problematic service, the next step is to use that service’s own console and tools for a more detailed investigation. Each AWS service offers unique metrics and logs that can provide the context behind the cost increase. This granular analysis is often necessary to understand the “why” behind the spike.
Finding the Source in Data Transfer
If data transfer is the issue, for example, you might need to analyze VPC Flow Logs or S3 server access logs. VPC Flow Logs can show you which IP addresses are sending and receiving the most traffic from your instances. S3 access logs, on the other hand, can reveal if a particular object is being downloaded excessively, perhaps due to a misconfigured application or a public file going viral.
Analyzing Compute and Storage Costs
If your EC2 costs have surged, the EC2 console is your primary tool. You can sort instances by launch time to see if new, large instances were created. You should also check for running instances in unused regions, a common oversight. For storage services like S3, you can use S3 Storage Lens to get an organization-wide view of your object storage usage and activity. It can help you identify buckets with non-optimal storage classes or incomplete lifecycle policies.
Step 4: A Proactive AWS Bill Spike Analysis with AWS Trusted Advisor
AWS Trusted Advisor is like having a cloud optimization expert on your team. It inspects your AWS environment and makes recommendations to help you follow best practices. While it has checks across multiple categories, its cost optimization recommendations are particularly valuable for an AWS bill spike analysis.
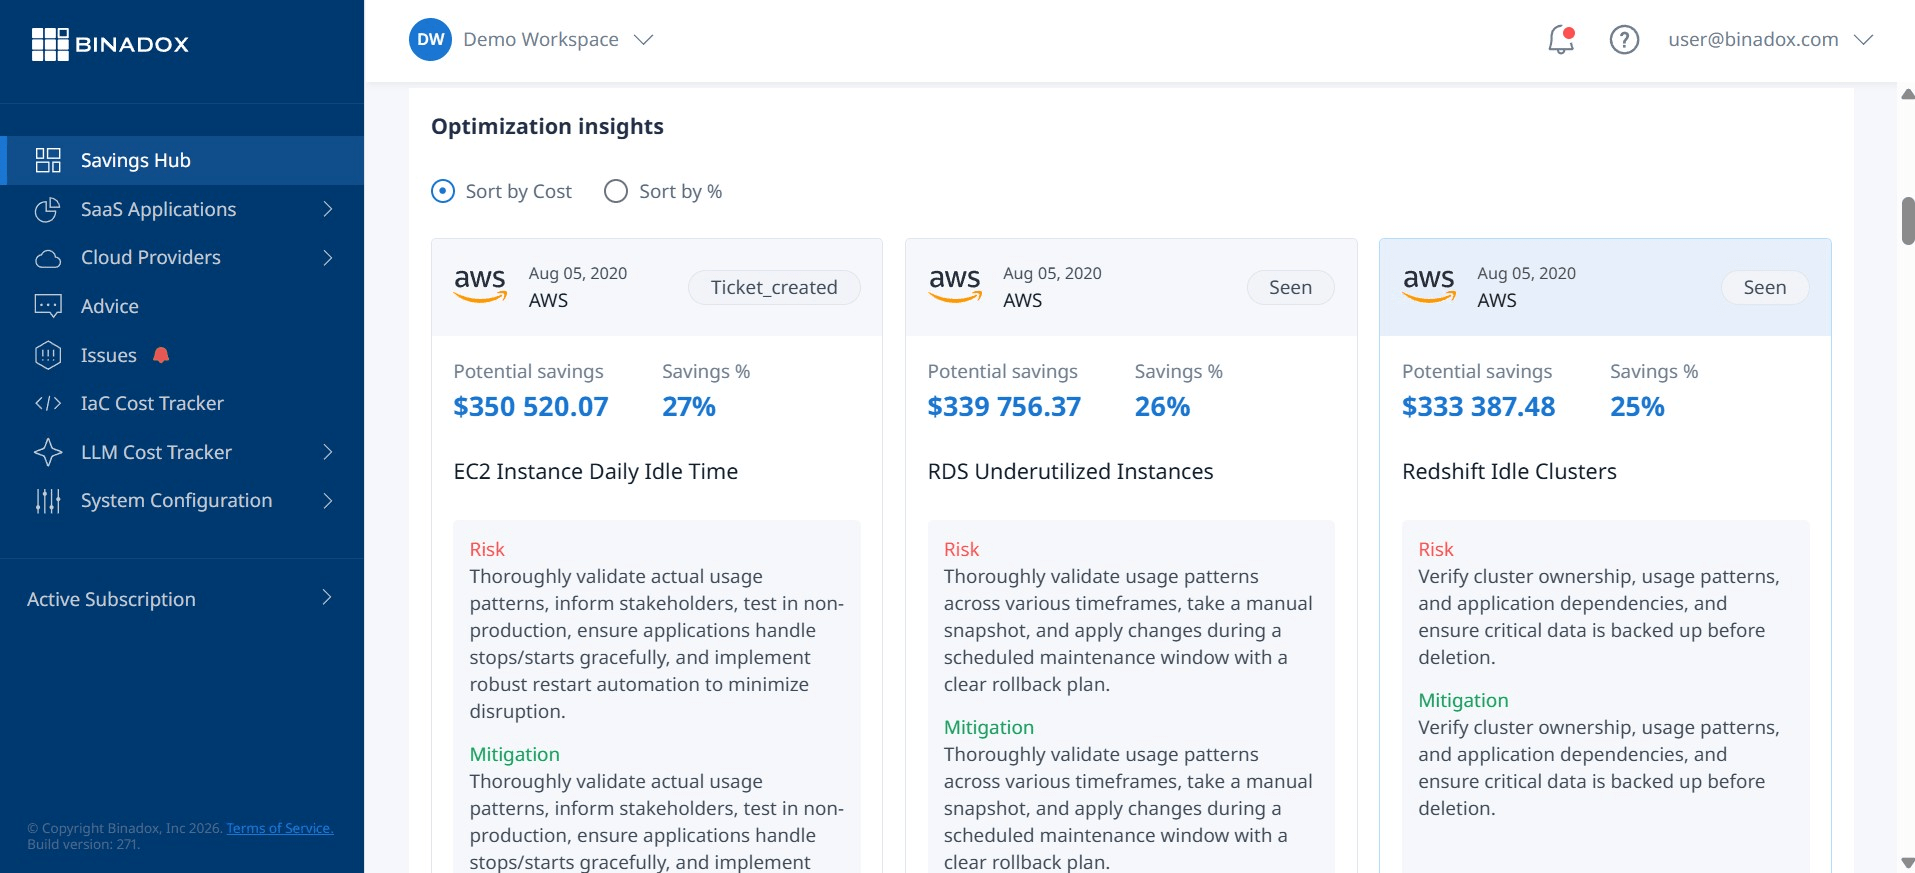
Trusted Advisor can identify idle resources, such as unassociated Elastic IP addresses or idle RDS DB instances, that are costing you money without providing any value. It also provides recommendations for Reserved Instance and Savings Plans purchases to reduce your EC2 and Fargate costs. According to AWS, customers can see significant savings by following these recommendations.
Regularly reviewing your Trusted Advisor dashboard should be part of your routine cloud financial governance. It moves your team from a reactive posture—only investigating when a bill is already high—to a proactive one. By addressing the low-hanging fruit that Trusted Advisor identifies, you can continuously trim waste and reduce the likelihood of a future bill spike.
Step 5: Implementing Cost Allocation Tags and Reporting
You cannot manage what you cannot measure. Cost allocation tags are metadata labels that you assign to your AWS resources. These tags are essential for gaining visibility into your spending and are a cornerstone of effective cloud financial management. Without them, all your costs are aggregated into a single, opaque bucket.
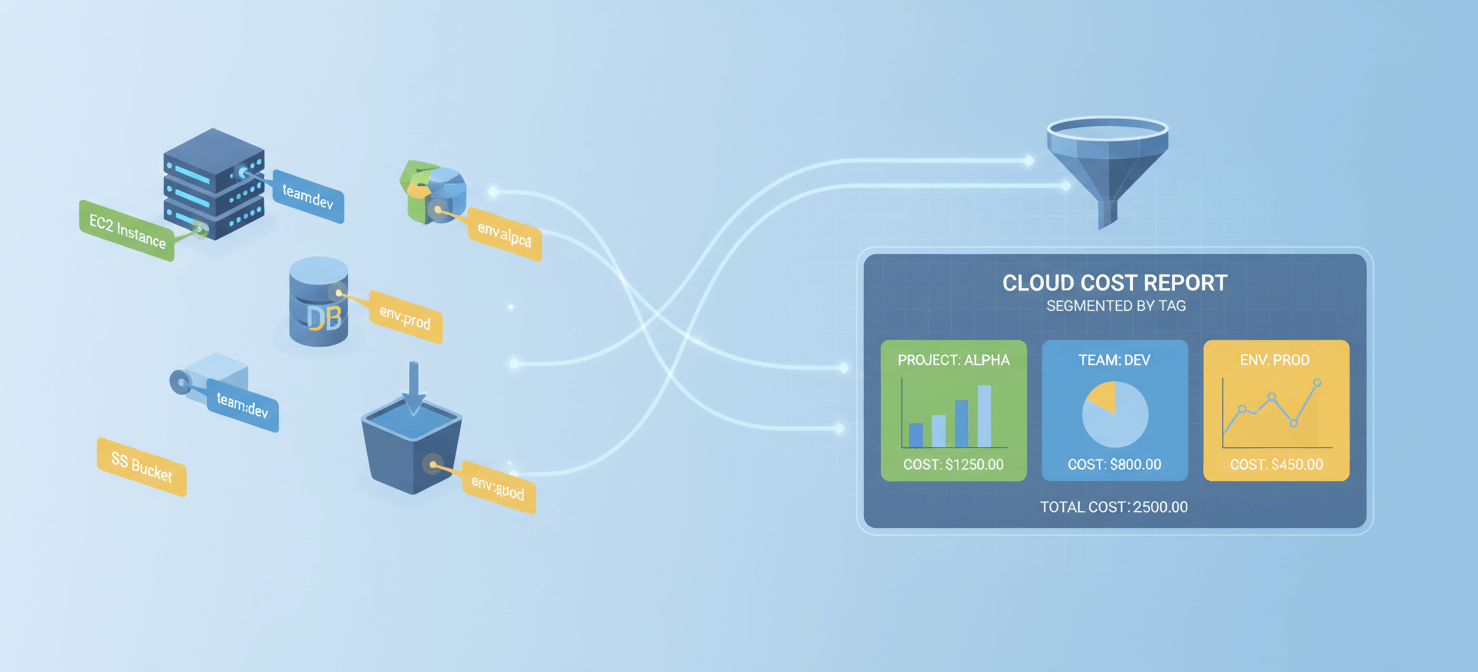
First, your team needs to develop a consistent and comprehensive tagging strategy. This strategy should define which tags are mandatory for all resources. Common tags include project, cost-center, team, or environment. Once implemented, you can activate these tags in the AWS Billing and Cost Management console to use them for cost allocation.
With tags in place, you can filter and group costs in AWS Cost Explorer by your defined labels. This allows you to attribute costs directly to the teams or projects responsible for them. For example, you can easily see how much the marketing team’s new analytics project is costing in S3 storage and Redshift compute. This level of detail is not just for analysis; it fosters a culture of cost-consciousness across the organization.
Conclusion
Confronting a sudden AWS bill increase can be daunting, but a structured approach makes the process manageable. By methodically moving from a broad overview in AWS Cost Explorer to service-specific logs and proactive tools like AWS Budgets and Trusted Advisor, you can demystify the charges. The key is to transition from a reactive to a proactive stance. Implementing a robust tagging strategy is fundamental to this shift, as it provides the necessary visibility to hold teams accountable for their cloud consumption. Ultimately, a thorough AWS bill spike analysis is more than just a financial exercise; it’s an opportunity to refine your cloud operations, enforce best practices, and ensure your cloud spending is both efficient and predictable. After all, the only surprise you want from your cloud provider is how much you’ve managed to save.
To truly master your cloud spending and prevent future bill shocks, consider how Binadox can provide deeper insights; you can easily pick a time to discuss your unique needs or begin your free Binadox trial to experience the difference firsthand.
 7-day free trial