




In the world of cloud-based AI, data security is not just a feature; it’s a foundational requirement. While Azure encrypts all data at rest by default with platform-managed keys, your organization may have stricter compliance or security needs. This is where Azure CMK encryption (Customer-Managed Keys) becomes essential. By using your own encryption keys, you gain granular control over data access, key lifecycle management, and the ability to meet rigorous regulatory standards for your AI services and machine learning workspaces.
Key takeaways
- Full Control: CMK gives you direct control over the encryption keys used for your AI services, allowing you to rotate, disable, or revoke access on your terms.
- Enhanced Security: It provides a second layer of encryption on top of the default Microsoft-managed keys, a model often referred to as double encryption.
- Compliance Alignment: Using your own keys helps meet strict compliance requirements for standards like HIPAA or PCI DSS that mandate specific data handling and key management protocols.
- Simple Setup: You can enable CMK for a new AI service resource through the Azure portal in about 5 main steps, from creating the Key Vault to assigning the key.
What is Azure CMK Encryption?
By default, Azure services automatically encrypt your data at rest using keys that Microsoft manages. This is known as Platform-Managed Keys (PMK). It’s a secure and hands-off approach. However, for many organizations, especially those in regulated industries, this level of control is insufficient.
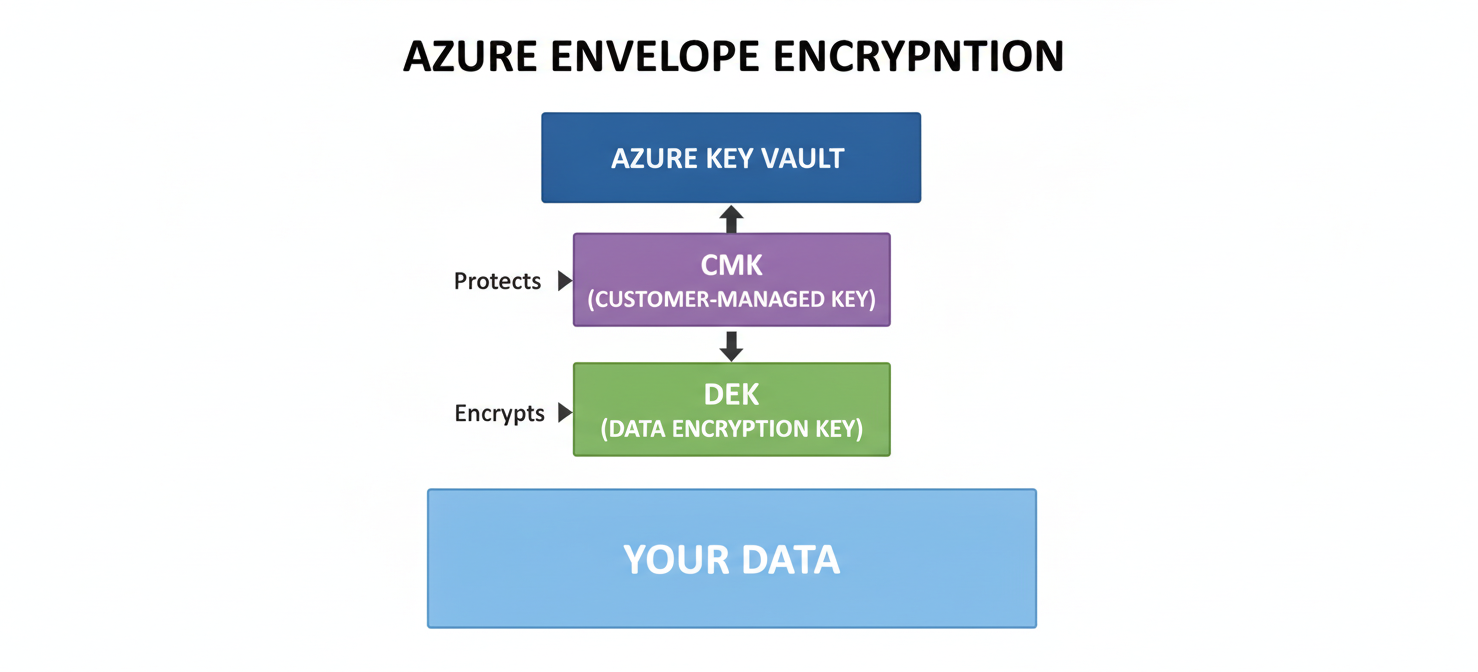
Azure CMK encryption allows you to use your own cryptographic key to protect the key that encrypts your data. This process is often called “envelope encryption.” Your key, stored in Azure Key Vault, acts as the Key Encryption Key (KEK). It “wraps” or encrypts the Data Encryption Key (DEK) that Azure uses for the actual encryption and decryption of your data. As a result, you control the master key, giving your team the power to grant or revoke access to the data.
This capability is supported across a wide range of Azure AI and Machine Learning services, including Azure AI Search, Document Intelligence, Azure Machine Learning workspaces, and more.
Why Use a Customer-Managed Key?
Opting for a customer-managed key over the default Microsoft-managed key provides several distinct advantages, primarily centered around control and compliance. When you manage the key, you dictate the terms of data access.
Key Benefits
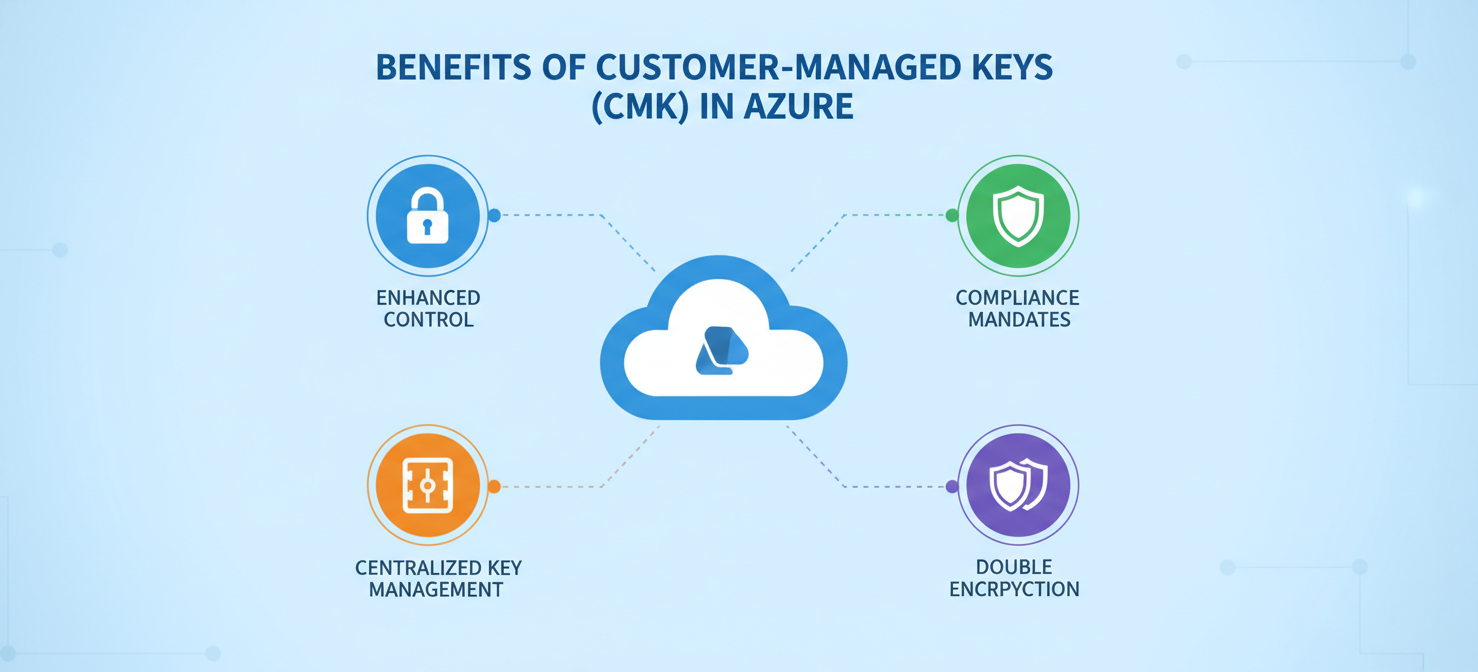
- Enhanced Control and Flexibility: You have full authority over the encryption key’s lifecycle. This includes creating, rotating, disabling, and deleting the key according to your internal security policies. If you need to cut off access to data instantly, you can revoke the key’s permissions, rendering the data inaccessible.
- Meeting Compliance Mandates: Many regulatory frameworks require organizations to maintain strict control over their encryption keys. Using CMK helps you demonstrate compliance by proving that you own and manage the keys that protect sensitive AI model data and training sets.
- Centralized Key Management: All your keys are stored and managed within Azure Key Vault. This service provides a secure, scalable, and highly available repository for your cryptographic keys. Furthermore, it allows for detailed auditing and logging of key usage, so you can monitor every time your key is accessed.
- Double Encryption: When CMK is configured, it provides a second layer of protection. Your data is first encrypted by the service’s DEK, and that DEK is then encrypted by your KEK from the Key Vault. This double-layered approach significantly strengthens your data security posture.
How to Implement Azure CMK Encryption
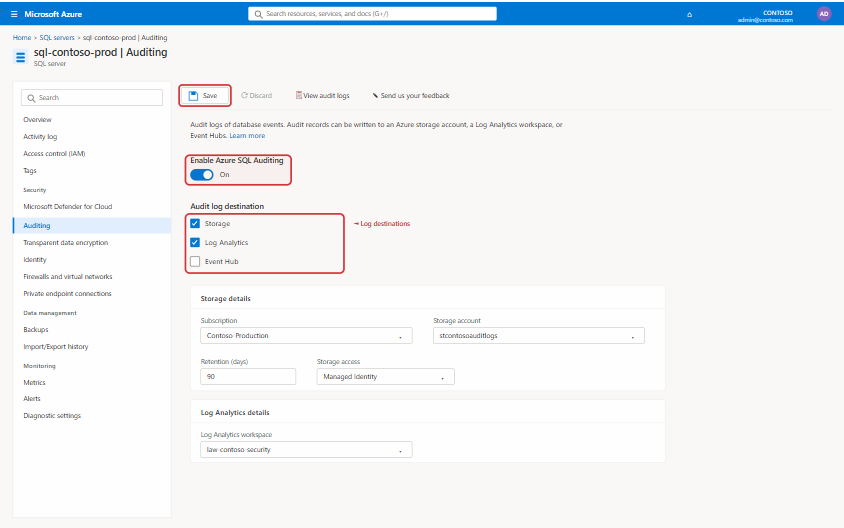
Setting up Azure CMK encryption involves a few core components: an Azure AI service or Machine Learning workspace, an Azure Key Vault, and a key within that vault. The process requires careful configuration of permissions to ensure the AI service can access the key securely.
Step-by-Step Configuration
- Create and Configure Azure Key Vault: First, you need an Azure Key Vault instance. When creating it, you must enable two critical properties: Soft Delete and Purge Protection. These settings are mandatory and prevent the accidental or malicious permanent deletion of your encryption key, which would result in irreversible data loss.
- Generate or Import a Key: Inside your Key Vault, you can either generate a new RSA key or import an existing one. Azure AI services support various RSA key sizes, such as 2048, 3072, and 4096. This key will serve as your KEK.
- Enable Managed Identity on the AI Service: Your Azure AI service or workspace needs a way to authenticate securely with the Key Vault. This is achieved by enabling a managed identity (either system-assigned or user-assigned) on the service resource. This identity acts as the service’s credential.
- Grant Key Vault Access: Next, you must grant the managed identity the necessary permissions to use the key. In the Key Vault’s access policies or Role-Based Access Control (RBAC) settings, assign the “Key Vault Crypto Service Encryption User” role to the managed identity. This role provides
get,wrapKey, andunwrapKeypermissions, which are required for the encryption and decryption process. - Configure the AI Service to Use the Key: Finally, navigate to the “Encryption” settings for your AI service in the Azure portal. Here, you can switch the encryption type from “Microsoft Managed Keys” to “Customer Managed Keys.” You will then select your Key Vault and the specific key (and version) you want to use.
It’s important to note that for some services, CMK can only be configured during the creation of the resource. Attempting to add it to an existing resource may require migrating your data to a new instance.
Best Practices for Managing Your Keys
Once you’ve implemented CMK, proper management is crucial to maintaining security and operational stability. Mismanaging your keys can lead to data inaccessibility or security vulnerabilities.
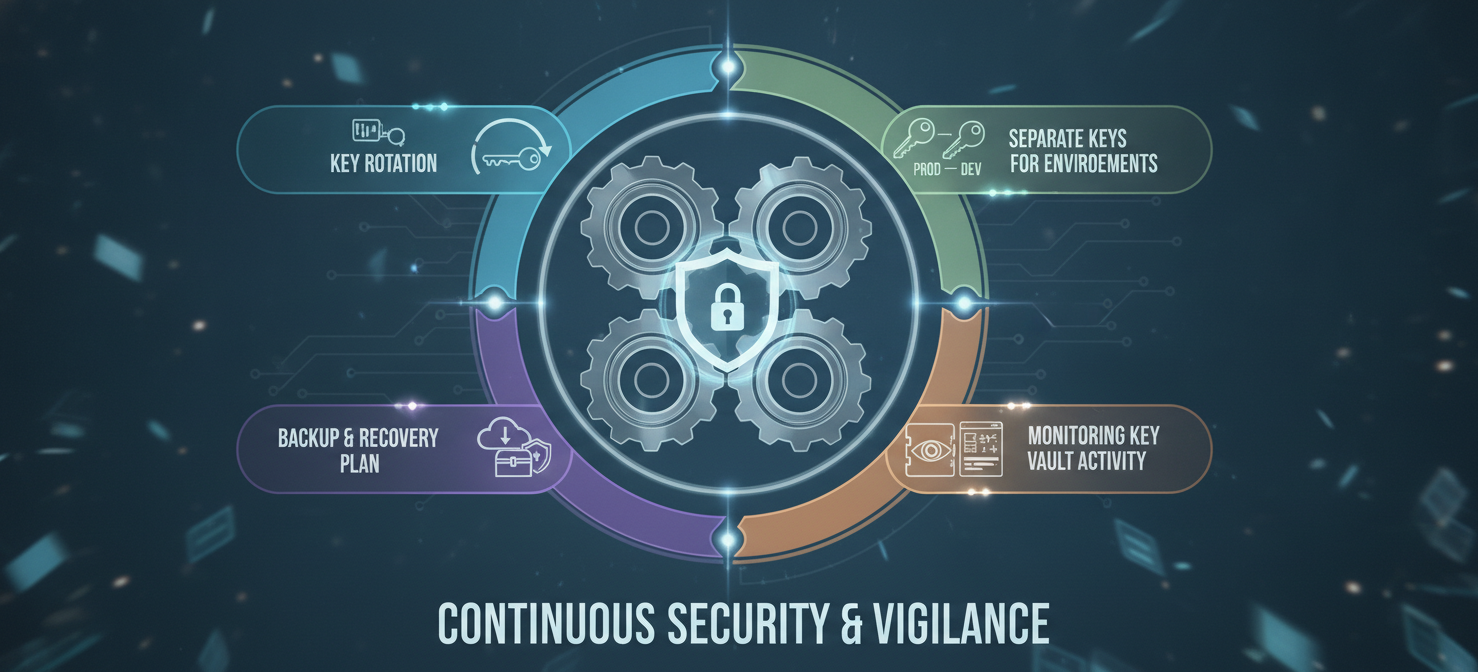
- Regular Key Rotation: Establish a policy for regularly rotating your encryption keys. Azure Key Vault can be configured to automatically rotate keys, or you can do it manually. Key rotation limits the potential impact of a compromised key.
- Use Separate Keys for Different Environments: To limit the blast radius of a potential key compromise, use different keys for your development, staging, and production environments.
- Monitor Key Vault Activity: Actively monitor your Key Vault’s logs and set up alerts for unusual activity, such as unauthorized access attempts or changes to access policies. This helps in detecting and responding to security threats quickly.
- Backup and Recovery Plan: While Soft Delete and Purge Protection are essential, you should also have a clear disaster recovery plan. Understand the process for restoring keys and ensure your team is prepared to handle a key-related incident.
Conclusion
Implementing Azure CMK encryption for your AI services and workspaces is a definitive step toward taking full ownership of your data security. While Microsoft provides a robust default encryption mechanism, using your own keys elevates your control, aligns with stringent compliance needs, and adds a powerful layer of defense. The setup process is straightforward but requires careful attention to detail, particularly around Key Vault settings and identity permissions. Ultimately, the responsibility for the key—and by extension, the data it protects—rests with your team. Manage it wisely, and you’ll have a security posture that is not just compliant, but genuinely resilient.
Embracing Azure CMK encryption empowers your team with ultimate data control and compliance for AI services; if you’re ready to experience this enhanced security, you can easily start a free trial, or for a personalized walkthrough, book a demo with our experts.
 7-day free trial