



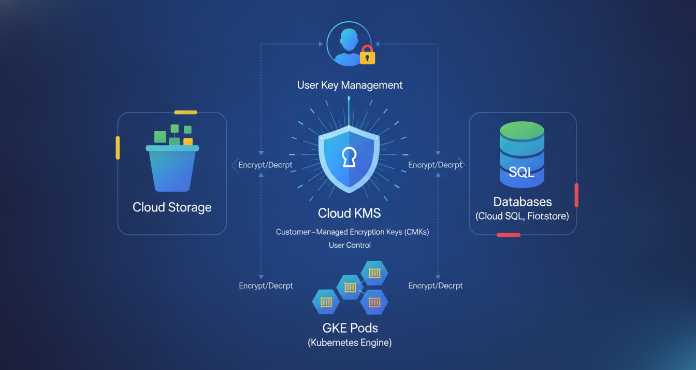
Controlling your own encryption keys is a critical step for securing data in the cloud. While Google Cloud encrypts all data at rest by default, using Customer-Managed Encryption Keys (CMKs) gives your team direct control over the keys that protect your most sensitive workloads. For organizations with strict compliance or data governance requirements, the ability to manage, rotate, and revoke key access is not just a feature—it’s a necessity. This article provides a practical guide to enable CMKs across core Google Cloud Platform (GCP) services, including Cloud Storage, various databases, and Google Kubernetes Engine (GKE).
Key takeaways
- Centralized Control: CMKs allow you to manage your encryption keys centrally through Google’s Cloud Key Management Service (KMS), giving you authority over key creation, rotation, and access policies.
- Broad Service Integration: You can enable CMKs across a wide range of GCP services, including Cloud Storage, Cloud SQL, and GKE, to ensure consistent data protection.
- Compliance and Security: Using CMKs helps meet regulatory requirements by providing an auditable trail of key usage and ensuring that you are the ultimate arbiter of access to your encrypted data.
- 4-Step Implementation: A typical CMK setup involves four main steps: creating a key ring, generating a key, granting permissions to a service account, and configuring the specific GCP resource to use the key.
What Are CMKs and Why Use Them in GCP?
By default, Google Cloud encrypts all customer data stored at rest. This default encryption uses Google-managed keys, meaning Google handles the entire key management lifecycle for you. While secure and effortless, this approach means you don’t have direct control over the encryption keys themselves.
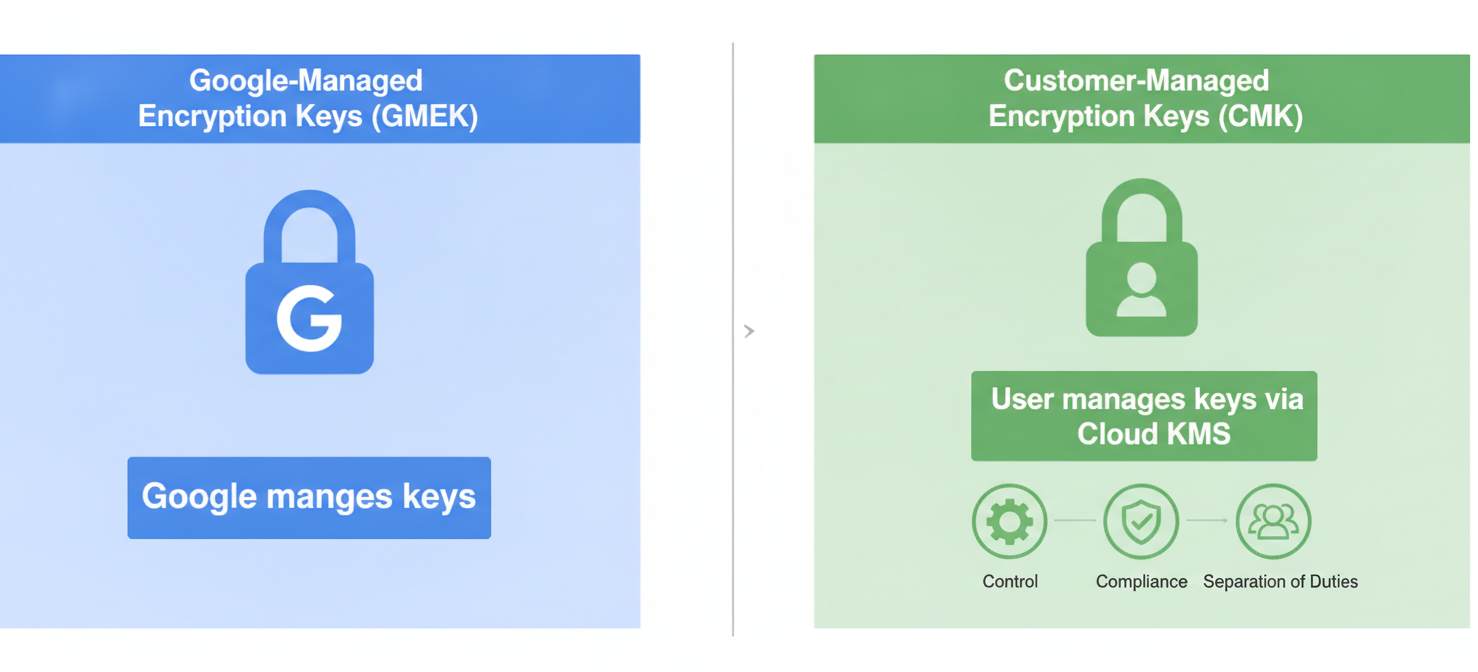
Customer-Managed Encryption Keys, or CMKs, shift that control to you. Instead of using a Google-owned key, a GCP service will use a key that you create, own, and manage within Cloud KMS. The service calls Cloud KMS to encrypt and decrypt your data, and you retain the ability to manage the key’s lifecycle, including rotating it or revoking access.
The primary reasons for using CMKs include:
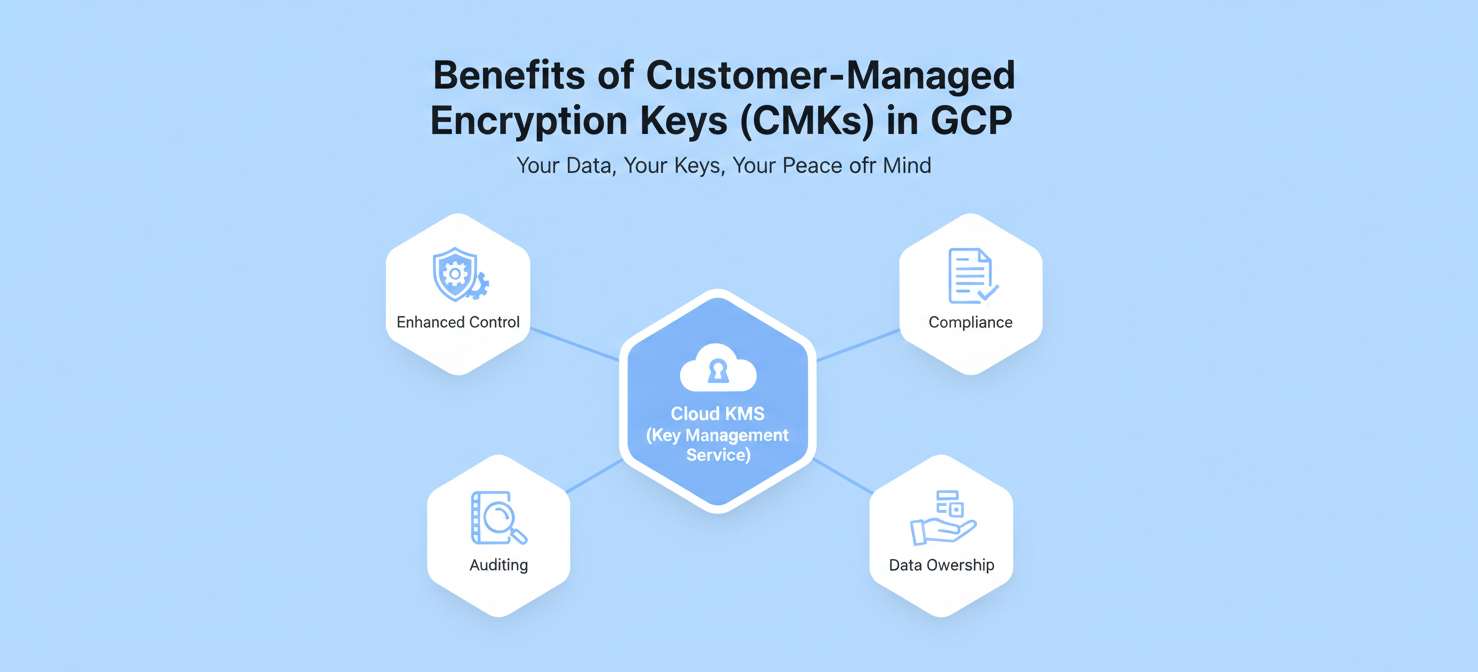
- Enhanced Control: You decide the key’s rotation schedule, access policies, and when to disable or destroy it. This control is crucial for “crypto-shredding,” where destroying a key renders the associated data unrecoverable.
- Regulatory Compliance: Many compliance frameworks (like HIPAA, PCI DSS, and GDPR) require organizations to maintain control over their encryption keys. CMKs help satisfy these requirements by providing a clear chain of custody and auditable proof of key control.
- Separation of Duties: Storing keys in a separate, dedicated GCP project from your data resources enforces a strong separation of duties. This ensures that administrators of your data services do not automatically have access to the encryption keys.
Prerequisites for Enabling CMKs
Before you can start protecting resources with your own keys, a few foundational steps are necessary. These prerequisites ensure that your keys are managed securely and that GCP services have the proper permissions to use them.
First, you must have a Google Cloud project where you will manage your keys. For better security and separation of duties, it is a best practice to use a dedicated project for Cloud KMS resources, separate from the projects hosting your databases or storage buckets.
Next, you need to enable the Cloud Key Management Service API in your designated key project. You will also need appropriate IAM permissions to create and manage keys, such as the cloudkms.admin role.
Finally, you will create a key ring and then a key. A key ring is a logical grouping of keys in a specific GCP location. It’s critical that the key ring’s location matches the location of the resources you intend to protect. For example, a Cloud Storage bucket in us-central1 must use a key from a key ring also in us-central1. After creating the key ring, you can generate one or more cryptographic keys within it.
How to Enable CMKs in Google Cloud Storage
Cloud Storage makes it straightforward to apply CMK protection to your data. You can set a default CMK on an entire bucket, which automatically encrypts all new objects with that key.
Setting a Default Bucket Key
To configure a default CMK for a bucket, you first need to grant the Cloud Storage service account permission to use your key. This service account has a specific format, and you must assign it the “Cloud KMS CryptoKey Encrypter/Decrypter” role for the desired key.
Once permissions are set, you can associate the key with your bucket.
- Navigate to the Cloud Storage Buckets page in the Google Cloud console.
- Select the bucket you wish to configure.
- Go to the Configuration tab.
- In the “Protection” section, edit the encryption settings and select “Customer-managed key.”
- Choose the key you created from the list and save your changes.
From that point forward, any new objects added to the bucket will be automatically encrypted using your specified CMK.
How to Enable CMKs in Google Cloud Databases
Many of Google’s managed database services, including Cloud SQL, support CMK integration. This allows you to encrypt the data at rest on the database instance’s underlying disks.
Configuring Cloud SQL with CMKs
For Cloud SQL, you must enable CMKs when you create a new instance; you cannot apply a CMK to an existing instance. If you need to encrypt an existing database, you must create a new, CMK-enabled instance and migrate the data.
The process is similar across different database engines (MySQL, PostgreSQL, SQL Server).
- When creating a new Cloud SQL instance, navigate to the “Security” or “Configuration” section.
- Select the option for “Customer-managed encryption.”
- Choose the Cloud KMS key you wish to use. The key must be in the same region as the Cloud SQL instance.
Cloud SQL automatically handles granting the correct service account the necessary permissions to use the key. Backups, clones, and read replicas created from a CMK-enabled instance will also be encrypted with the same key by default.
How to Enable CMKs in Google Kubernetes Engine (GKE)
In GKE, CMKs can be used to encrypt data at multiple levels, providing granular control over the security of your containerized workloads. You can protect the node boot disks, attached persistent disks, and even the Kubernetes secrets stored within the cluster.
Encrypting Node Boot Disks and Persistent Volumes
You can enable CMKs for the boot disks of the nodes in your GKE cluster during cluster or node pool creation. This ensures that the operating system and other data on the node’s primary disk are protected by your key.
- When creating a new GKE cluster or node pool via the Google Cloud console, expand the advanced options.
- Under the security settings, find the option to “Enable customer-managed encryption for Boot Disk.”
- Select the Cloud KMS key you have prepared.
For persistent storage, you can use the GCP Persistent Disk CSI driver to create a StorageClass that references your CMK. When a PersistentVolumeClaim requests storage using this StorageClass, GKE will provision a persistent disk that is encrypted with your specified key. This is a powerful way to ensure that all stateful application data is protected.
Auditing and Managing Your CMKs
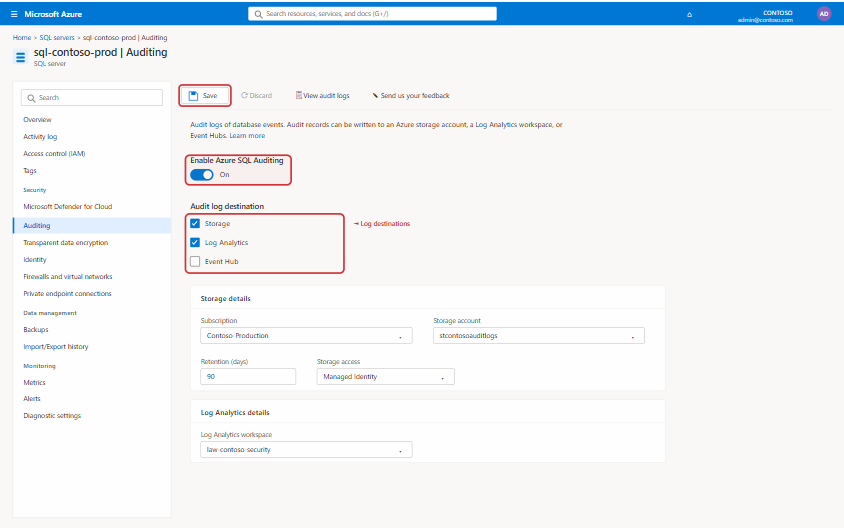
A key benefit of using CMKs is the ability to audit all key usage. Cloud KMS is integrated with Cloud Audit Logs, which captures a detailed record of every administrative action and every encryption or decryption operation performed with your keys.
To get full visibility, you should enable Data Access audit logs for Cloud KMS. While Admin Activity logs are on by default, Data Access logs, which show every use of a key, must be explicitly enabled. These logs provide an immutable trail that shows which service account accessed which key and when, which is invaluable for security analysis and compliance reporting.
You can also set up monitoring and alerts using Cloud Monitoring. For example, you can create an alert to notify your security team whenever a key is scheduled for destruction. This provides a critical safeguard against accidental or malicious key deletion. Google KMS also includes a built-in 24-hour delay before a key is permanently destroyed, offering a window to prevent data loss.
Conclusion
While Google’s default encryption provides a strong baseline, the decision to enable CMKs is a significant step toward achieving granular control and provable compliance for your data in GCP. By centrally managing your keys in Cloud KMS, you can enforce consistent data protection policies across Cloud Storage, databases, and GKE. The process requires careful setup of keys and permissions, but the result is a security posture where you hold the ultimate authority over who can access your encrypted data. It transforms encryption from a passive, managed service into an active, auditable security control that your team directly manages. This isn’t just about adding another layer of security; it’s about fundamentally owning it.
Ready to fundamentally own your cloud data security? You can start a free trial to begin implementing CMKs in your GCP environment, or book a demo with our experts to discuss a tailored strategy.
 7-day free trial