


Understanding Azure Virtual Machines billing is essential for managing your cloud budget effectively. The total cost of a virtual machine (VM) isn’t a single line item; it’s a combination of compute, storage, networking, and licensing fees. This complexity can lead to unexpected charges if not monitored closely. Your team needs a clear view of how these components contribute to the final bill to optimize spending and ensure a strong return on your cloud investment.
Key takeaways:
- An Azure VM’s total cost is a sum of at least five distinct parts: compute (size and runtime), OS licensing, managed disks, networking, and IP addresses.
- Azure bills compute resources by the second, allowing for granular cost control if you manage VM runtimes effectively.
- You can reduce Windows Server licensing costs by up to 40% by using the Azure Hybrid Benefit for your existing on-premises licenses.
- Data transfer between different Azure availability zones, even within the same region, incurs costs.
Understanding Azure Virtual Machines Pricing
Azure’s pricing model for VMs is primarily pay-as-you-go, which offers flexibility but requires careful management. You pay only for the resources you consume, with billing calculated on a per-second basis. This means that every component associated with your VM, from its processing power to the data it sends over the network, contributes to the monthly invoice.
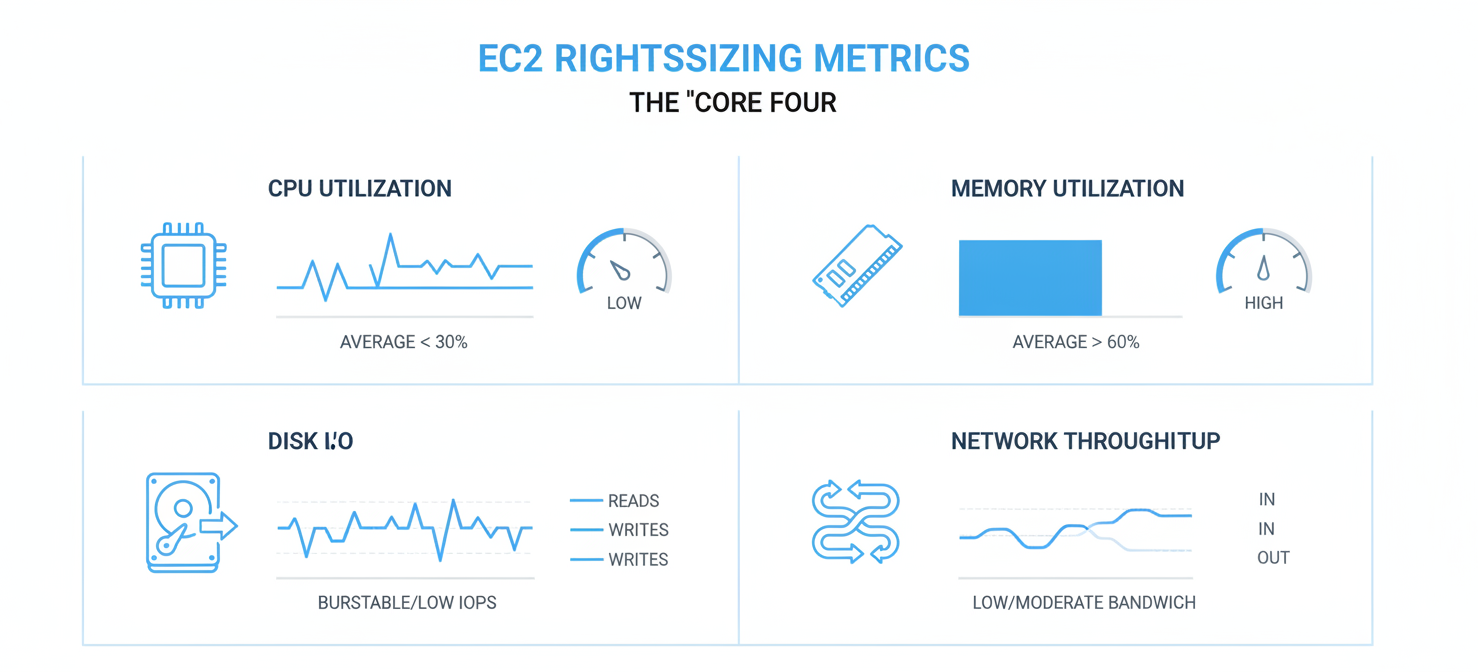
The main cost drivers for any Azure VM are:
- Compute: The processing power, determined by the VM’s size and series.
- Operating System: Licensing fees for commercial operating systems like Windows.
- Storage: The managed disks attached to your VM for its OS and data.
- Networking: The data transferred in and out of your virtual machine.
Each of these elements is metered and billed separately, creating a layered cost structure that you must analyze to manage your cloud spend.
How VM Size, Runtime, and Licensing Affect Costs
The most significant portion of a VM’s cost comes from its compute resources. This is a function of its size, how long it runs, and the software licenses it requires.
VM Size and Series
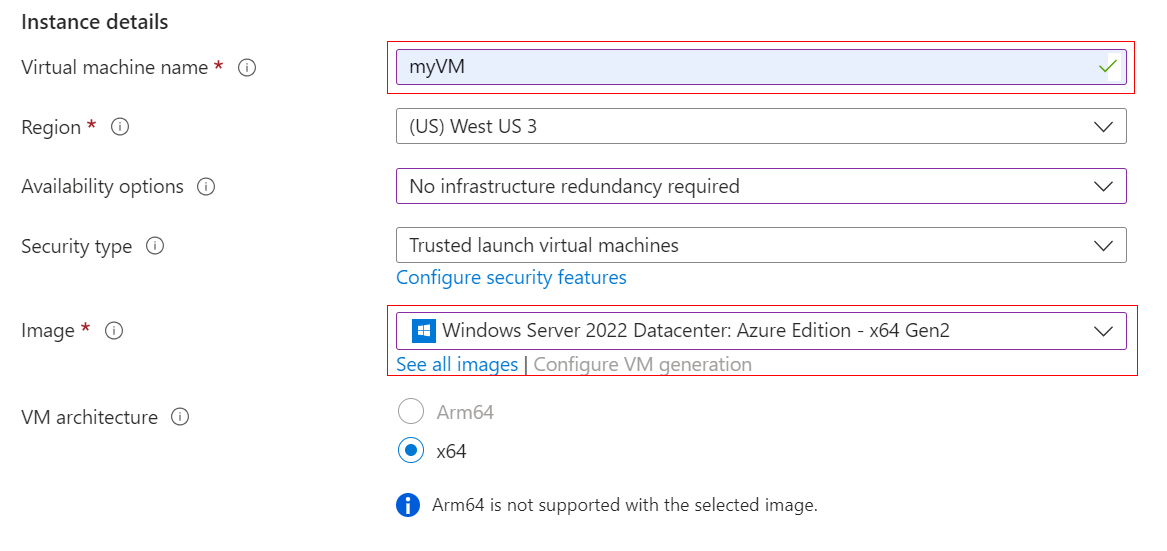
Azure offers a wide variety of VM “series” and “sizes,” each with a different ratio of virtual CPUs (vCPUs) to memory (RAM).
- General Purpose (D-series): Balanced CPU-to-memory ratio, suitable for testing, development, and small-to-medium applications.
- Compute Optimized (F-series): High CPU-to-memory ratio, ideal for application servers and batch processing.
- Memory Optimized (E-series): High memory-to-CPU ratio, designed for large databases and in-memory analytics.
- Burstable (B-series): Provides a baseline performance level with the ability to burst to higher performance, making it cost-effective for workloads with intermittent traffic.
Choosing a larger VM than your workload needs is a common source of wasted spend. Therefore, matching the VM size to the actual performance requirements is a critical step in cloud cost optimization.
Runtime and Billing
Azure bills for VMs on a per-second basis after a one-minute minimum. You are charged for the entire time a VM is allocated, which means it must be in a “deallocated” state to stop compute charges. Simply shutting down the VM from within the operating system is not enough; the resources remain assigned to you and continue to incur costs. This makes runtime a direct multiplier of your compute cost. A VM that runs 24/7 will cost significantly more than one that only runs during business hours.
Operating System Licensing
The choice of operating system also impacts the price. Linux distributions typically do not have an additional licensing fee, making them a more economical choice. Windows Server VMs, however, include the cost of the OS license bundled into the hourly rate, making them more expensive.
You can significantly reduce this cost by using the Azure Hybrid Benefit. This program allows you to apply your existing on-premises Windows Server licenses with active Software Assurance to your Azure VMs, effectively removing the OS license cost from your Azure bill.
Managed Disks, Networking, and Related Charges
Beyond compute, storage and networking are two other fundamental components of Azure Virtual Machines billing.
Managed Disks
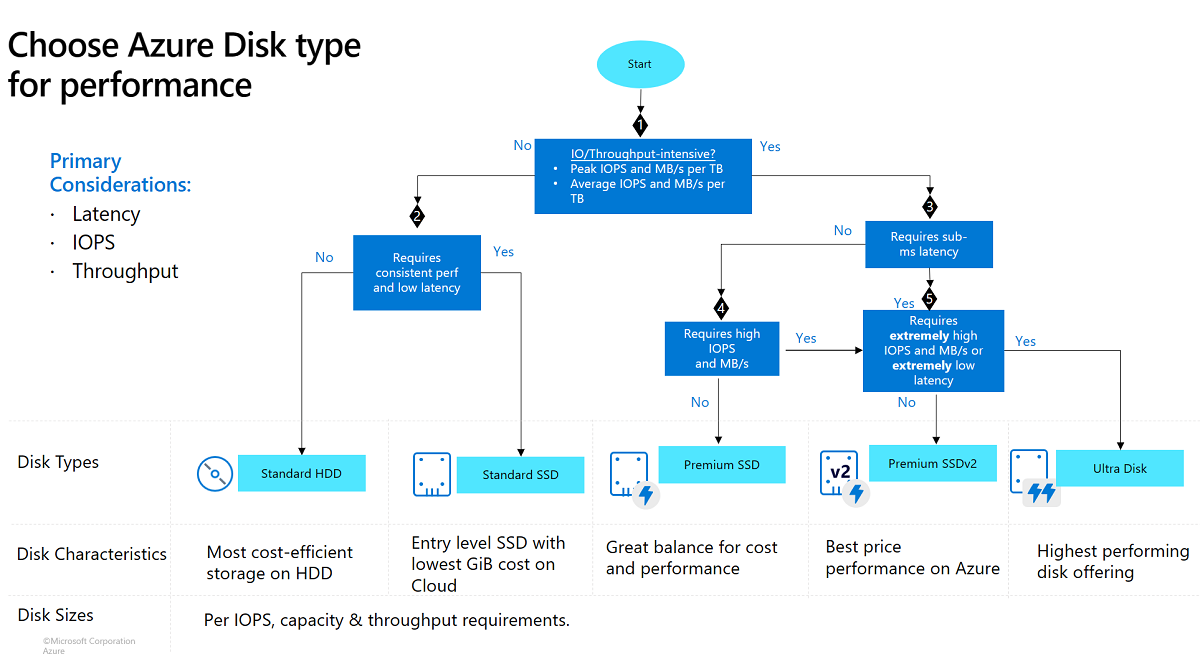
Azure Managed Disks are block-level storage volumes attached to VMs. You are billed based on the provisioned size and performance tier of the disk, not the amount of data actually stored. The main tiers include:
- Standard HDD: Best for backups, development, and non-critical workloads.
- Standard SSD: Suitable for web servers and lightly used enterprise applications.
- Premium SSD: Designed for production and performance-sensitive databases.
- Ultra Disk: Offers the highest performance for data-intensive workloads like SAP HANA and top-tier databases.
Choosing a higher-performance tier than necessary is a frequent cause of overspending. For instance, provisioning Premium SSDs for all workloads by default can inflate your storage costs without providing any real benefit if the application doesn’t require high IOPS.
Networking Costs
Networking charges are based on data transfer, also known as bandwidth. While data entering an Azure datacenter (ingress) is generally free, data leaving it (egress) is not. You are charged for outbound data transfers from your VM to the internet or to other Azure regions.
Key networking charges include:
- Data Transfer: The first 100 GB of outbound data per month is free; after that, you are charged per GB.
- VNet Peering: Connecting virtual networks in different Azure regions incurs data transfer charges for traffic crossing the regional boundary.
- Public IP Addresses: While a dynamic public IP is free, a static public IP address has a small hourly charge.
How to Interpret Usage Details and Azure Virtual Machines Billing Records
To analyze and manage cloud cost, you need to know where to look. The Microsoft Cost Management and Billing tool in the Azure portal is your primary resource for this.
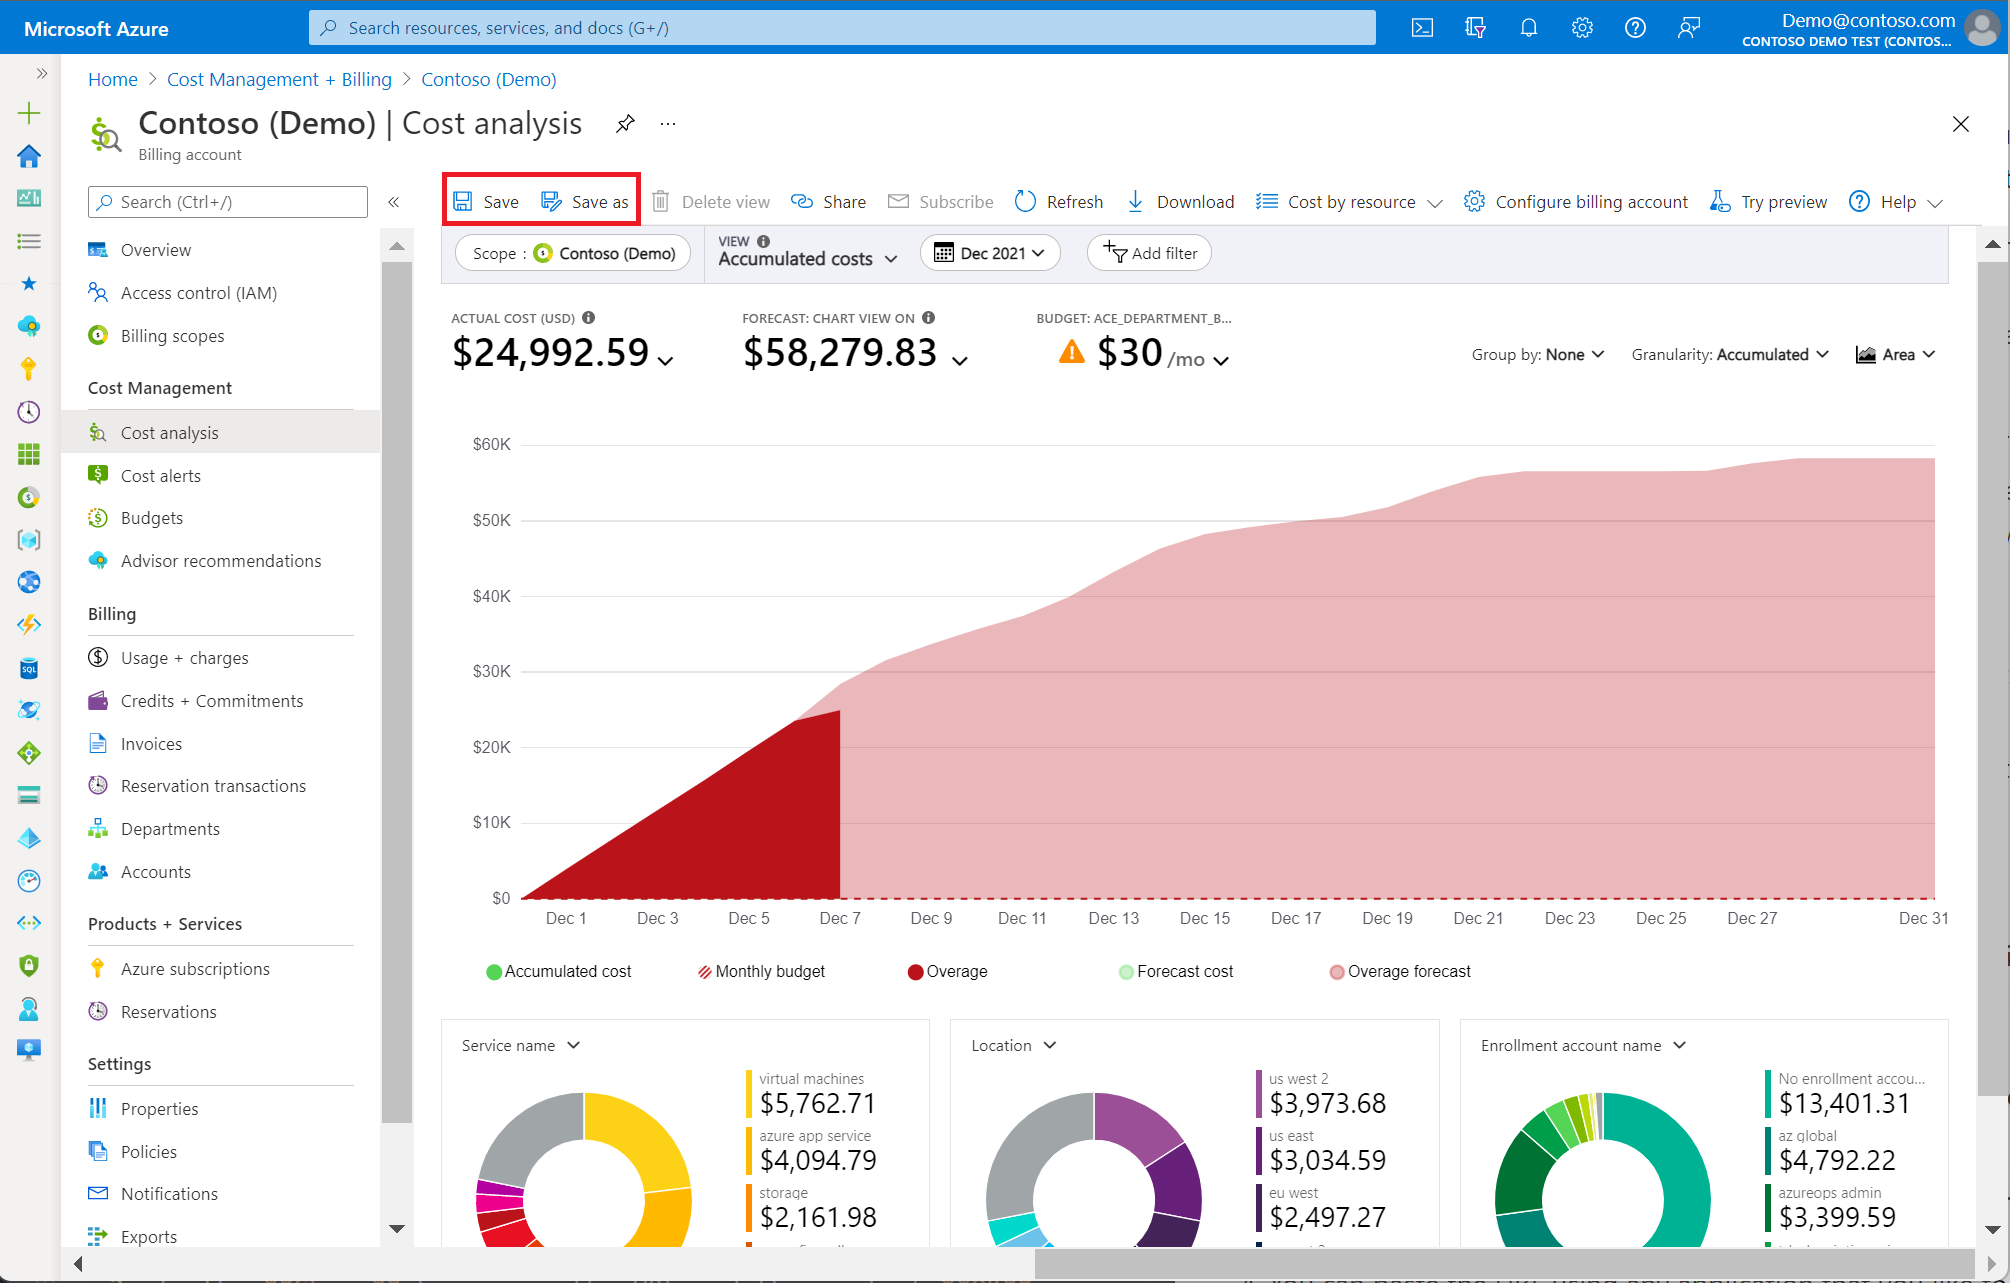
Inside the Cost Analysis tool, you can filter and group expenses by various properties, such as resource group, resource type, and tags. To investigate VM costs, filter your view to the Microsoft.Compute/virtualMachines resource type. This will show you all charges directly associated with your VMs. However, remember that related costs for disks (Microsoft.Compute/disks) and networking will appear as separate line items.
When examining your detailed usage records, look for meter names that describe what you are being billed for. For example, you will see meters for compute hours (e.g., “DS2 v2”), data transfer, and disk operations. Understanding these records is the first step toward effective azure cloud cost management.
How to Identify Expensive VMs and Unexpected Charges
With your usage data in hand, you can begin to identify major cost drivers. Use the Cost Management tool to group your VM-related costs by “Resource.” This will quickly reveal which specific virtual machines are contributing the most to your bill.
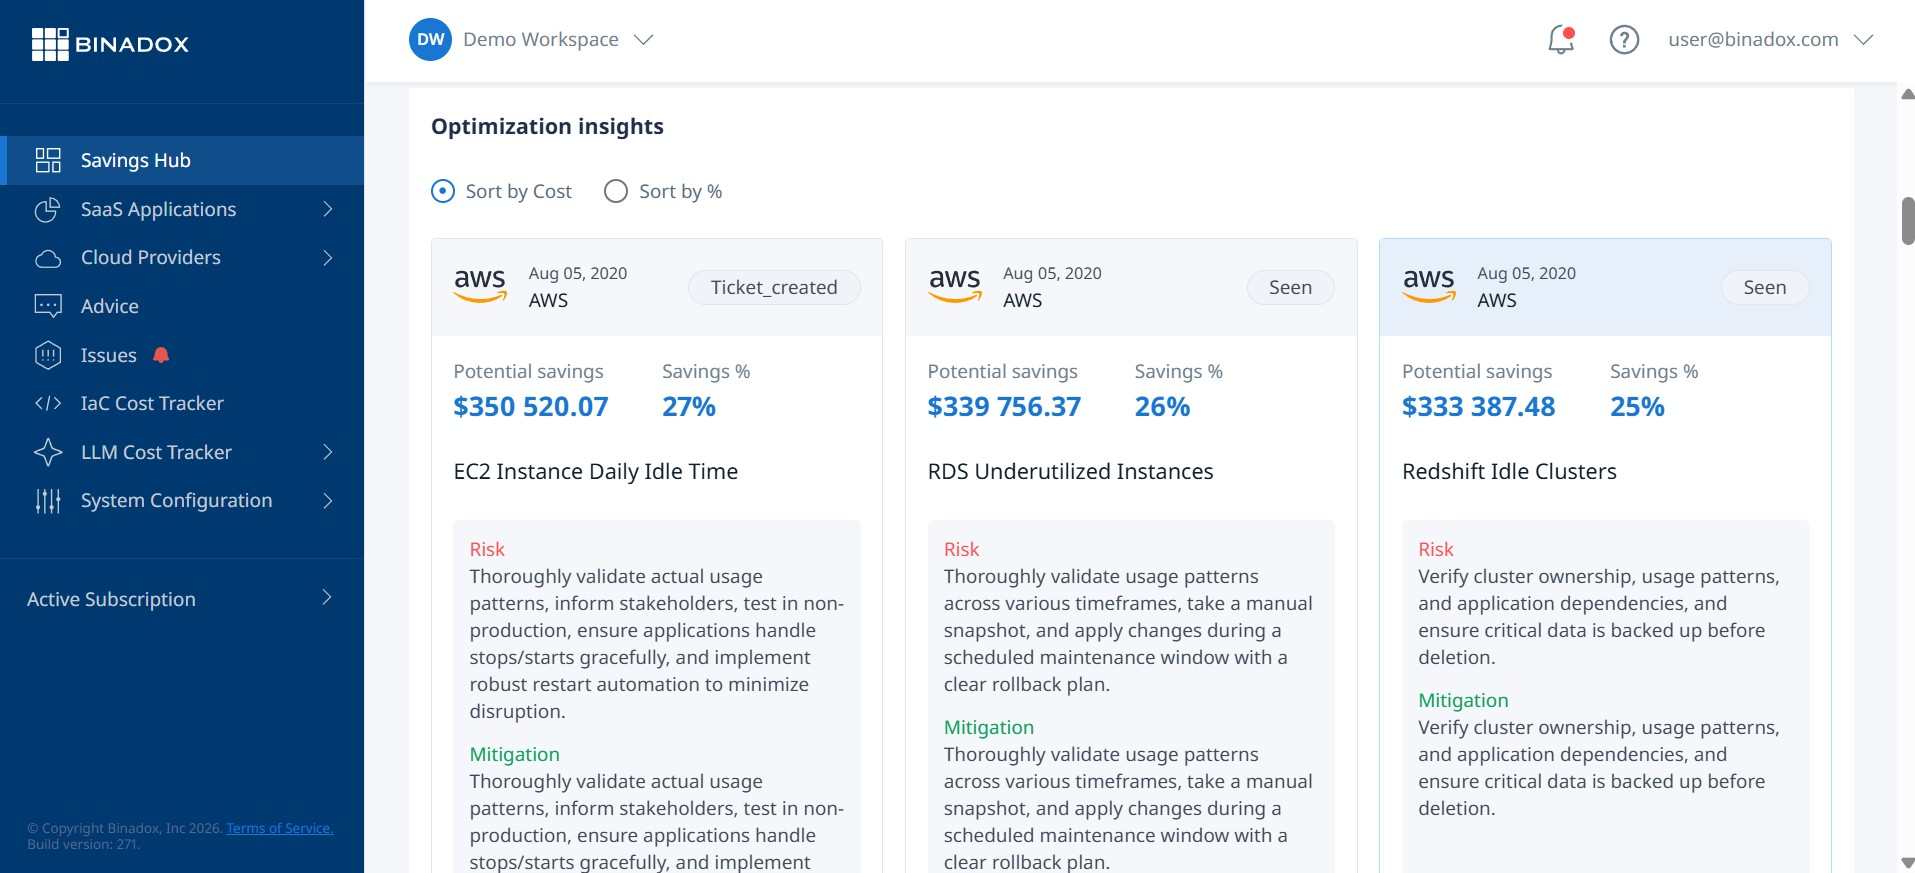
Look for these common signs of waste:
- Oversized VMs: A VM with consistently low CPU utilization (e.g., under 10%) is likely oversized. You are paying for capacity you don’t need.
- Idle Resources: VMs that run 24/7 but are only used during business hours are prime candidates for cost savings.
- Unattached Disks: When a VM is deleted, its managed disks are not automatically removed. These “orphaned” disks continue to incur storage charges until you delete them.
- Premium Storage Misuse: Check if high-cost Premium SSDs are attached to VMs that do not have high I/O requirements. A Standard SSD might be sufficient and much cheaper.
How Binadox Helps Analyze Azure VM Costs
While Azure’s native tools are powerful, a dedicated cloud cost management platform like Binadox can provide deeper insights and automate the analysis process. Binadox helps you analyze and manage cloud cost by connecting directly to your Azure billing data and presenting it in an easy-to-understand dashboard.
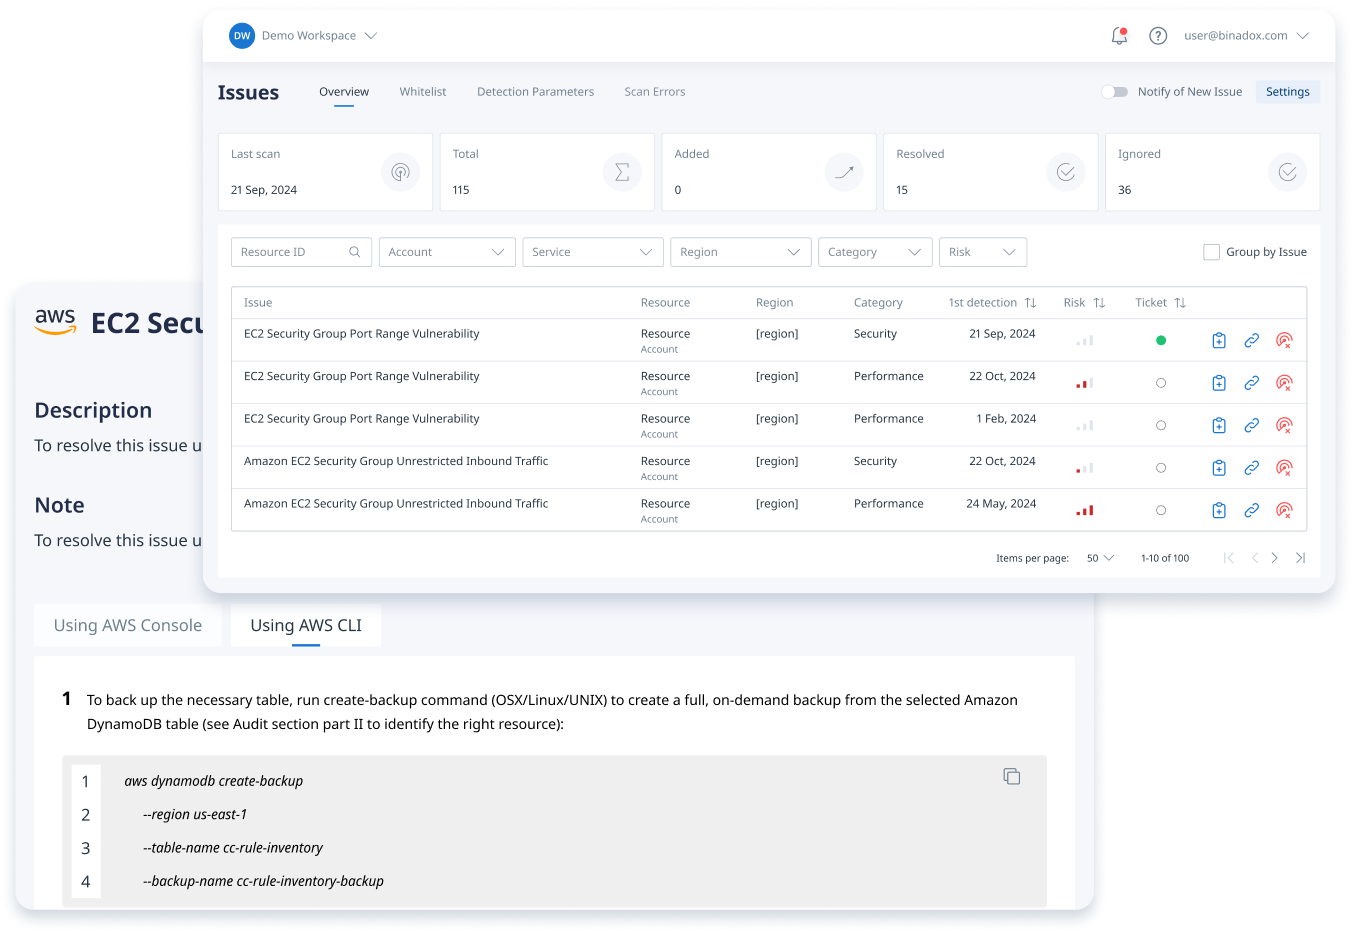
Binadox simplifies Azure cloud cost optimization by:
- Providing Granular Visibility: It offers detailed, resource-level insights across all your subscriptions, making it easy to see spending patterns for VMs, storage, and networking.
- Identifying Waste Automatically: The platform uses AI-powered analysis to detect idle resources and recommend right-sizing opportunities for your virtual machines based on actual usage patterns.
- Automating Cost Allocation: With advanced resource tagging and department-level reporting, you can implement effective showback or chargeback models within your organization.
- Forecasting and Anomaly Detection: Predictive cost forecasting helps prevent budget overruns by alerting you to unexpected spending spikes in real-time.
Best Practices for Managing Azure VM Spending
Effective azure cloud cost management is an ongoing process, not a one-time fix. Here are some best practices to keep your VM spending in check:
- Right-Size Your VMs: Continuously monitor the utilization of your VMs and downsize those that are over-provisioned.
- Automate Shutdowns: For non-production VMs, implement automated start/stop schedules to ensure they only run when needed.
- Use Azure Reservations and Savings Plans: For workloads with predictable, long-term usage, you can pre-purchase resources for one or three years at a significant discount compared to pay-as-you-go pricing.
- Leverage the Azure Hybrid Benefit: If you own Windows Server licenses, make sure you are using them in Azure to eliminate redundant licensing costs.
- Clean Up Unused Resources: Regularly audit your environment to find and delete unattached managed disks and other orphaned resources.
- Choose the Right Storage Tier: Match your disk performance to your workload’s requirements. Avoid using Premium SSDs where a Standard SSD or HDD would suffice.
Conclusion
Controlling your Azure Virtual Machines billing requires a clear understanding of its core components: compute, storage, networking, and licensing. Each element presents an opportunity for optimization, but also a risk of overspending if left unmanaged. By regularly analyzing your usage details, identifying oversized or idle resources, and applying cost-saving best practices, you can take control of your spending. Using a tool like Binadox can further simplify this process, turning raw billing data into actionable insights. Ultimately, managing your Azure Virtual Machines billing isn’t about cutting costs arbitrarily; it’s about eliminating waste so you can invest those resources into innovation.
To effectively eliminate waste and reallocate resources towards innovation, you can gain granular visibility into your Azure VM spending by exploring Binadox with a free trial, or if you prefer a guided tour, connect with our team to arrange a personalized demonstration.
 7-day free trial