



Understanding where your cloud spending goes is fundamental to financial health in a cloud-native world. Effective cloud cost allocation is the practice of assigning these costs to the specific teams, projects, or products that incur them. Without a clear system, your cloud bill can become an opaque, ever-growing expense. This guide provides a practical path to attributing costs accurately in two of the most common environments: Amazon Web Services (AWS) and Kubernetes. You will learn the core mechanisms and best practices for gaining visibility and control over your cloud infrastructure spending.
Key takeaways
- Tagging is foundational: A consistent tagging strategy is the first and most critical step for cost allocation in AWS, enabling you to filter and group costs by project, team, or environment.
- Activate your tags: Creating tags isn’t enough; you must activate them in the AWS Billing and Cost Management console to use them for financial reporting.
- Kubernetes requires specific tools: Due to its shared nature, attributing costs in Kubernetes necessitates tools like Kubecost or OpenCost to translate container-level usage into dollar figures.
- Follow the 3-step process for Kubernetes: Effective Kubernetes cost allocation involves gathering cluster-level usage data, mapping node costs to individual pods, and using labels for ownership attribution.
What is Cloud Cost Allocation and Why is it Important?
Cloud cost allocation is the process of distributing a shared cloud bill to the various internal consumers of those cloud services. Think of it as itemizing a group dinner receipt. Instead of one person paying the entire bill, you figure out who ordered which dishes. In the cloud, this means connecting infrastructure costs to the specific applications, development teams, or business units responsible for them.
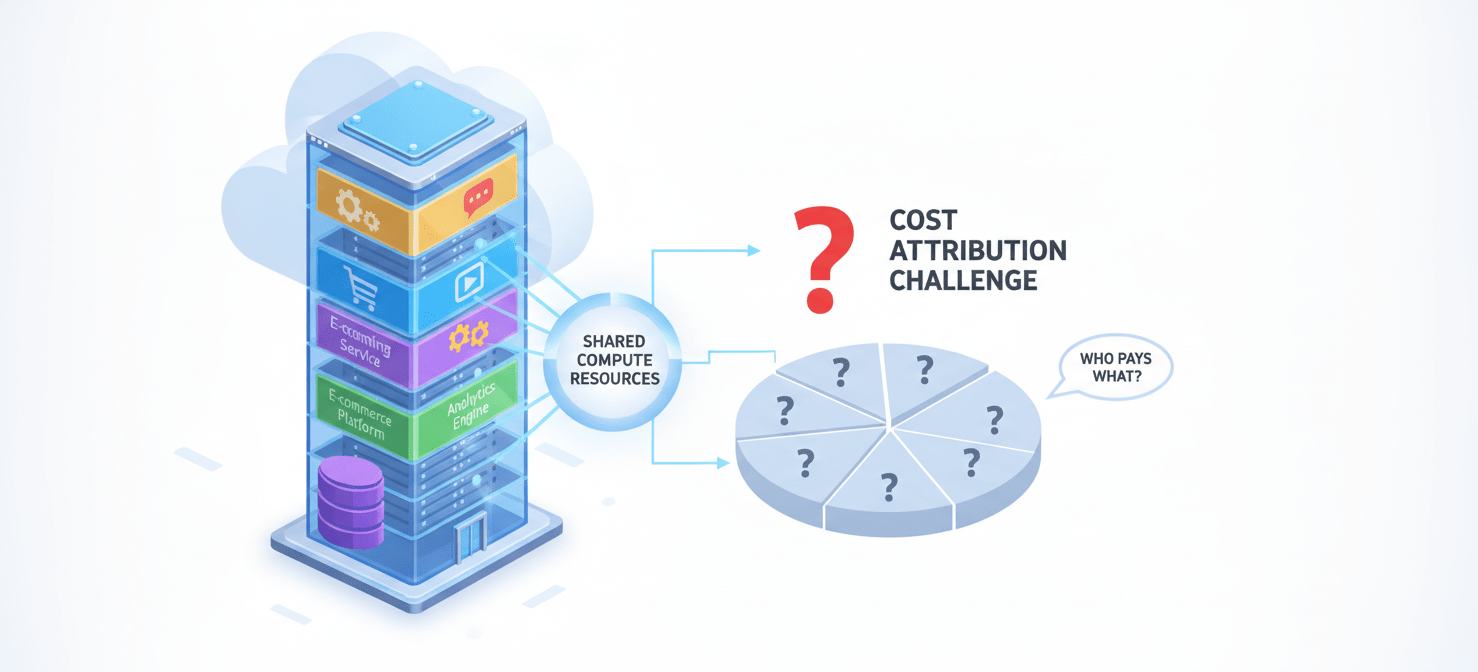
This process is vital for several reasons. First, it creates financial transparency and accountability. When engineering teams can see their direct impact on the cloud bill, they are more likely to build and operate cost-efficient services. Second, it enables informed business decisions. By understanding the cost of running a specific product feature, you can better analyze its profitability and return on investment. Finally, accurate cost allocation is a cornerstone of FinOps—the practice of bringing financial accountability to the variable spending model of the cloud.
The Challenge of Shared Resources
The primary difficulty in cloud cost allocation arises from shared infrastructure. In AWS, multiple teams might use the same network gateways or storage buckets. The problem is even more pronounced in Kubernetes, where numerous applications from different teams often run on the same cluster of virtual machines. How do you fairly divide the cost of a shared EC2 instance among ten different microservices running on it? This shared responsibility model obscures individual cost drivers, making direct attribution difficult without a deliberate strategy.
AWS Cost Allocation Best Practices
For most organizations using AWS, the journey to clear cost attribution begins with a robust tagging strategy. Tags are simple key-value labels that you can attach to almost any AWS resource, from an EC2 instance to an S3 bucket.
Step 1: Develop a Consistent Tagging Strategy
Before creating a single tag, your team should agree on a standardized set of tag keys. A chaotic, inconsistent approach where one team uses cost-center and another uses CostCenter will undermine your efforts.
A good starting point for mandatory tags includes:
- owner: The email or team alias responsible for the resource.
- project: The specific application or product the resource supports.
- environment: The deployment stage, such as
dev,staging, orprod. - costCenter: The business unit or department to which the cost should be billed.
Engage with stakeholders from finance, IT, and engineering to define a minimal but effective set of tags that meets everyone’s needs. This ensures the data you collect is trusted and useful for budgeting and showback.
Step 2: Activate User-Defined Cost Allocation Tags
Simply applying tags to your resources is not enough to see them in your billing reports. You must explicitly activate them within the AWS Billing and Cost Management dashboard. AWS requires this extra step to limit the indexing to only the tags you deem relevant for billing.
Once activated, these tags will appear as filterable columns in AWS Cost Explorer and in the detailed data of your AWS Cost and Usage Report (CUR). Be aware that tags are not applied retroactively; they only start tracking costs for a resource from the moment they are applied and activated.
Step 3: Enforce Tagging with Automation and Policies
Manual tagging is prone to human error. Resources will inevitably be created without the proper tags, leading to gaps in your cost data. To prevent this, implement automated enforcement.
- AWS Tag Policies: If you use AWS Organizations, you can create Tag Policies to standardize tag keys and enforce their use across all member accounts.
- Infrastructure as Code (IaC): Tools like Terraform and AWS CloudFormation can be configured to require specific tags whenever new infrastructure is provisioned.
- AWS Config Rules: You can set up rules that automatically check for compliance with your tagging policy and flag or even remediate non-compliant resources.
Step 4: Analyze and Report with AWS Cost Explorer
With a consistent and enforced tagging strategy in place, you can use AWS Cost Explorer to visualize and analyze your spending. This tool allows you to filter your entire AWS bill by the cost allocation tags you activated.
For example, you can create a report that groups all costs by the project tag. This will show you the total spend for each application, allowing you to identify which products are the most expensive to run. You can save these reports and share them with team leads to foster accountability and drive cost optimization efforts.
Kubernetes Cost Allocation
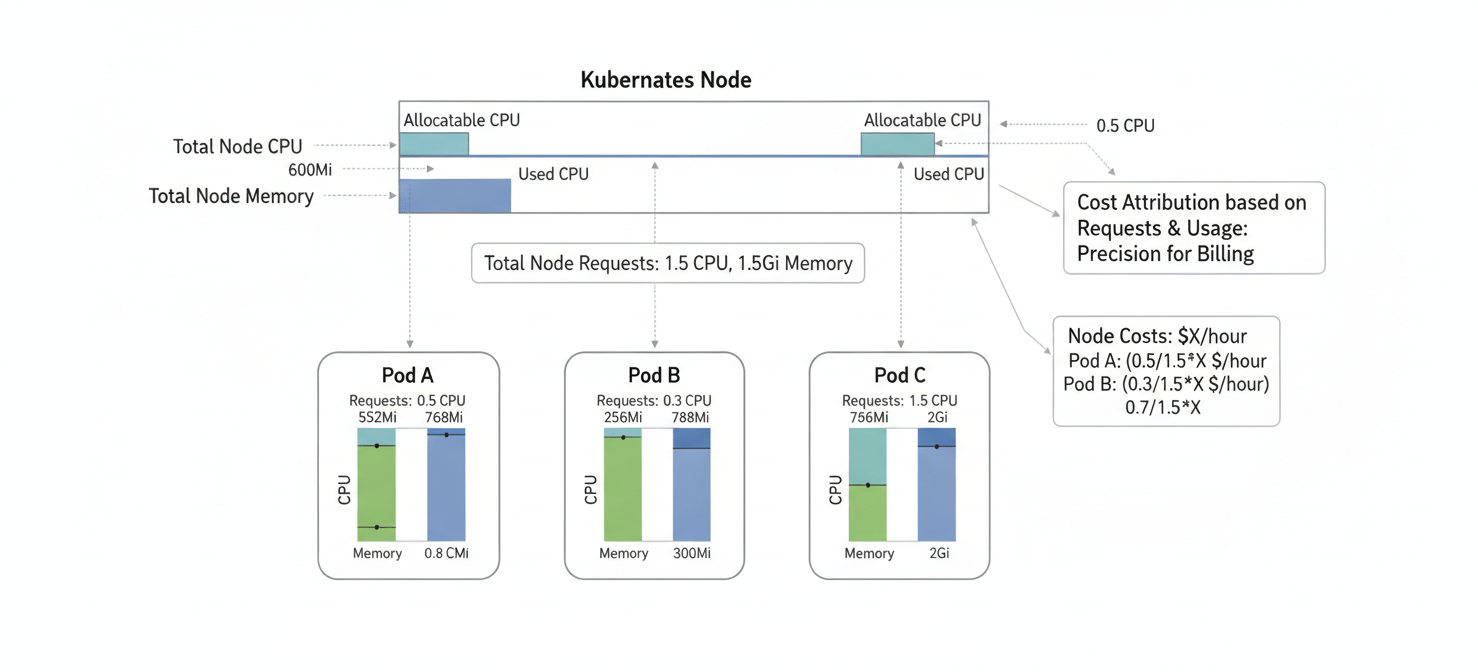
Attributing costs in Kubernetes is inherently more complex than in a traditional AWS environment. Because multiple applications share the same underlying compute nodes (EC2 instances), you can’t simply rely on infrastructure-level tags. A single EC2 instance might host pods from a dozen different services belonging to multiple teams. The key is to measure resource consumption inside the cluster and map it back to the infrastructure costs.
The Importance of Resource Requests and Limits
- Requests: This is the minimum amount of CPU and memory that Kubernetes guarantees to a container. The scheduler uses this value to decide where to place a pod.
- Limits: This defines the maximum amount of CPU and memory a container can use. If a container exceeds its memory limit, it will be terminated. If it exceeds its CPU limit, it will be throttled.
By defining these values, you provide the necessary data for cost allocation tools to calculate how much of a node’s resources a specific pod has reserved or consumed. Neglecting to set them results in pods being classified as BestEffort, which have the lowest priority and make accurate cost attribution nearly impossible.
Tools for Kubernetes Cost Allocation
Because Kubernetes doesn’t have a built-in cost allocation mechanism, you must rely on third-party tools. These tools typically run inside your cluster, monitor resource consumption, and correlate it with your actual cloud provider bill.
Kubecost
Kubecost is a widely used tool built specifically for Kubernetes cost monitoring. It provides detailed breakdowns of costs by namespace, deployment, service, label, and more. It integrates directly with AWS, Azure, and GCP billing APIs to provide accurate cost data that reflects your actual spending, including discounts from Savings Plans or Reserved Instances.
OpenCost
OpenCost is the open-source project that forms the core of Kubecost. It was donated to the Cloud Native Computing Foundation (CNCF) to provide a standardized, vendor-neutral way to measure Kubernetes costs. OpenCost provides the fundamental cost allocation engine, but it requires you to build your own dashboards (typically with Grafana) and does not include the enterprise features, support, or polished UI that Kubecost offers. For teams that need a free, API-driven way to get chargeback data, OpenCost is a powerful option.
Other notable tools in this space include Vantage, Datadog Cost Management, and CloudZero, each offering different features for visualizing and managing container-level spend.
A Practical Approach to Kubernetes Cost Allocation
Regardless of the tool you choose, the general process remains the same.
- Attribute Costs by Namespace: A common starting point is to assign each team or application to its own Kubernetes namespace. This provides a clean, high-level separation of costs. You can then use a tool like Kubecost to see the total cost per namespace.
- Use Labels for Granularity: For more detailed attribution within a namespace, use Kubernetes labels. Just like AWS tags, you can apply labels like
app,team, orfeatureto your deployments and pods. Cost allocation tools can then group costs based on these labels, allowing you to see the cost of a specific microservice, for example. - Account for Shared and Idle Costs: A significant portion of cluster costs comes from shared resources (like system daemons) and idle capacity (unallocated resources on a node). Your chosen tool should provide a strategy for distributing these costs. Common methods include splitting them proportionally based on each team’s resource requests or distributing them evenly.
Integrating AWS and Kubernetes Cost Data
For a complete financial picture, you need to see your Kubernetes costs alongside your other AWS service costs. This is where a unified cost management platform becomes essential. The AWS Cost and Usage Report (CUR) is the most detailed source of billing data AWS provides. Tools like Kubecost and Vantage can integrate with your CUR to reconcile the in-cluster costs with the actual billed amounts from AWS. This ensures that your Kubernetes cost data accurately reflects any enterprise discounts or savings plans, providing a single source of truth for your entire cloud spend.
Conclusion
Achieving clear and accurate cloud cost allocation is not a one-time project but an ongoing practice. It begins in AWS with a disciplined and automated tagging strategy, which provides the foundational data for financial accountability. When you move into the shared, dynamic world of Kubernetes, this practice must evolve to include container-level resource management and specialized tooling to translate usage into cost. By implementing these strategies, you can demystify your cloud bill, empower your teams to make cost-conscious decisions, and ultimately gain control over your cloud spending. The goal isn’t just to see where the money is going, but to ensure it’s being spent wisely. After all, an unallocated cloud bill is just an expensive guess.
Ready to move beyond guesswork and gain real control over your cloud spending? You can easily start a free trial to experience our platform firsthand, or if you prefer a guided tour, book a demo with our experts.
 7-day free trial