



The promise of the cloud is flexibility and scalability, but that same ease of use can lead to significant cost overruns. Spinning up new resources is simple; tracking and decommissioning them is much harder. As a result, many organizations find their Azure bills creeping up due to “cloud waste”—resources that are paid for but provide no business value. This guide provides a structured, four-step approach to finding and eliminating this waste, applying proven azure cost optimization best practices to bring your cloud spending back under control.
Key takeaways
- Identify and eliminate: Studies show that 25-35% of cloud spending is wasted on idle or over-provisioned resources. Systematically finding and removing these is the fastest way to cut costs.
- Rightsize everything: Don’t just turn off unused resources; ensure the ones you are using are correctly sized for their workload. Analyzing CPU, memory, and IOPS metrics over 30 days is crucial for effective rightsizing.
- Leverage Azure’s tools: Use Azure Advisor and Azure Cost Management + Billing as your starting point. These free tools provide actionable recommendations for immediate savings.
- Automate governance: Implement Azure Policy to enforce cost-saving rules automatically, such as restricting expensive VM SKUs or requiring resource tags for cost allocation.
What Is Azure Waste and Why Does It Happen?
Azure waste refers to any expenditure on cloud resources that are not delivering business value. This isn’t just about servers that are completely off; it’s a more subtle problem. The most common culprits are virtual machines (VMs), storage, and databases, which often make up the bulk of an Azure bill.
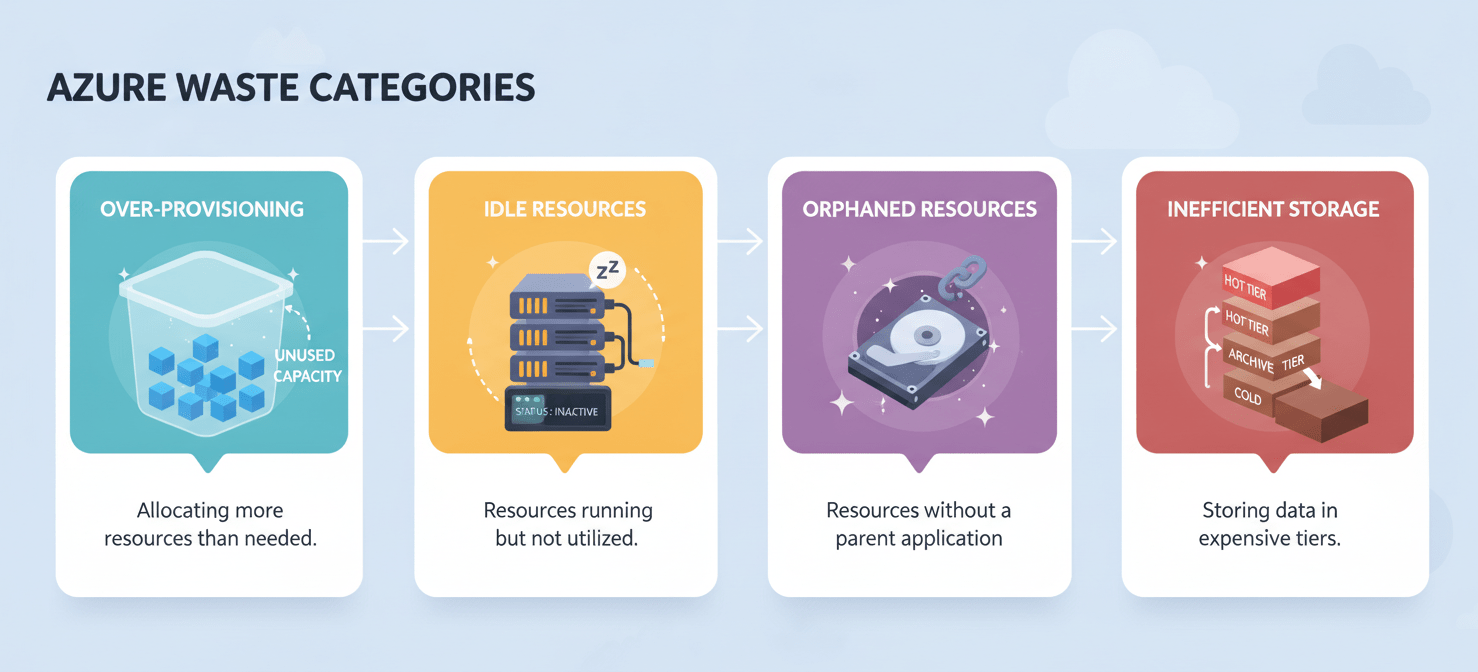
Waste happens for several reasons:
- Over-provisioning: Teams often provision larger VMs or storage disks “just in case,” leading to paying for capacity that is never used.
- Idle Resources: Development and test environments are frequently left running 24/7, even though they are only used during business hours. This can inflate compute costs by 60-70%.
- Orphaned Resources: When a VM is deleted, its associated managed disks, snapshots, or public IP addresses are not always removed automatically. These “orphaned” components continue to incur charges indefinitely.
- Inefficient Storage: Data is often kept in high-performance “hot” storage tiers when it’s rarely accessed and could be moved to much cheaper “cool” or “archive” tiers.
This accumulation of unused and underutilized resources creates a significant financial drain. However, by adopting a systematic approach, your team can reclaim this wasted spend.
Step 1: Find and Shut Down Idle Resources
The most straightforward way to cut costs is to stop paying for things you aren’t using. These are the azure idle resources that provide no value but steadily contribute to your monthly bill.
Use Azure Advisor for Low-Hanging Fruit
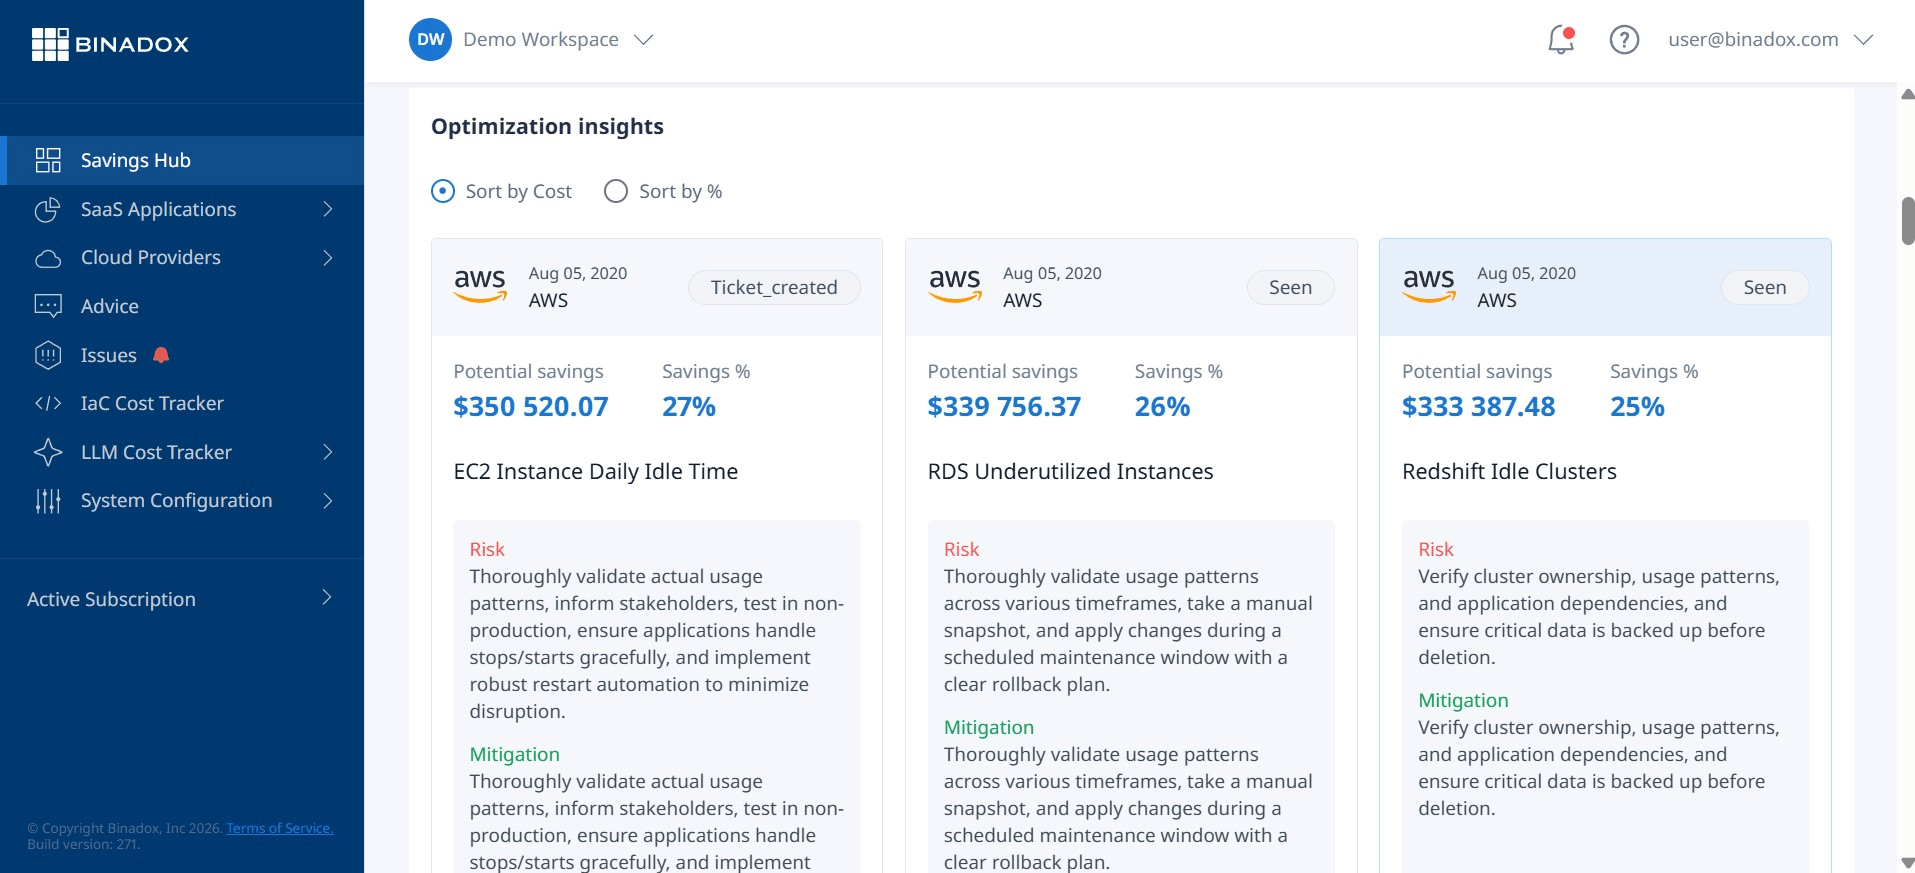
Your first stop should be Azure Advisor, a free, built-in service that analyzes your resource usage and provides personalized recommendations. Navigate to the “Cost” tab in the Advisor dashboard to find a prioritized list of potential savings.
Advisor is particularly effective at identifying:
- Underutilized VMs: It flags machines with consistently low CPU and network usage, suggesting you shut them down or resize them.
- Unattached Disks and Public IPs: It finds resources like managed disks or IP addresses that are not associated with any running VM.
- Idle Virtual Network Gateways: It identifies gateways that are provisioned but have no active connections.
Treat Azure Advisor’s recommendations as your initial cleanup checklist. Acting on these suggestions can often yield immediate and substantial savings with minimal effort.
Hunt for Orphaned Resources
While Advisor is a great start, it doesn’t catch everything. Your team should also manually hunt for other common sources of waste. When a VM is deleted, its managed disks are often left behind, silently accruing charges. You can find these unattached disks using the Azure CLI or by filtering in the Azure portal.
Similarly, old snapshots and unused network interfaces can accumulate over time. Establish a regular cadence—monthly or quarterly—to scan for these orphaned resources and remove anything that no longer serves a clear purpose.
Step 2: Master Rightsizing for VMs and Storage
After eliminating completely unused resources, the next step is to optimize the resources you are using. Rightsizing Azure VMs and storage is about matching capacity to actual demand, ensuring you don’t pay for performance you don’t need.
Rightsizing Virtual Machines
Over-provisioning VMs is one of the most common forms of cloud waste. A developer might request a large VM for a new project, but the actual workload only uses a fraction of its capacity.
To rightsize effectively:
- Analyze Performance Metrics: Use Azure Monitor to collect at least 30 days of performance data for your VMs. Look at metrics like average and peak CPU utilization, available memory, and disk IOPS.
- Identify Candidates: VMs with peak CPU utilization consistently below 50% and available memory above 60% are prime candidates for downsizing.
- Choose the Right VM Family: Don’t just shrink the size; ensure the VM family matches the workload. For example, memory-intensive applications should run on memory-optimized instances, not compute-optimized ones.
- Resize and Monitor: Schedule the resize during a maintenance window to minimize downtime. After resizing, continue to monitor the VM’s performance to ensure the new size is adequate.
Optimizing Storage Costs
Storage is another area ripe for optimization. Azure Blob Storage offers different access tiers—Hot, Cool, and Archive—with vastly different price points. Data in the Archive tier can be over 18 times cheaper to store than in the Hot tier.
Use Azure’s lifecycle management policies to automate the process of moving data between tiers. For example, you can create a rule to automatically move blobs that haven’t been accessed in 30 days to the Cool tier, and data older than 180 days to the Archive tier. This ensures you are always using the most cost-effective storage tier without manual intervention.
Step 3: Leverage Azure’s Built-in Cost-Saving Tools
Beyond cleanup and rightsizing, Microsoft provides powerful tools and pricing models designed to lower your costs for predictable workloads.
Azure Cost Management + Billing
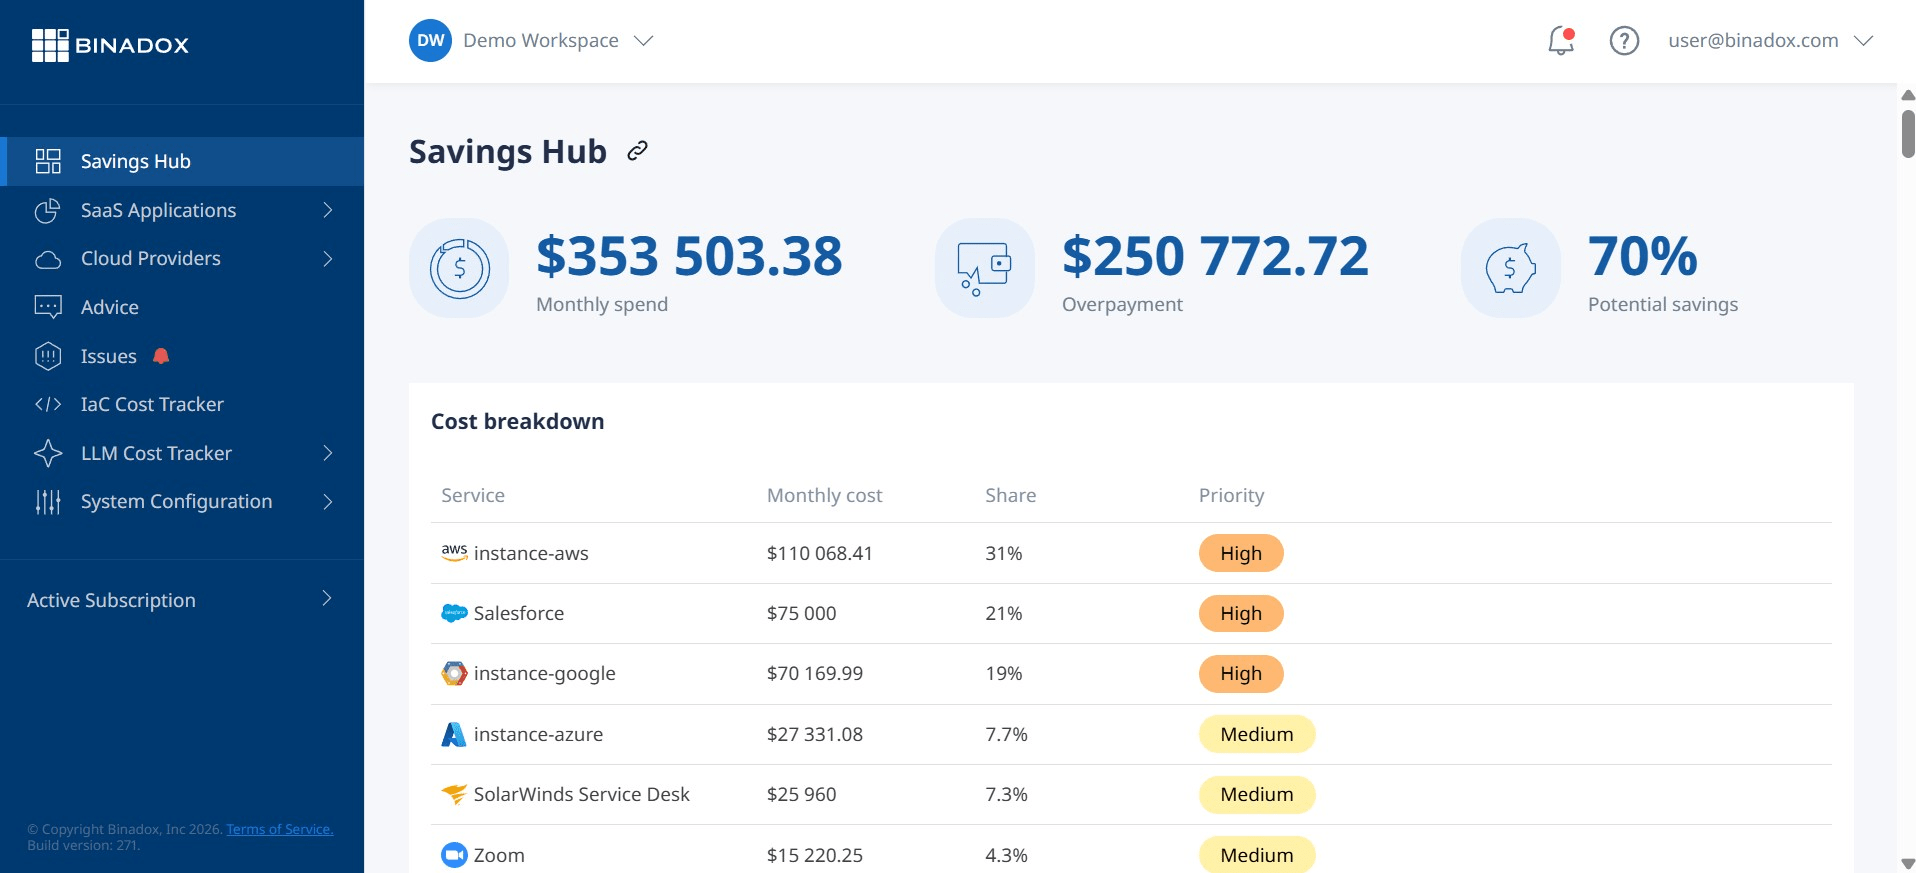
The Azure Cost Management + Billing tool provides detailed visibility into where your money is going. Use it to:
- Analyze spending patterns: Group costs by service, location, or resource tags to understand your primary cost drivers.
- Set budgets and alerts: Create budgets for subscriptions or resource groups and configure alerts to notify you when spending exceeds a certain threshold. This helps prevent bill shock at the end of the month.
- View Advisor recommendations: Cost Management integrates directly with Azure Advisor, putting cost-saving recommendations in the same place you analyze your spending.
Azure Reservations and Savings Plans
For workloads with consistent, predictable usage, such as production web servers or databases, using the default pay-as-you-go pricing is expensive. Instead, leverage commitment-based discounts:
- Azure Reserved Instances (RIs): By committing to a one- or three-year term for specific VMs or other services, you can save up to 72% compared to pay-as-you-go rates. RIs are ideal for stable, long-running workloads.
- Azure Savings Plans: This model offers more flexibility than RIs. You commit to a fixed hourly spend on compute services for a one- or three-year term and receive discounts across various VM families and regions.
Azure Hybrid Benefit
If you already own on-premises Windows Server or SQL Server licenses with active Software Assurance, the Azure Hybrid Benefit allows you to use those licenses on Azure. This effectively eliminates the software licensing cost from your VMs, paying only for the base compute infrastructure. When combined with Reserved Instances, savings can reach up to 85% for some workloads. The benefit also extends to certain Red Hat and SUSE Linux subscriptions.
Step 4: Automate Governance and Cleanup
Cost optimization is not a one-time project; it’s an ongoing process. New resources are created daily, and without proper governance, waste will inevitably creep back in.
Implement Azure Policy
Azure Policy is a powerful service for enforcing rules and standards across your Azure environment. You can use it to automate cost governance by:
- Restricting expensive SKUs: Prevent users from deploying unnecessarily large or expensive VM types.
- Enforcing tagging: Require all new resources to be tagged with a cost center or owner. This is critical for allocating costs and identifying the source of unexpected spending.
- Auditing for compliance: Create policies that audit for non-compliant resources, such as storage accounts without lifecycle management enabled.
Automate Shutdown Schedules
Development, testing, and staging environments often don’t need to run 24/7. Use Azure Automation runbooks or Logic Apps to schedule these non-production resources to shut down automatically during evenings and weekends. This simple step can reduce the compute costs for these environments by over 60% with no impact on productivity.
Azure Cost Optimization Best Practices: Beyond the Basics
Once you have addressed the fundamentals of finding and eliminating waste, you can move on to more advanced optimization strategies. This includes adopting a FinOps culture where engineering, finance, and business teams collaborate to manage cloud costs.

Continuously review and act on the recommendations from Azure’s native tools. Schedule regular reviews of your spending, adjust your Reserved Instance commitments as workloads change, and always be on the lookout for new ways to improve efficiency.
Ultimately, controlling your Azure spend is not about restricting innovation; it’s about ensuring every dollar you spend in the cloud delivers real business value. By following these azure cost optimization best practices, you can turn a reactive, unpredictable cost center into a lean, efficient, and financially transparent operation. The cloud giveth, and the cloud taketh away—but with a little diligence, it doesn’t have to take quite so much.
Ready to move beyond reactive spending and achieve truly lean, efficient cloud operations? You can begin optimizing your Azure environment today by trying a free trial of our solution or scheduling a personalized demo to see its full capabilities.
 7-day free trial