



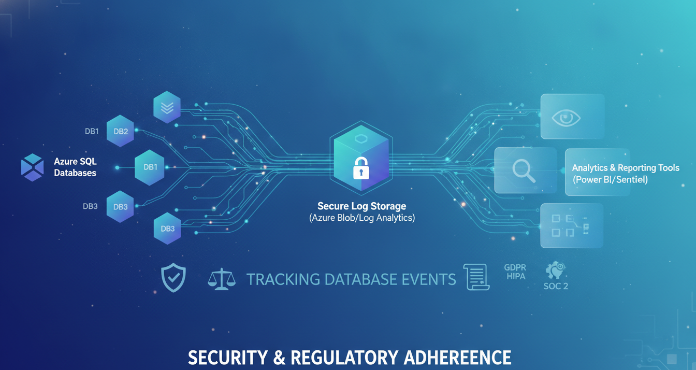
Understanding who did what, and when, in your databases is fundamental to security and compliance. For organizations using Microsoft’s cloud database services, a robust Azure SQL auditing strategy is not just a best practice; it’s a necessity. This process tracks database events, writing them to an audit log that can help you understand database activity, spot anomalies that might indicate a security violation, and maintain regulatory compliance. This article provides a practical guide to setting up, managing retention for, and monitoring your audit logs effectively.
Key takeaways
- Flexible Destinations: You can send audit logs to three primary destinations: an Azure Storage account for long-term archival, a Log Analytics workspace for detailed analysis, or Azure Event Hubs for integration with third-party SIEM tools.
- Server vs. Database Policy: Auditing can be enabled at the server level, which applies to all databases on that server, or on a per-database basis for more granular control.
- Retention is Critical: For compliance with standards like PCI-DSS or HIPAA, you must configure log retention. A common baseline is to retain audit logs for a minimum of 90 days.
- Setup in 5 Steps: Enabling server-level auditing via the Azure portal is a straightforward, five-step process that ensures all existing and future databases are monitored consistently.
What is Azure SQL Auditing?
Azure SQL Auditing is a feature that tracks and logs events occurring within your Azure SQL Database and Azure Synapse Analytics. These events include actions like database logins, data modifications (INSERT, UPDATE, DELETE), and schema changes (CREATE, ALTER, DROP). The primary purpose is to provide a detailed record of database activities, which is crucial for several reasons:
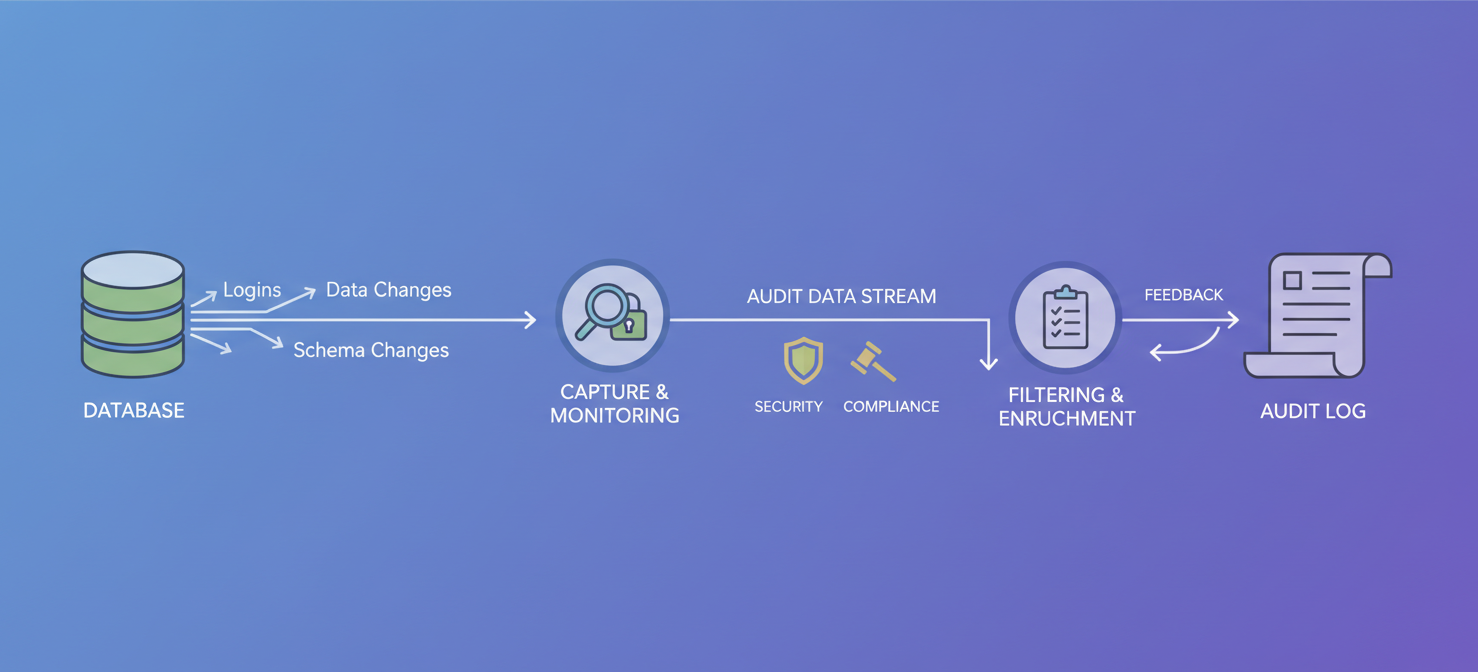
- Security: By monitoring database activity, you can detect suspicious events and unusual patterns that could signal a security breach or an insider threat.
- Compliance: Many industry regulations and data protection standards require a clear audit trail of access to sensitive data. Auditing helps you meet these requirements.
- Troubleshooting: When issues arise, audit logs can provide valuable insights into the sequence of events that led to the problem, helping your team diagnose and resolve it faster.
It’s important to note that while the auditing feature itself is built-in, you will incur costs based on where you choose to store the logs. For example, storing logs in an Azure Storage account or sending them to a Log Analytics workspace comes with associated data storage and ingestion fees.
How to Set Up Azure SQL Auditing
Setting up auditing is a critical first step. While you can configure policies at the individual database level, the recommended best practice is to enable server-level auditing. This approach ensures that all existing and newly created databases on the server are audited by default, providing consistent coverage.
Enabling Auditing via the Azure Portal
You can enable auditing in just a few clicks directly from the Azure portal.
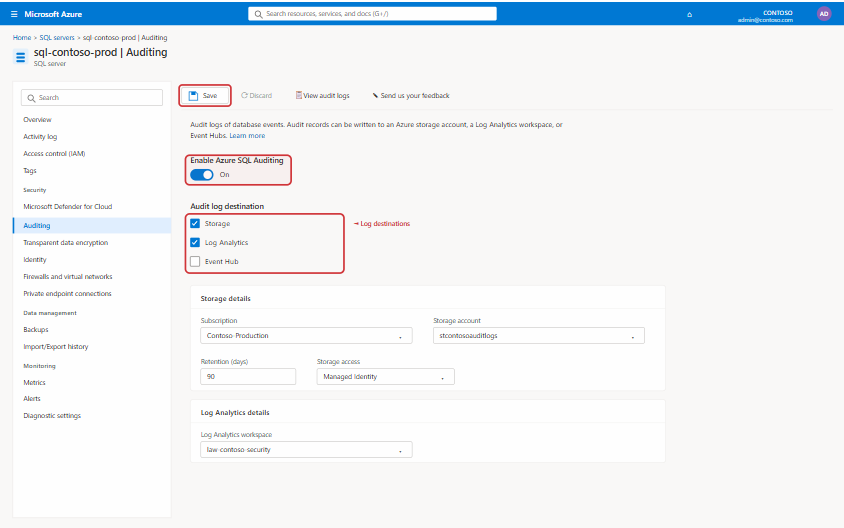
- Navigate to your SQL Server: In the Azure portal, find and select the logical SQL server you want to configure.
- Open Auditing Settings: In the server’s navigation menu, locate the “Security” section and click on “Auditing”.
- Enable Auditing: Toggle the “Enable Azure SQL Auditing” switch to the “ON” position.
- Choose Log Destinations: You must select at least one destination for your audit logs.
- Storage: For long-term retention, select this option and configure an Azure Storage account. This is the most cost-effective choice for archival.
- Log Analytics: To perform active monitoring and analysis, send logs to a Log Analytics workspace. This allows you to run queries and set up alerts.
- Event Hub: Use this option to stream audit data to other systems, such as a third-party security information and event management (SIEM) tool.
- Save Your Configuration: Click the “Save” button to apply the settings. Auditing will begin tracking events immediately.
Enabling auditing at the server level creates a baseline policy. If a specific database requires different settings—for instance, a different storage account or retention period—you can still configure a separate database-level policy that will exist alongside the server policy. However, this can lead to the same event being logged twice, so it should be done only when necessary.
Configuring Audit Log Retention
Simply collecting audit logs is not enough; you must also manage their lifecycle. Log retention policies are essential for both compliance and cost management. Different regulations may mandate specific retention periods, often requiring logs to be kept for several months or even years.
When you configure an Azure Storage account as your log destination, you have direct control over the retention period.
- Setting Retention Days: In the auditing configuration pane for your storage destination, you can specify the retention period in days. A value of
0means unlimited retention. For many compliance frameworks, a retention period of at least 90 days is a common requirement. - Immutable Storage: For stricter compliance needs, you can configure the Azure Storage account to use immutable storage. This feature, once enabled with a time-based policy, ensures that logs cannot be altered or deleted for a specified interval.
If you send logs to a Log Analytics workspace, retention is governed by the workspace’s pricing tier and settings, which can be configured separately. Properly planning your storage and retention strategy is key to balancing compliance requirements with operational costs.
Monitoring and Analyzing Audit Logs
An audit trail is only useful if you review it. Regularly analyzing your logs helps you identify anomalies, investigate security incidents, and demonstrate compliance. The tools you use will depend on the destination you selected during setup.
Using Azure Log Analytics
For teams that need to actively query and visualize audit data, Log Analytics is the most powerful option.
- Viewing Logs: From the “Auditing” page in the Azure portal, you can click “View audit logs,” which will take you directly to the Log Analytics query interface.
- Kusto Query Language (KQL): Log Analytics uses KQL to search and analyze data. You can start with a simple query like
SQLSecurityAuditEventsto see all recent audit records and then filter down by time, user, or event type. - Dashboards and Alerts: The service includes a pre-built dashboard that visualizes key security insights. Furthermore, you can create custom Azure Monitor alerts based on your KQL queries to be notified of critical events in near real-time, such as a spike in failed logins.
Accessing Logs in Azure Storage
If you are storing logs in Azure Storage for archival, you can still access and analyze them.
- Azure Portal Viewer: The “View audit logs” button also works for storage accounts, providing a basic interface to filter and review records.
- SQL Server Management Studio (SSMS): The audit logs are stored in
.xelformat, which can be downloaded and opened with SSMS. SSMS even provides a feature to merge multiple audit files for easier analysis. - Azure Storage Explorer: This tool allows you to connect directly to your storage account to browse and download the log files for offline analysis.
Best Practices for Azure SQL Auditing
To build a mature and effective auditing strategy, consider these best practices.
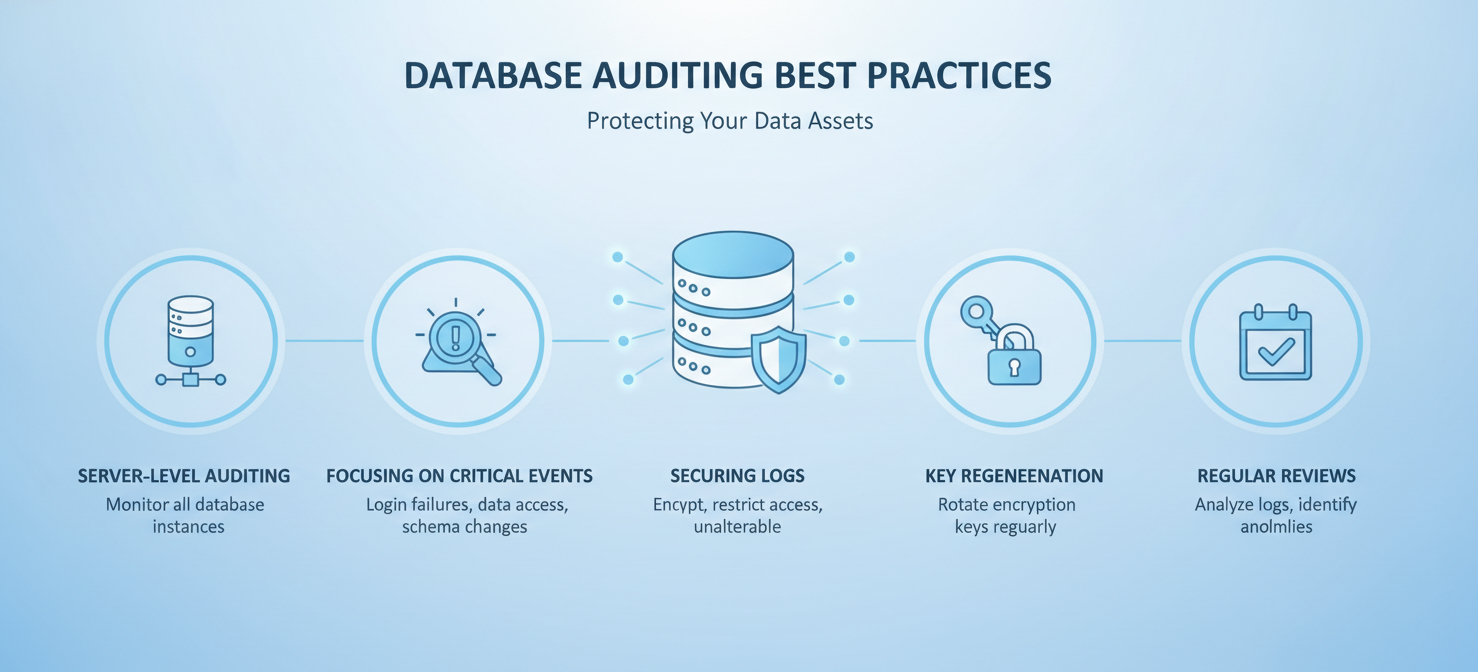
- Enable Server-Level Auditing: As mentioned, this is the recommended approach. It provides comprehensive coverage and simplifies management by ensuring all databases are audited by default.
- Focus on Critical Events: While it’s possible to log everything, this can generate a high volume of noise. Focus on the most critical events, such as failed authentications, permission changes, and schema modifications.
- Secure Your Audit Logs: The logs themselves contain sensitive information. Ensure the storage account or Log Analytics workspace holding your audit data is properly secured with strict access controls.
- Regenerate Storage Keys Periodically: If you use storage access keys for authentication, you should have a process to regenerate them regularly to minimize the risk of a compromised key.
- Schedule Regular Reviews: An audit log that no one looks at provides little value. Your team should schedule regular, proactive reviews of audit data—at least monthly—to look for unusual activity and ensure the system is working as expected.
Conclusion
Implementing a thorough Azure SQL auditing strategy is a non-negotiable aspect of modern data management. It moves the task of monitoring from a reactive chore to a proactive security measure. By properly setting up auditing at the server level, defining clear retention policies to meet compliance needs, and regularly analyzing the collected logs, your team gains crucial visibility into database activity. This process not only helps in detecting potential threats but also provides the evidence needed to satisfy auditors. Ultimately, a well-configured audit trail is not just about ticking a compliance box; it’s about fundamentally understanding and securing your data environment.
To truly master your Azure SQL security and compliance, explore how our solution can streamline your auditing process; you can easily start a free trial to experience it firsthand or book a demo for a personalized walkthrough.
 7-day free trial