


Understanding Azure App Service costs is crucial for managing your cloud budget effectively. The pricing model, while flexible, has several components that can impact your monthly bill. This article breaks down how App Service plans, tiers, scaling, and related resources contribute to your overall spending and offers practical strategies for optimization.
Key takeaways:
- An App Service plan is the primary cost driver, not the number of apps you run. Consolidating multiple low-traffic apps onto a single plan can reduce costs by over 60%.
- Pricing tiers act as feature gates; moving to a higher tier unlocks capabilities like auto-scaling and deployment slots, which are unavailable in lower tiers.
- Auto-scaling, available in Standard tiers and higher, helps manage costs by adjusting instance counts based on demand, preventing you from paying for idle resources.
- Associated resources like databases, storage for logs, and networking components add to the total cost and must be managed separately.
Understanding Azure App Service Pricing
The core of Azure App Service pricing revolves around the App Service plan. Think of this plan as the container for your web apps, defining the set of compute resources they run on. You are billed for the compute resources allocated to the plan, not for the individual apps running within it. This means you can host multiple applications on a single plan, sharing its resources and cost.
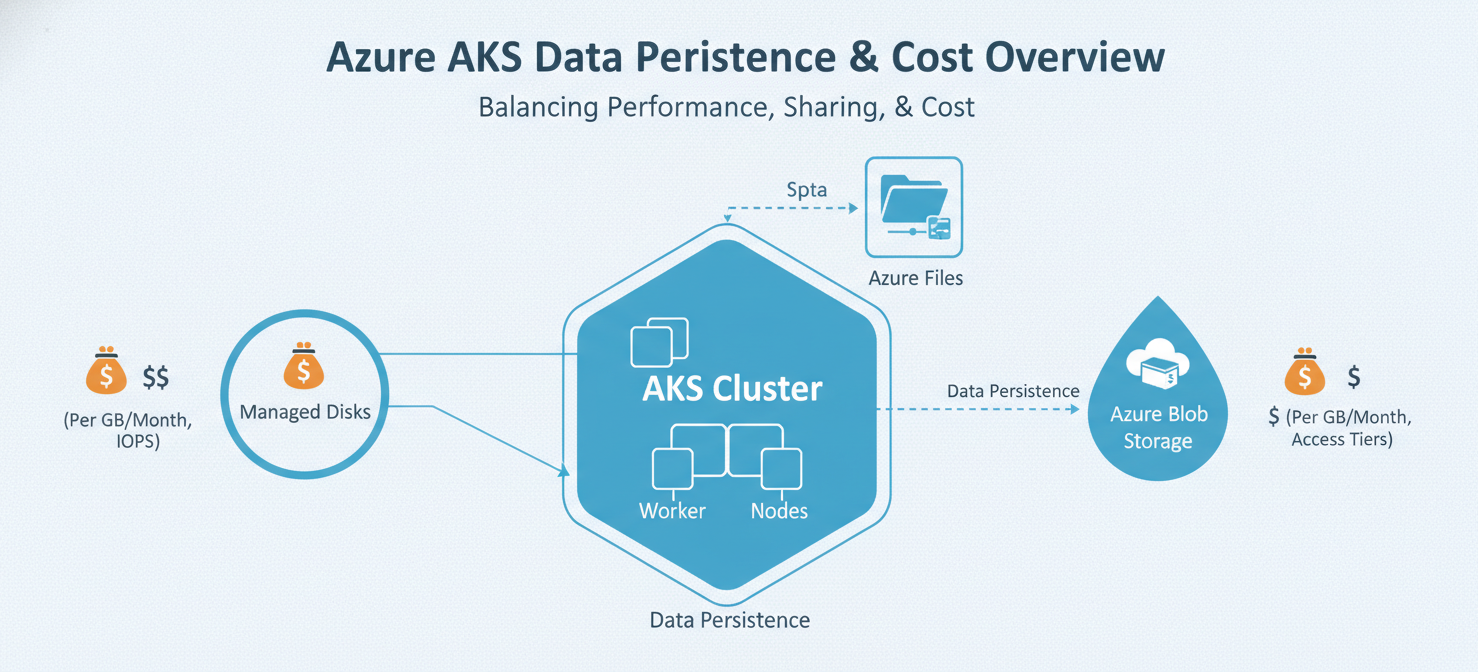
Your monthly cost is primarily determined by a few key factors:
- Pricing Tier: The service level (e.g., Free, Basic, Standard, Premium) you select.
- Instance Count: The number of virtual machine (VM) instances your plan is scaled to.
- Operating System: Windows-based plans often cost more than Linux plans due to licensing fees.
- Region: Prices can vary depending on the Azure data center region you choose.
In addition to the plan itself, other services can contribute to your bill. These include outbound data transfers, App Service domains, SSL certificates, and storage for backups or diagnostic logs.
How Hosting Plans, Tiers, and Instance Counts Affect Costs
The choices you make regarding your App Service plan directly influence your spending. Each component plays a distinct role in the final bill.
Pricing Tiers as Feature Gates
Microsoft structures App Service tiers to separate development and testing environments from production workloads. Moving up the pricing ladder doesn’t just give you more CPU and memory; it unlocks critical features.
- Free and Shared Tiers: These run on shared infrastructure alongside other customers’ apps. They are suitable for development and testing but have CPU quotas and lack features like custom domains (on Free) or auto-scaling.
- Basic Tier: This offers dedicated compute resources, making it a starting point for production workloads that don’t require advanced features like auto-scaling or deployment slots.
- Standard Tier: A good fit for most production applications, this tier introduces auto-scaling, deployment slots for staging environments, and daily backups.
- Premium Tiers (v2, v3, v4): These provide higher-performance VMs, more memory, and advanced features like VNet integration, making them ideal for large-scale, mission-critical applications.
- Isolated Tiers: For applications requiring the highest level of security and compliance, this tier runs on dedicated virtual networks, providing both compute and network isolation.
Instance Counts and Compute Hours
For any dedicated tier (Basic and above), you are charged per VM instance on an hourly basis. If you configure your Standard plan to run on three instances, you pay for three VMs running 24/7, regardless of traffic levels. This is why understanding instance counts is fundamental to managing Azure App Service costs. The total cost is a simple multiplication: the hourly rate of your chosen tier multiplied by the number of instances.
Scaling, Deployment Slots, and Related Resource Charges
Beyond the basic plan, several other features and resources can impact your spending.
Vertical vs. Horizontal Scaling
Azure App Service offers two ways to scale your application, each with different cost implications:
- Vertical Scaling (Scaling Up): This involves changing your pricing tier to get more powerful hardware (more CPU, RAM, storage). You might scale up from a Basic to a Standard tier to unlock auto-scaling capabilities.
- Horizontal Scaling (Scaling Out): This means increasing the number of VM instances your application runs on. This is the primary method for handling increased traffic and is controlled manually or through auto-scaling rules. Each additional instance incurs a charge.
Auto-scaling, available in Standard and higher tiers, is a key tool for cloud cost optimization. It allows you to automatically add instances to handle high traffic and remove them when demand subsides, ensuring you only pay for the compute power you need.
Deployment Slots
Deployment slots are live apps with their own hostnames, allowing you to stage and test changes before swapping them into production. There is no additional charge for using deployment slots. However, they run on the same App Service plan and share the same compute resources as your production slot. The number of slots available depends on your pricing tier.
Associated Resource Costs
An App Service plan rarely exists in isolation. Your total cloud bill will likely include charges from other Azure services that your application uses. For example, you may have costs for:
- Azure SQL Database or Azure Cosmos DB: For data storage.
- Azure Storage: For storing diagnostic logs, backups, or application content.
- Azure Networking: Such as virtual networks for isolated plans or Azure CDN to offload static content.
- Azure Key Vault: For managing SSL certificates.
It’s important to remember that even after you delete an App Service plan, these related resources might continue to exist and accrue costs until you delete them separately.
How to Interpret App Service Usage and Billing Records
To effectively manage your Azure cloud cost management strategy, you need to understand where the money is going. Azure provides native tools to help you analyze your spending.
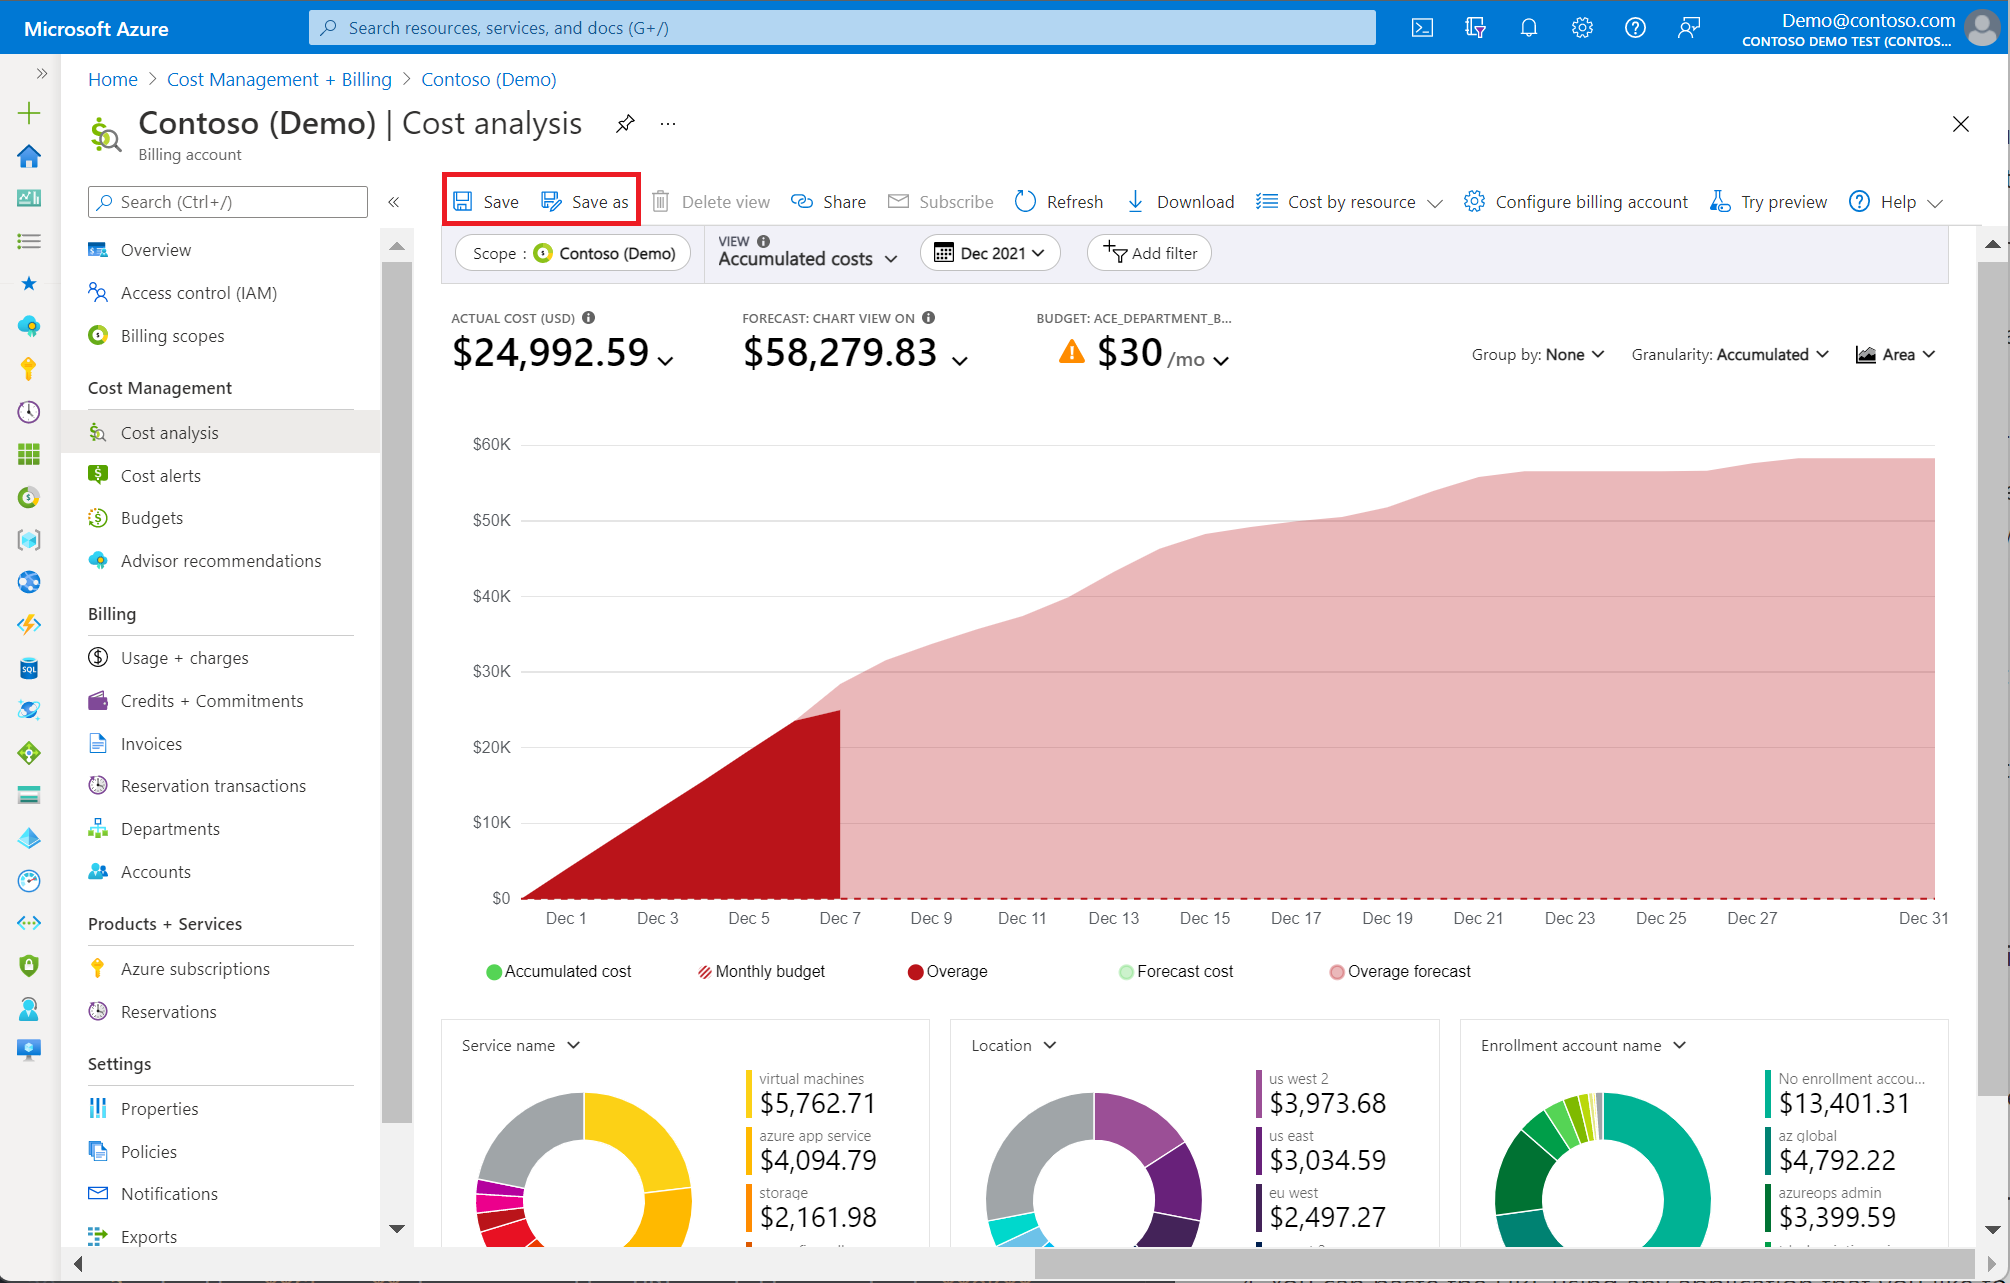
The primary tool is Microsoft Cost Management, available in the Azure portal. It offers a centralized dashboard to monitor and analyze your Azure spending. Within this tool, you can use the cost analysis feature to get a detailed breakdown of your spending by service, resource group, subscription, and tags. This allows you to visualize spending trends and pinpoint what drives your bill.
When reviewing your bill, look for charges associated with your App Service plan instances. The billing model is based on an hourly rate for each running instance, prorated to the second. You can also set up budgets and spending alerts within Azure Cost Management to notify you when costs approach or exceed your predefined thresholds.
How to Identify Underused Plans and Unexpected Charges
A common source of wasted cloud spend is over-provisioned or idle resources. Regularly auditing your environment is essential for effective microsoft cloud cost management.
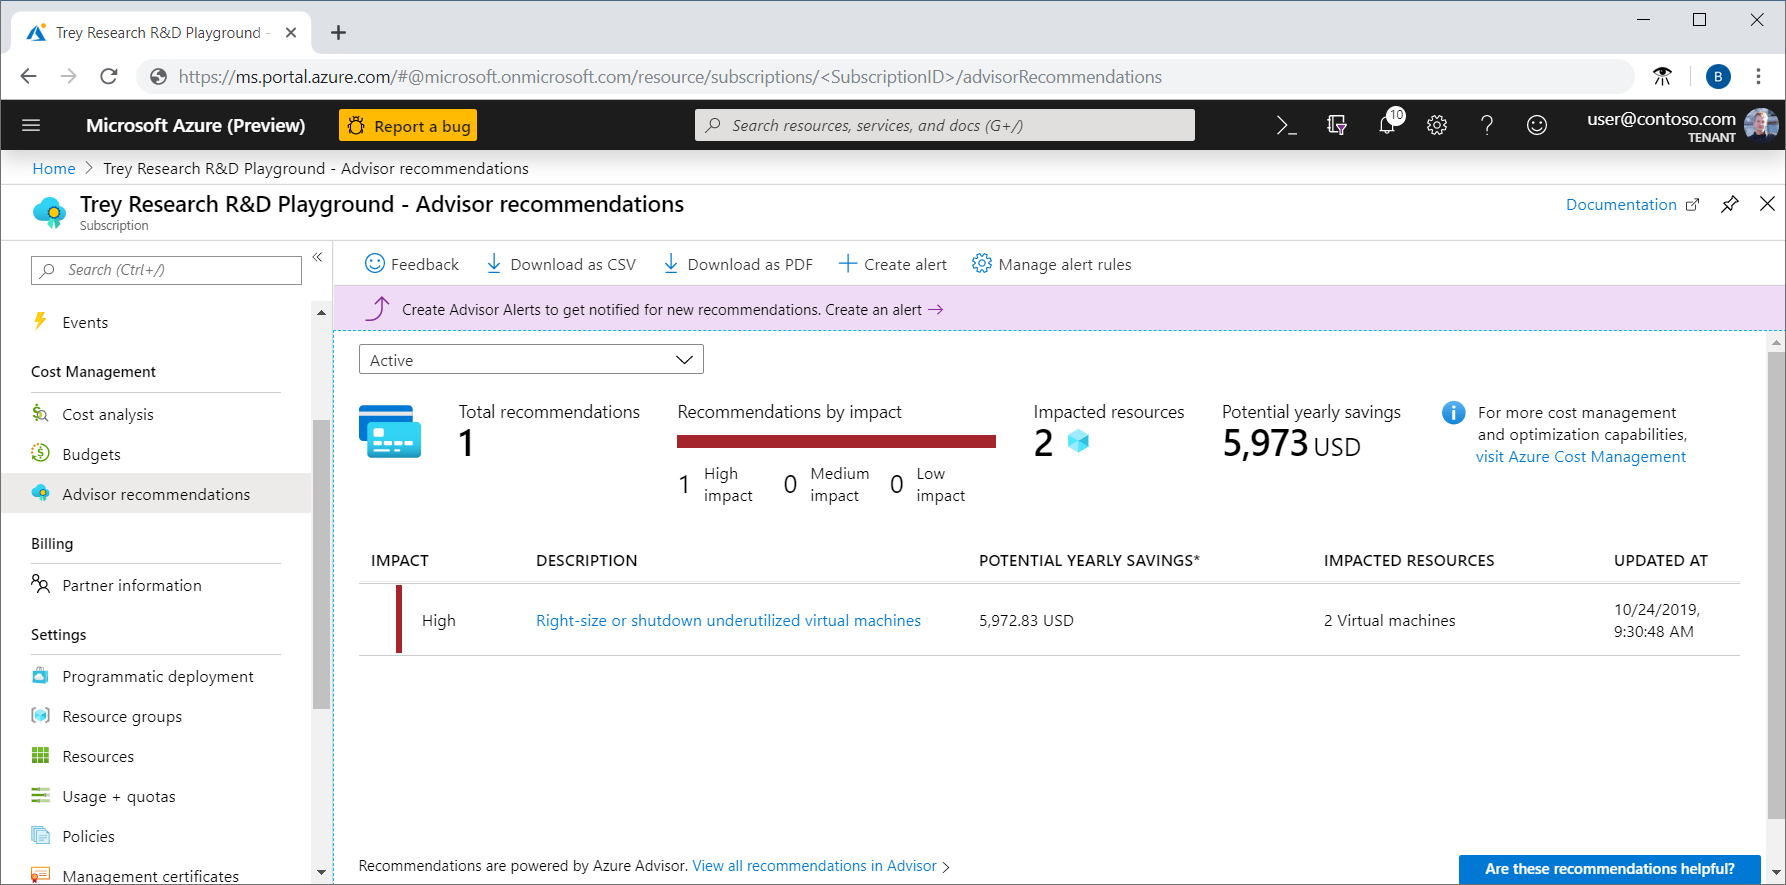
Rightsizing Underused Plans
One of the most effective cost-saving measures is rightsizing. This involves analyzing the performance of your App Service plans to see if they are over-provisioned. Use Azure Monitor to review metrics like CPU and memory utilization over a 30-day period. If the average CPU usage is consistently below 40% and memory is below 50%, your plan is likely a candidate for downsizing. You could move to a smaller instance size within the same tier or even drop to a lower tier.
Azure Advisor also provides personalized recommendations for cost savings, including identifying idle resources that can be shut down or resized.
Detecting Cost Anomalies
Unexpected charges can arise from misconfigurations or forgotten resources. Azure Cost Management includes anomaly detection features that can automatically flag unusual spending spikes. This helps you investigate and address issues quickly before they significantly impact your bill. Regularly check for orphaned resources, such as unattached disks or IP addresses, which can continue to incur charges even when not in use.
How Binadox Helps Analyze App Service Costs
While Azure’s native tools are powerful, third-party platforms like Binadox can provide deeper insights and automation for a more advanced saas spend analysis. Binadox offers a comprehensive cloud cost management solution designed to give you granular visibility into your Azure spending.
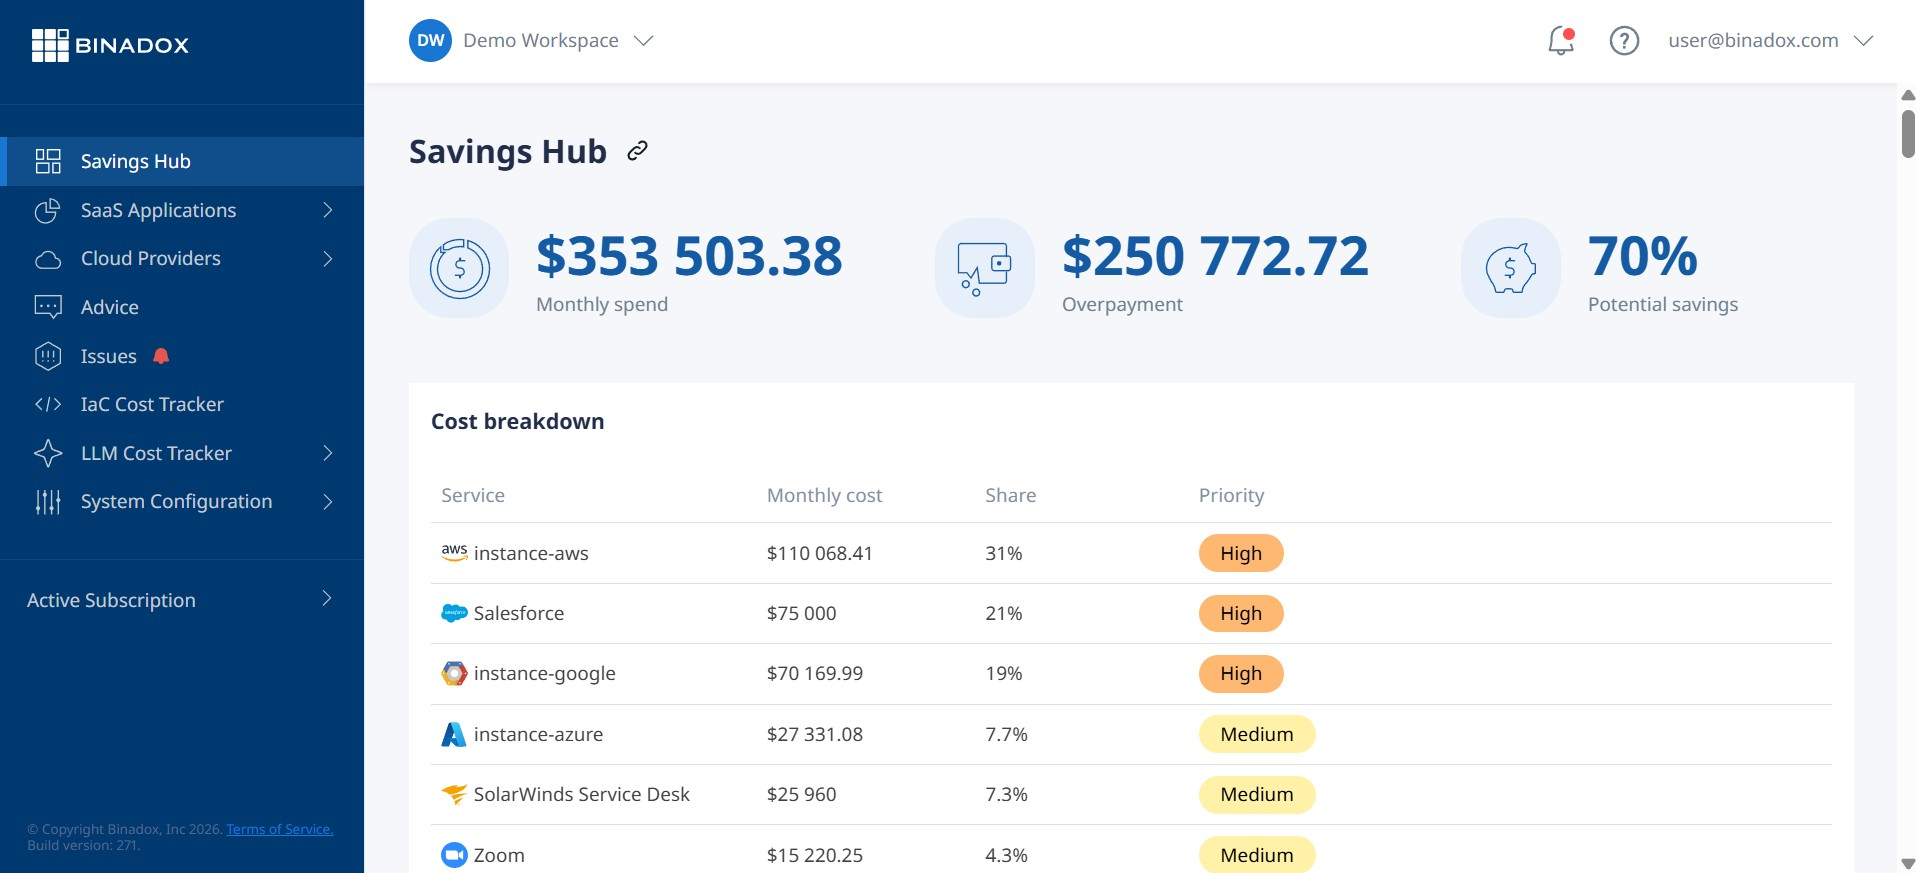
Binadox helps you analyze and manage cloud cost by:
- Providing Real-Time Monitoring: It offers a centralized dashboard with resource-level insights across App Services, VMs, and databases.
- Automating Resource Optimization: The platform uses AI and machine learning to analyze usage patterns and deliver automated recommendations for rightsizing VMs and optimizing storage. This can lead to significant cost reductions without impacting performance.
- Enhancing Cost Governance: Binadox allows you to implement advanced resource tagging, allocate costs to specific departments or projects, and set up automated budget alerts to prevent overruns.
- Simplifying Multi-Cloud Management: For organizations using multiple cloud providers, Binadox provides a unified view to manage costs across different environments seamlessly.
By integrating with the Azure Cost Management API, Binadox can pull detailed usage data to build custom reports and predictive forecasts, transforming cost management from a reactive task into a proactive strategy.
Best Practices for Managing App Service Spending
Effective cloud cost management azure is an ongoing process, not a one-time fix. Adopting a set of best practices can help your team maintain control over spending.
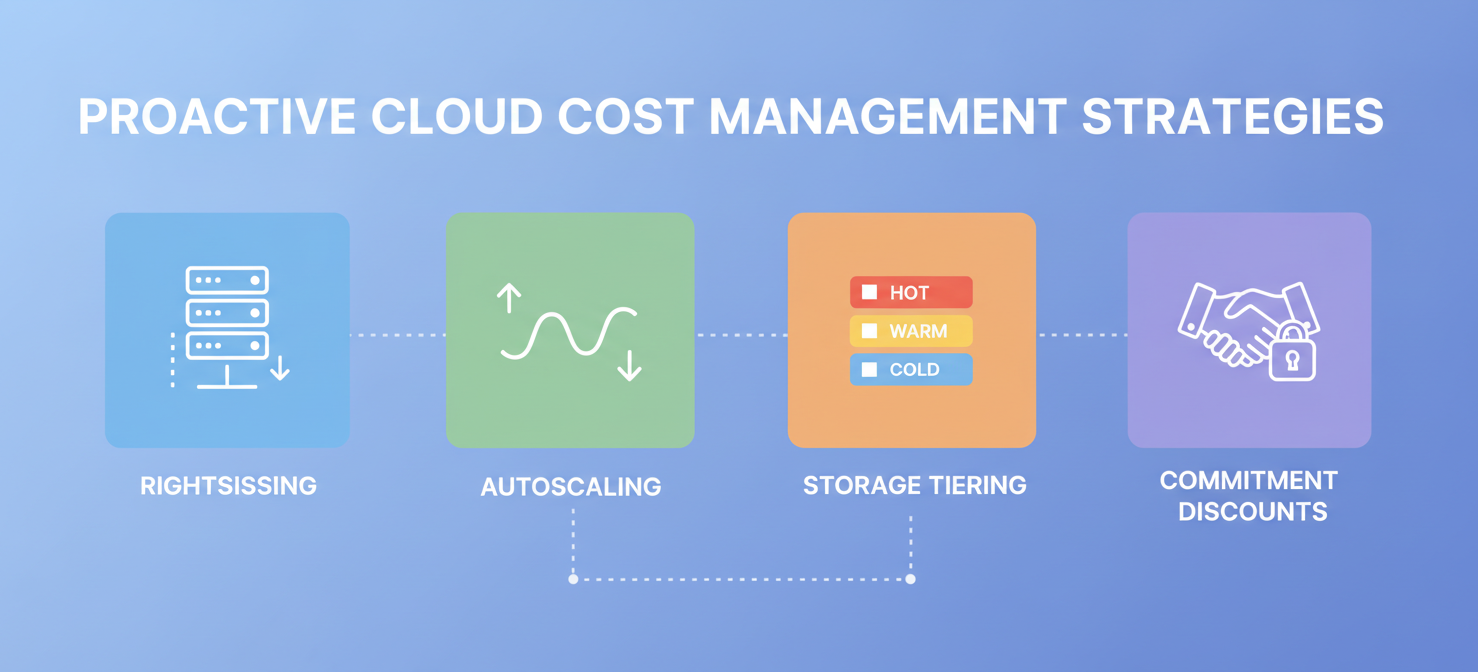
- Consolidate Apps: Instead of deploying each application to its own plan, group low-traffic apps onto a shared plan. A single Standard plan can often host several small apps, dramatically reducing costs compared to running multiple separate plans.
- Rightsize Continuously: Don’t treat rightsizing as a one-off task. Regularly review your performance metrics and adjust your plans to match your actual needs.
- Use Auto-Scaling Wisely: For workloads with variable traffic, configure auto-scaling to match capacity with demand. This prevents paying for idle instances during off-peak hours.
- Leverage Reservations: For predictable, long-running workloads, consider using Azure Reservations. By committing to a one- or three-year term on Premium tier instances, you can achieve savings of up to 55%.
- Automate Governance: Use Azure Policy and automated scripts to enforce tagging standards, schedule shutdowns for non-production environments outside of business hours, and clean up unused resources.
- Choose the Right OS: Whenever possible, use Linux for your App Service plans, as it is generally more cost-effective than Windows.
By combining these strategies with powerful analysis tools, you can gain control over your Azure App Service costs and ensure you are getting the most value from your cloud investment.
Controlling your Azure App Service costs comes down to visibility and continuous optimization. The default is often to over-provision, leading to wasted spend on idle compute capacity. By understanding that you pay for the plan, not the app, you can make smarter decisions about consolidation. Regularly analyzing utilization data, rightsizing your plans, and automating scaling rules are not just one-time fixes but an ongoing discipline. Ultimately, failing to manage these costs is like leaving the lights on in an empty building—it serves no one and drains your budget.
To gain deeper control over your Azure App Service spending and move beyond manual optimization, you can explore Binadox’s capabilities by starting your free trial or arranging a personalized demonstration.
 7-day free trial