


Managing cloud expenses is a critical discipline for any team using containerized applications. While Azure Kubernetes Service (AKS) simplifies deploying and managing these applications, its flexibility can lead to rising expenses if not governed correctly. Understanding Azure Kubernetes Service costs is not about indiscriminately cutting budgets; instead, it’s about eliminating waste, paying only for necessary resources, and maximizing the value of your Azure infrastructure.
This article breaks down the core components of your AKS bill. We will explore everything from the virtual machines that power your cluster to the networking resources that connect your applications. Gaining this knowledge will help you navigate the financial side of running a production-ready Kubernetes environment.
Key takeaways
- The majority of AKS costs, often 70-80%, come from the worker node virtual machines (VMs) that run your applications.
- Azure offers a free tier for AKS cluster management, but you always pay for the underlying compute, storage, and networking resources your cluster consumes.
- For production workloads, an optional Uptime SLA provides a financially-backed guarantee for the Kubernetes API server, costing about $0.10 per cluster per hour (roughly $73/month).
- Effective kubernetes cost management involves right-sizing workloads, using autoscaling, and leveraging different VM purchasing options like Spot and Reserved Instances.
Understanding Azure Kubernetes Service Costs
The AKS cost structure has two main parts: the cluster management fee and the resources your cluster consumes. For many users, especially those with smaller development clusters, the management of the Kubernetes control plane itself is free. However, you always pay for the Azure resources that your cluster uses, which are the primary drivers of your monthly bill.
Cluster Management Tiers
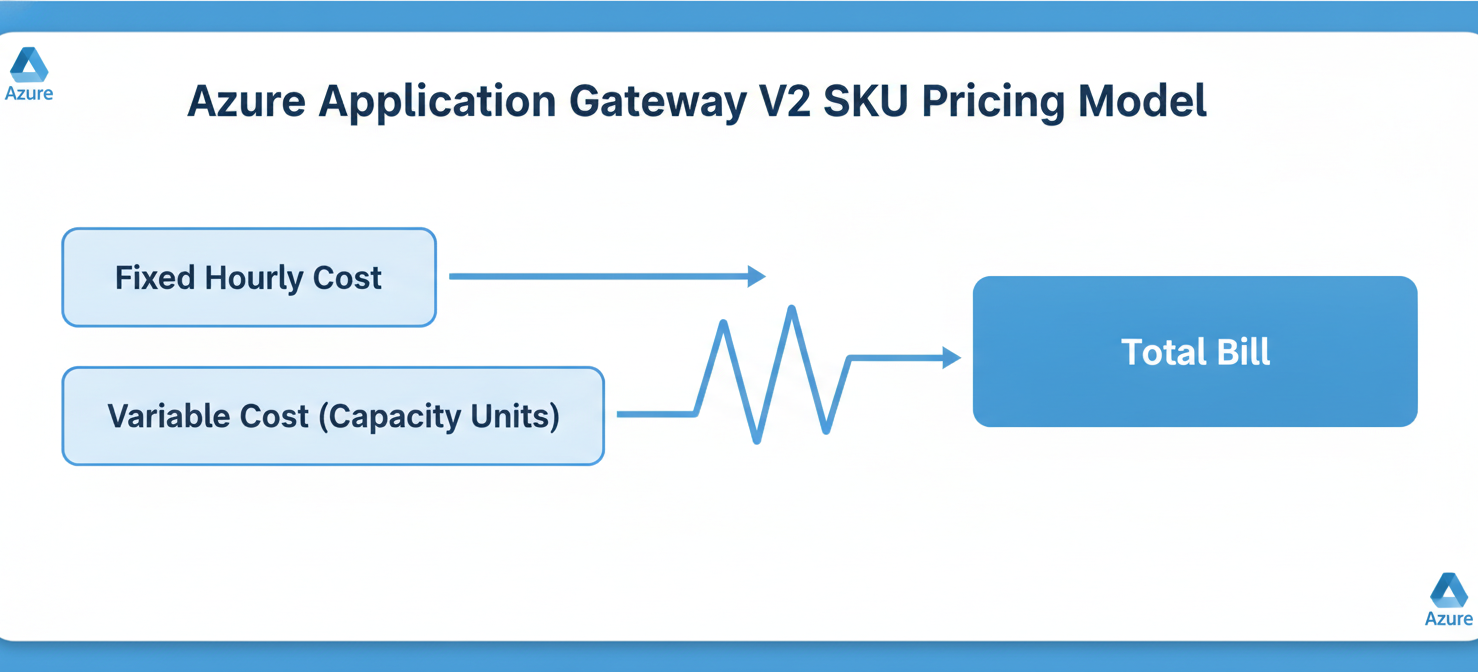
Azure provides multiple pricing tiers for AKS cluster management, which determines the reliability and support level for your Kubernetes control plane (the API server, scheduler, etc.).
- Free Tier: This is the default option and, as the name suggests, has no hourly charge for cluster management. It is suitable for development, testing, and non-critical workloads. While there is no financially-backed Service Level Agreement (SLA), Azure provides a target availability of 99.5%.
- Standard Tier: Recommended for production environments, this tier costs approximately $0.10 per cluster per hour. In return, it provides a financially-backed 99.9% uptime SLA (99.95% for clusters using Availability Zones) and supports clusters with up to 5,000 nodes.
- Premium Tier: This tier builds on the Standard tier, adding Long-Term Support (LTS) for specific Kubernetes versions. It costs about $0.60 per cluster per hour and is designed for organizations that need extended security patch support.
The management fee is a small fraction of the total Azure Kubernetes Service costs. The bulk of your spending will come from the resources your worker nodes and applications consume.
How Node Pools, VM Sizes, and Workload Scaling Affect Costs
The most significant portion of your AKS bill comes from the worker nodes. These are the Azure Virtual Machines (VMs) that execute your containerized applications. Consequently, your costs are directly tied to the number of VMs you use, their size (CPU and memory), and their configured purchasing model.
Choosing the Right Virtual Machines
Azure offers a vast selection of VM types, each optimized for different workloads. Selecting the appropriate VM series for your node pools is a crucial step in azure cloud cost management.
- General Purpose (e.g., D-series, B-series): These offer a balanced ratio of CPU to memory and are suitable for a wide range of applications, from web servers to small databases.
- Compute Optimized (e.g., F-series): With a high CPU-to-memory ratio, these are ideal for applications that require significant processing power.
- Memory Optimized (e.g., E-series): These provide a high memory-to-CPU ratio, making them a good fit for memory-intensive applications like large databases and analytics workloads.
VM Purchasing Options and Autoscaling
Beyond VM types, you can control costs by choosing different purchasing options. While the default is pay-as-you-go, you can achieve substantial savings with other models.
- Reserved Instances (RIs): By committing to a one- or three-year term, you can save up to 72% compared to pay-as-you-go prices. This is ideal for stable, predictable workloads.
- Azure Spot Virtual Machines: You can access unused Azure compute capacity at discounts of up to 90%. However, these instances can be preempted with little notice, making them suitable only for fault-tolerant and interruptible workloads.
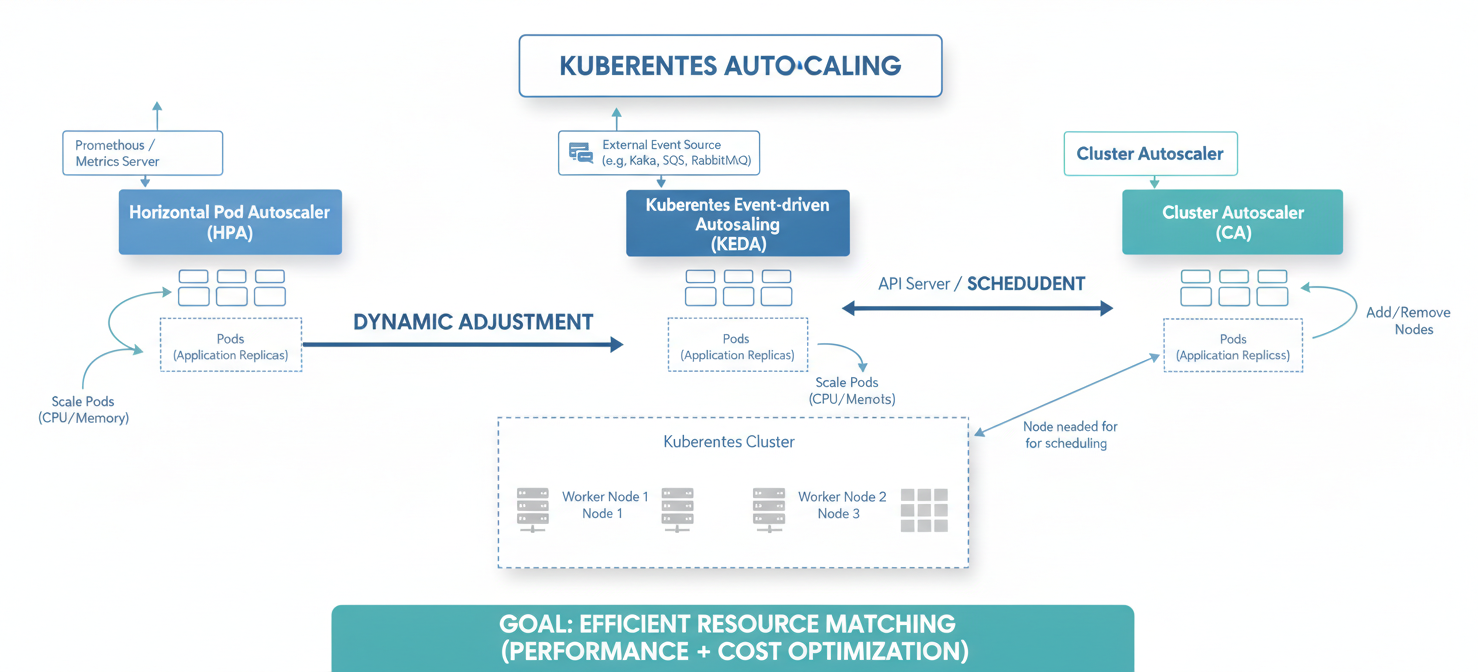
- Autoscaling: To avoid paying for idle resources, you should implement autoscaling. The Cluster Autoscaler automatically adjusts the number of nodes in your cluster based on demand. In addition, the Horizontal Pod Autoscaler (HPA) scales the number of application pods, allowing the Cluster Autoscaler to scale nodes down when pods are no longer needed.
Networking, Load Balancers, Disks, and Related Resources
While compute resources form the bulk of AKS costs, several other services contribute to your monthly bill. These include storage for persistent data, networking for traffic management, and other related resources.
Storage Costs
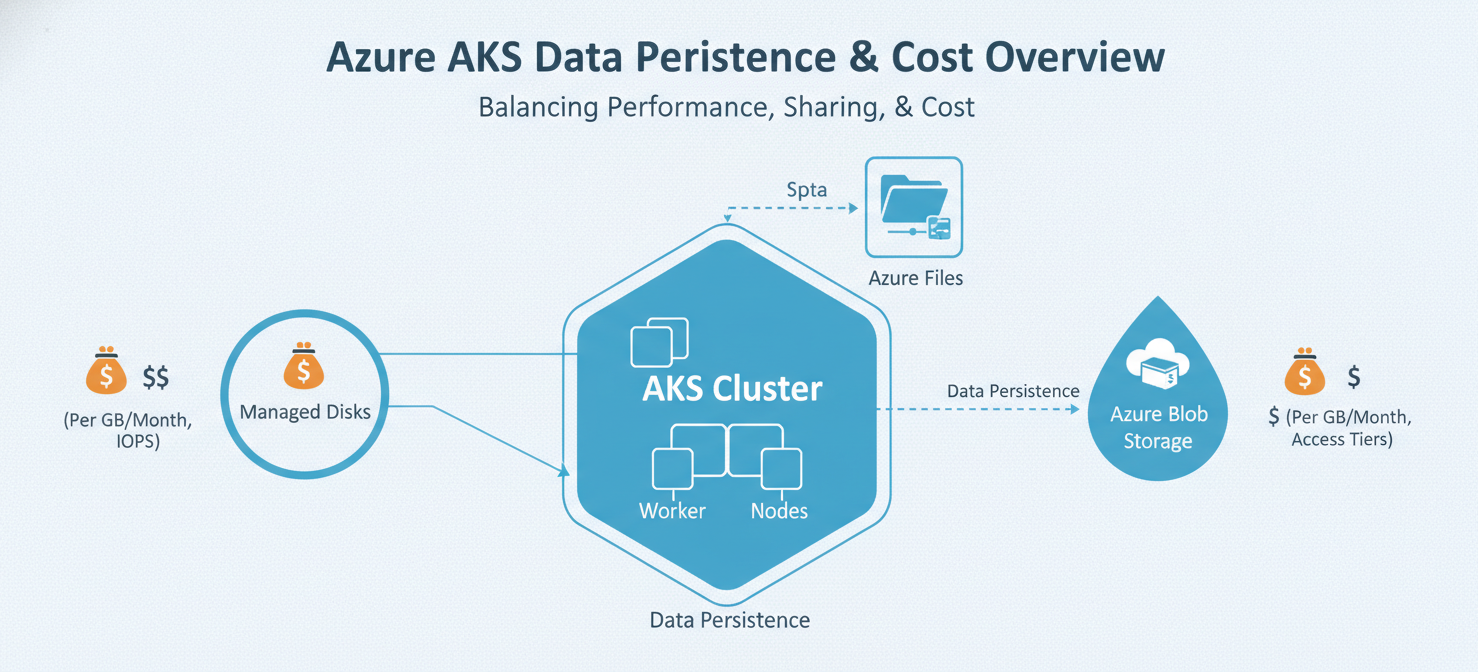
Containerized applications often require persistent storage. In AKS, this is typically provided by Azure Managed Disks. The cost depends on the disk type and its provisioned size.
- Standard HDD: The most cost-effective option, suitable for backups, development, and non-critical workloads.
- Standard SSD: Offers better performance and consistency than HDDs, making it a good choice for web servers and lightly used applications.
- Premium SSD: Designed for production and performance-sensitive workloads that require high throughput and low latency, such as databases.
You pay for the provisioned capacity of a disk, regardless of how much data you actually store. Therefore, it is important to right-size your persistent volumes and clean up unattached disks to avoid unnecessary spending.
Networking and Load Balancer Costs
Networking is another key component of your AKS bill. While traffic within the same virtual network is often free, you will incur costs for a few different services.
- Data Egress: You are charged for data transferred out of an Azure region.
- Load Balancers: To expose your services to the internet, you will use an Azure Load Balancer. The Standard Load Balancer has a small hourly fee for configured rules and a charge per gigabyte of data processed.
- Public IP Addresses: Services exposed via a load balancer require a public IP address, which incurs a small hourly charge.
How to Interpret AKS-Related Billing Records
Understanding your Azure bill is a key part of Kubernetes cost management. Azure Cost Management + Billing is the native tool for analyzing your spending. However, attributing costs in a shared Kubernetes environment can be challenging because multiple applications often run on the same set of VMs.
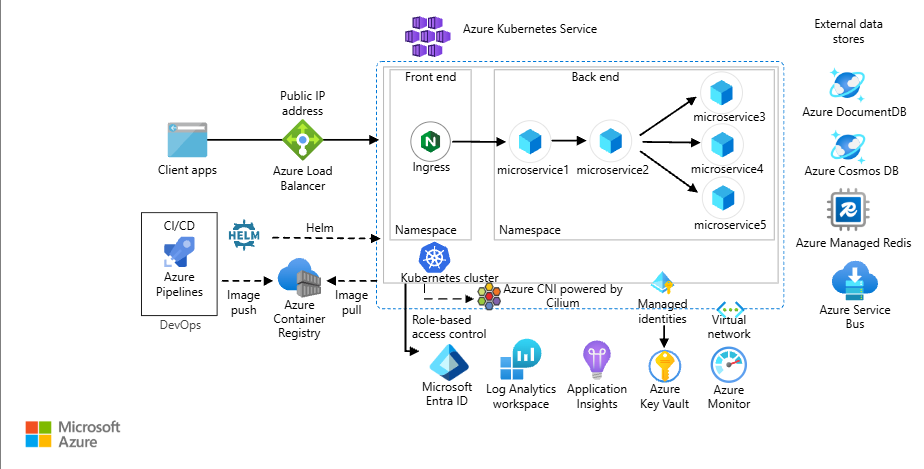
To gain better Kubernetes cost visibility, you can enable the AKS cost analysis add-on. This feature, built on the open-source OpenCost project, breaks down cluster costs by Kubernetes-native constructs like namespaces and labels. After enabling the add-on, you can view reports within the Azure portal that show how much each application or team is costing you, including idle charges for unused but provisioned resources.
How to Identify Costly Clusters and Underused Resources
Once you have visibility into your spending, the next step is to identify areas for optimization. This involves looking for both inefficient clusters and specific underutilized resources.
Start by examining your highest-spending clusters in Azure Cost Management. Are these production clusters with heavy traffic, or are they over-provisioned development environments? Look for clusters with low average CPU and memory utilization, as this is a clear sign of waste.
Drill down into individual node pools. Are you using expensive, high-performance VMs for workloads that don’t require them? Check for persistent disks that are no longer attached to any pods. These “orphaned” resources can accumulate over time and add to your bill without providing any value. Using resource tags consistently across your clusters can help you filter and group costs by project, team, or environment, making it easier to spot anomalies.
How Binadox Helps Analyze AKS Costs
While Azure’s native tools provide a good starting point, third-party platforms like Binadox can offer deeper insights and automation for cloud cost management for Kubernetes. Binadox provides granular visibility into your AKS spending, helping you understand resource consumption patterns across your entire cloud environment.
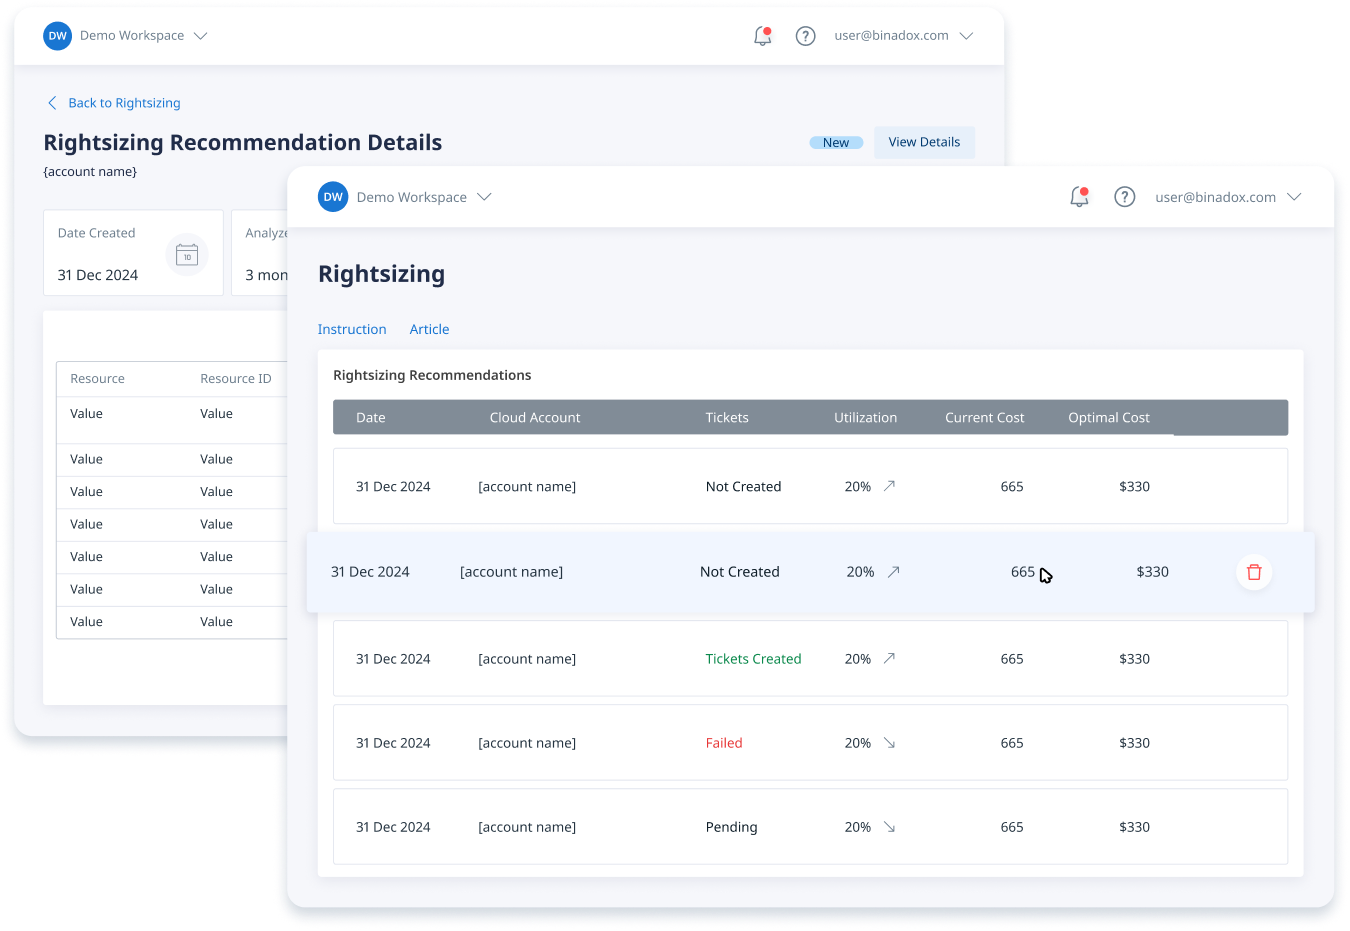
Binadox helps you track spending across multiple subscriptions and resource groups from a unified dashboard. Its AI-powered engine can provide automated rightsizing recommendations for your VMs and storage based on actual usage data. This helps you eliminate over-provisioning and ensures you are using the most cost-effective resources without sacrificing performance. Furthermore, by setting up predictive cost forecasting and anomaly detection, your team can prevent budget overruns before they happen.
Best Practices for Managing AKS Spending
Effective k8s cost management is an ongoing process, not a one-time fix. By adopting a culture of cost awareness and implementing best practices, you can keep your AKS spending under control.
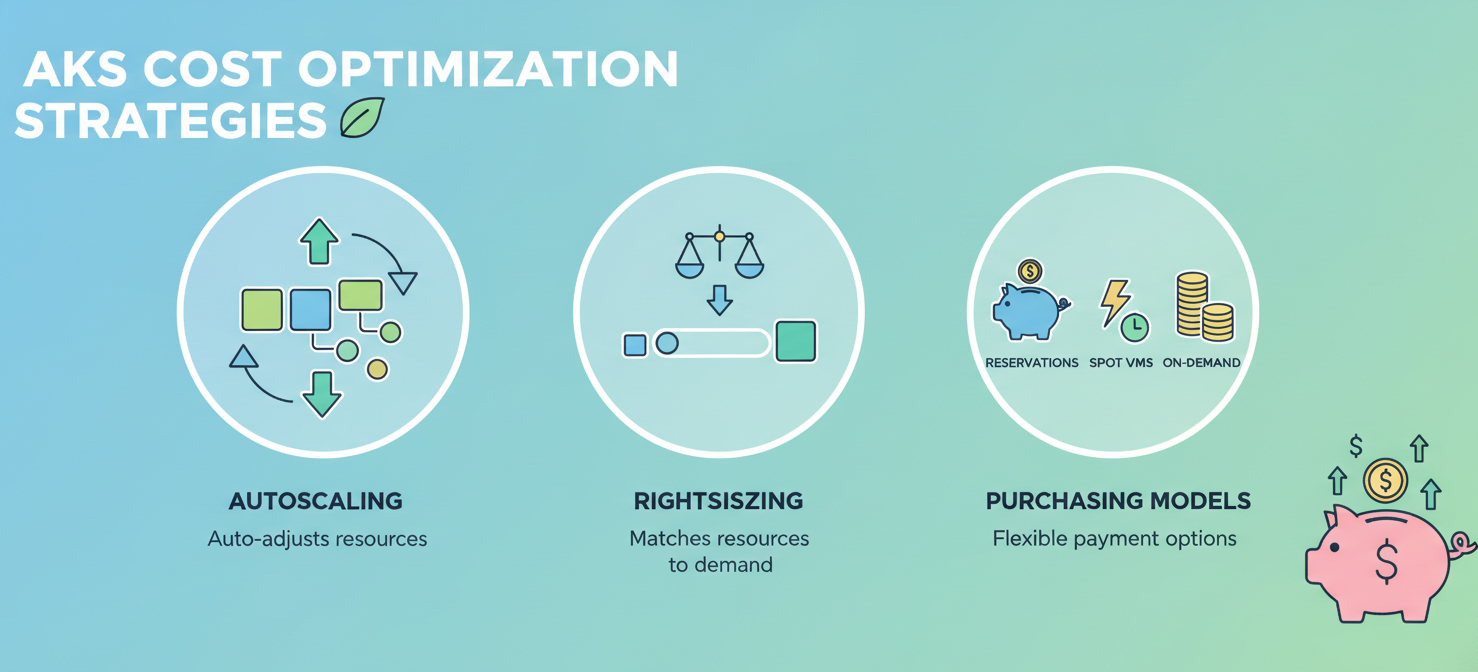
First, right-size your workloads. Set realistic CPU and memory requests for your pods based on actual usage, not guesswork. This allows Kubernetes to pack pods more efficiently onto nodes.
Second, embrace automation. Use the Cluster Autoscaler and Horizontal Pod Autoscaler to dynamically match your infrastructure to real-time demand. This prevents you from paying for idle capacity during off-peak hours.
Third, leverage Azure’s pricing models. Use a mix of pay-as-you-go, Reserved Instances, and Spot VMs to align your spending with workload predictability. For example, run your stable, core workloads on Reserved Instances and use Spot VMs for batch jobs or other interruptible tasks.
Finally, continuously monitor your environment. Regularly review your spending in Azure Cost Management and use tools like Binadox to gain deeper insights. By making cost visibility a central part of your operations, you can make informed decisions that optimize both performance and spending.
Conclusion
Ultimately, controlling your Azure Kubernetes Service costs comes down to visibility and continuous optimization. The default settings are rarely the most cost-effective. Your bill is a direct reflection of your cluster’s architecture and the resources your workloads consume—from the size of your worker node VMs to the tier of your managed disks. By understanding these cost drivers, you can begin to pull the right levers.
Implementing autoscaling, right-sizing pods and nodes, and choosing the correct VM purchasing models are not one-time tasks but an ongoing discipline. Tools can provide the necessary Kubernetes cost visibility, but it’s up to your team to act on those insights. Without a proactive approach to Kubernetes cloud cost management, you are simply paying for waste. The goal is not just to spend less, but to spend smarter, ensuring every dollar spent on Azure delivers real value.
To move beyond simply identifying waste and truly optimize your Azure Kubernetes Service spending, you can explore Binadox’s capabilities with a free trial or discuss tailored solutions for your team by scheduling a demo.
 7-day free trial